
1. Giriş
The REPTITRIP PT02 Reptile Dimming Thermostat is designed to provide precise and stable temperature control for various heating equipment in reptile enclosures, incubators, and plant breeding setups. Utilizing PID technology, it accurately adjusts output power to maintain a consistent temperature, minimizing fluctuations that can stress animals. This manual provides detailed instructions for the safe and effective use of your thermostat.
2. Ürün Özellikleri
- PID Technology: Accurately controls device output power for stable and efficient temperature regulation, reducing sudden temperature changes. (Note: Not for use with T5 lamps, floresan lamps, LED lamps, or sun lampS.)
- Real-time Temperature Monitoring: Features a temperature probe that detects ambient temperature and adjusts output power accordingly. Control range: 68°F to 113°F (20°C to 45°C).
- Enhanced Reptile Health: Prevents temperature fluctuations and drastic lighting changes, contributing to the health and vitality of reptiles such as bearded dragons, lizards, ball pythons, chameleons, corn snakes, and turtles.
- Çok Yönlü Uygulamalar: Compatible with heating lamps, heating pads, and other equipment. Suitable for reptiles, amphibians, egg hatching, and plant seedlings. Maximum output load: 260W.
- LCD Ekran: Shows real-time output power and environmental temperature for clear monitoring. LCD backlight turns off after 20 seconds to minimize disturbance at night. Switchable between °F and °C.
- Kolay Kullanım: Simply set the desired temperature, and the thermostat will maintain it. Ensure the temperature probe is placed correctly in the area requiring control.
3. Güvenlik Bilgileri
Please read and understand all safety instructions before operating this device. Failure to do so may result in injury or damage to the product.
- Do not exceed the maximum output load of 260W.
- Termostatın uygun şekilde topraklanmış bir elektrik prizine bağlı olduğundan emin olun.
- Keep the device and its probe away from water or excessive moisture.
- Do not use this thermostat with T5 lamps, floresan lamps, LED lamps, or sun lamps. It is designed for dimmable heating elements only.
- Regularly inspect the power cord and probe for any signs of damage. Discontinue use if damage is found.
- Çocukların ve evcil hayvanların erişemeyeceği yerde saklayınız.
4. Paket İçeriği
- REPTITRIP PT02 Dimming Thermostat Unit
- Sıcaklık Probu
- Kullanıcı Kılavuzu
5. Ürün Bittiview
Familiarize yourself with the components and display of your REPTITRIP PT02 thermostat.

Image: Labeled diagram of the REPTITRIP PT02 thermostat showing the Timer Display, Power Meter, Current Temperature, Output Power, Setting Temperature, Switching °F/°C, Temp Setup Button, and On/Off & Timer Setup Button.
- LCD Ekran: Shows current time, power meter, current temperature (PV), set temperature (SV), and output power percentage.
- Eksi (-) Düğmesi: Ayarlar sırasında değerler azalır.
- Artı (+) Düğmesi: Ayarlar sırasında değerleri artırır.
- Ayarlama düğmesi: Enters setting mode for time and temperature.
- Tamam/Güç Düğmesi: Turns the device on/off and confirms settings.
- Sıcaklık probu: Ortam sıcaklığını algılar.
6. Kurulum Talimatları
- Placement of Temperature Probe:
Carefully place the temperature probe in the area where you want to control the temperature. Ensure it is not directly touching the heating element or submerged in water unless specifically designed for such use. The probe detects if the current temperature reaches the set target.

Image: A temperature probe is shown placed within a reptile enclosure, illustrating proper positioning for accurate temperature detection.
- Güç Açık:
Plug the thermostat into a standard 120VAC, 60Hz power outlet. Press the OK Cihazı açmak için düğmeye basın.

Image: A finger pressing the 'OK' button on the thermostat to power it on.
- Geçerli Saati Ayarlayın:
Basın AYARLAMAK button. The time display will flash. Use the - Ve + Saati ve dakikayı ayarlamak için düğmelere basın. OK Her bir ayarı onaylamak için

Image: The thermostat display showing the time setting interface, with a finger pressing the 'SET' button.
- Connect Heating Device:
Plug your heating lamp or heat pad into the thermostat's output socket. Ensure the heating device is compatible with dimming control and does not exceed the 260W maximum load.
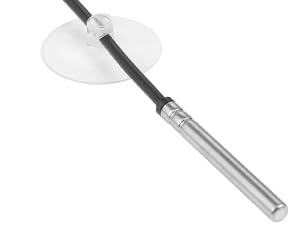
Image: The thermostat unit with its output socket connected to both a heat mat and a heat lamp, demonstrating its versatility.
7. Kullanım Talimatları
- Setting Target Temperature (SV):
Cihaz açıkken, aşağıdaki tuşa basın. AYARLAMAK button once. The set temperature (SV) will flash. Use the - Ve + buttons to adjust the desired temperature. Press OK to confirm the setting. The thermostat will now work to maintain this temperature.

Image: A finger pressing the '+' button to increase the set temperature on the thermostat display.
- Sıcaklık Birimlerini Değiştirme (°F/°C):
Fahrenheit ve Santigrat arasında geçiş yapmak için, tuşuna basılı tutun. AYARLAMAK button for approximately 3 seconds until the unit flashes. Use the - or + button to select your preferred unit, then press OK onaylamak için.
- Ekranı Anlamak:
The display shows the current temperature (PV), the set temperature (SV), and the output power percentage. The power meter bars indicate the current power output to the heating device. As the ambient temperature approaches the set temperature, the output power will gradually decrease (dimming) to maintain stability.
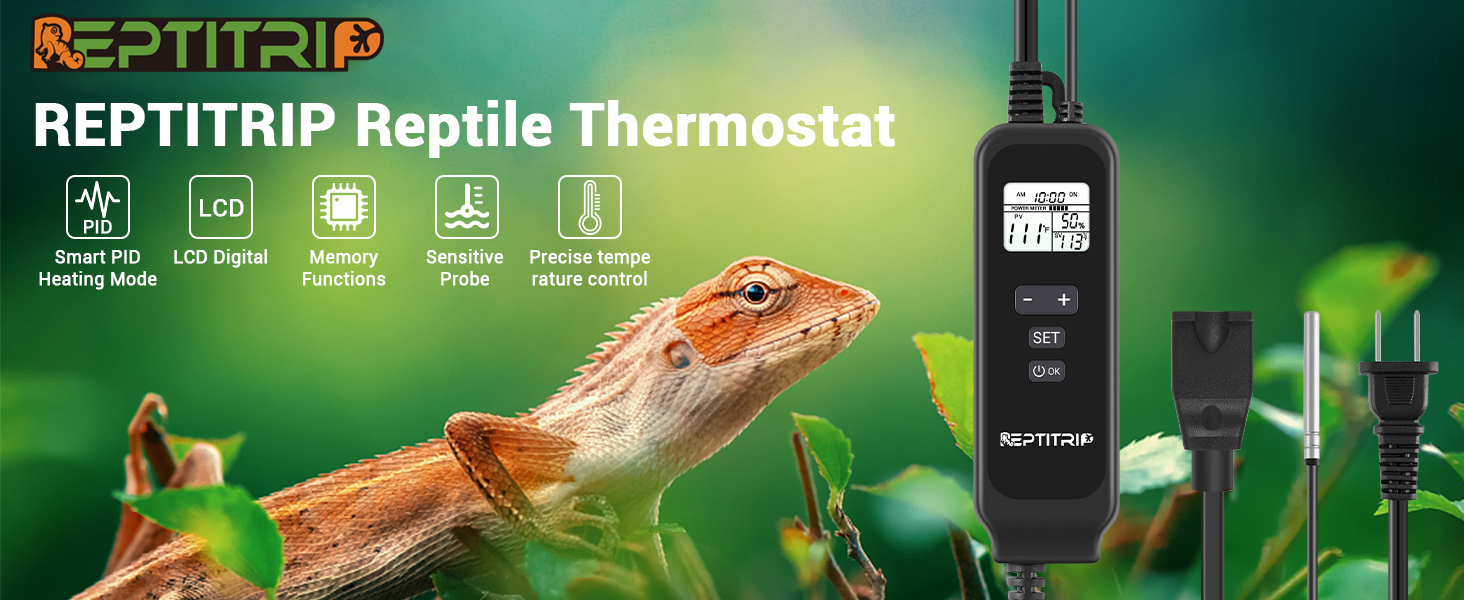
Image: A graphical representation of the PID dimming thermostat operation, showing how output power (represented by light bulb brightness) is adjusted to maintain a stable set temperature.
- Zamanlayıcı Fonksiyonu (varsa):
The thermostat supports a timer function for a set duration. To activate, press the OK button to turn on the device. Press AYARLAMAK to enter the time setting mode. Adjust the hours using the - Ve + düğmeler. Basmak OK to confirm. The device will maintain the set temperature for the specified duration. Note: The device does not have an internal clock for setting a specific start time; the timer begins when activated.

Image: The thermostat display showing a timer set for 12 hours and a target temperature of 104°F, indicating the device will maintain this temperature for the set duration.
8. Bakım
- Temizlik: Disconnect the thermostat from power before cleaning. Wipe the unit with a soft, dry cloth. Do not use abrasive cleaners or immerse the unit in water.
- Prob Bakımı: Keep the temperature probe clean and free from debris. Avoid bending or damaging the probe cable.
- Depolamak: When not in use, store the thermostat in a cool, dry place away from direct sunlight.
9. Sorun Giderme
| Sorun | Olası Neden | Çözüm |
|---|---|---|
| Termostat açılmıyor. | Elektrik yok, bağlantı gevşek. | Check power outlet and ensure the thermostat is securely plugged in. Press the OK button to power on. |
| Temperature not reaching set target or fluctuating significantly. | Heating element too weak/strong, probe improperly placed, incompatible heating device. | Ensure heating element wattage is appropriate for the enclosure size. Reposition the probe away from direct heat or cold spots. Verify heating device compatibility (not for T5, fluorescent, LED, or sun lampS). |
| Display shows incomplete information (e.g., only '9' instead of '90'). | Ekran arızası. | Unplug the device, wait 30 seconds, and plug it back in. If the issue persists, contact customer support. |
| Heating element is always on/off, not dimming. | Incompatible heating element, thermostat malfunction. | Ensure the connected heating element is dimmable. Some heating elements are only on/off. If using a dimmable element and the issue persists, contact customer support. |
10. Özellikler
| Özellik | Şartname |
|---|---|
| Marka | REPTITRIP |
| Model Numarası | 02.BÖLÜM |
| Renk | Siyah |
| Güç/Wattage | 260 watts (Max Output Load) |
| Cilttage | 120 Volt |
| Malzeme | Akrilonitril Bütadien Stiren (ABS) |
| Özel Özellikler | Kısılabilir |
| Ürün Ağırlığı | 249 gr |
| Sıcaklık Kontrol Aralığı | 68°F ila 113°F (20°C ila 45°C) |
| Sıcaklık Kontrol Tipi | Automatic (PID Thermostatic Control) |
| Bağlantı Teknolojisi | Kablolu |
| Dahil Bileşenler | Dimmer Switch, Temperature sensor |
| Güç Kaynağı | Kablolu Elektrik |
11. Garanti ve Destek
REPTITRIP products are designed for reliability and performance. For warranty information, technical support, or any questions regarding your PT02 Dimming Thermostat, please contact REPTITRIP customer service through the retailer where you purchased the product or visit the official REPTITRIP website for contact details. Please have your model number (PT02) and purchase information ready when contacting support.