
giriiş
Thank you for choosing the ROCAM Digital Projection Alarm Clock, Model CR1024. This device combines a digital alarm clock with a 270° rotatable projection feature, FM radio, dual alarm settings, and a USB charging port. Please read this manual carefully to ensure proper use and to fully enjoy all its features.

Image: The ROCAM Digital Projection Alarm Clock displaying time, date, temperature, and humidity, positioned on a bedside table next to a cup of coffee and a notebook.
Ürün Özellikleri
- 270° Rotatable Projection: Project time onto your wall or ceiling with adjustable angle and focus.
- 5-Level Dimmable LED Display: Adjust the brightness of the main display to your preference.
- FM Radio & Sleep Timer: Enjoy your favorite radio stations and set a sleep timer for automatic shutdown.
- Dual Alarm with Weekend/Weekday Mode: Set two independent alarms with customizable schedules (Mon-Sun, Mon-Fri, Sat-Sun, One-Time).
- USB-C Power Input & USB-A Charging Output: Power the clock via USB-C and charge external devices like smartphones via USB-A.
- Pil Yedekleme: Elektrik kesintisi sırasında zaman ve alarm ayarlarını korur.tag(Piller dahil değildir).
- Sıcaklık ve Nem Göstergesi: Shows indoor temperature (°C/°F) and humidity.
- Gece Işığı İşlevi: Integrated night light for soft illumination.
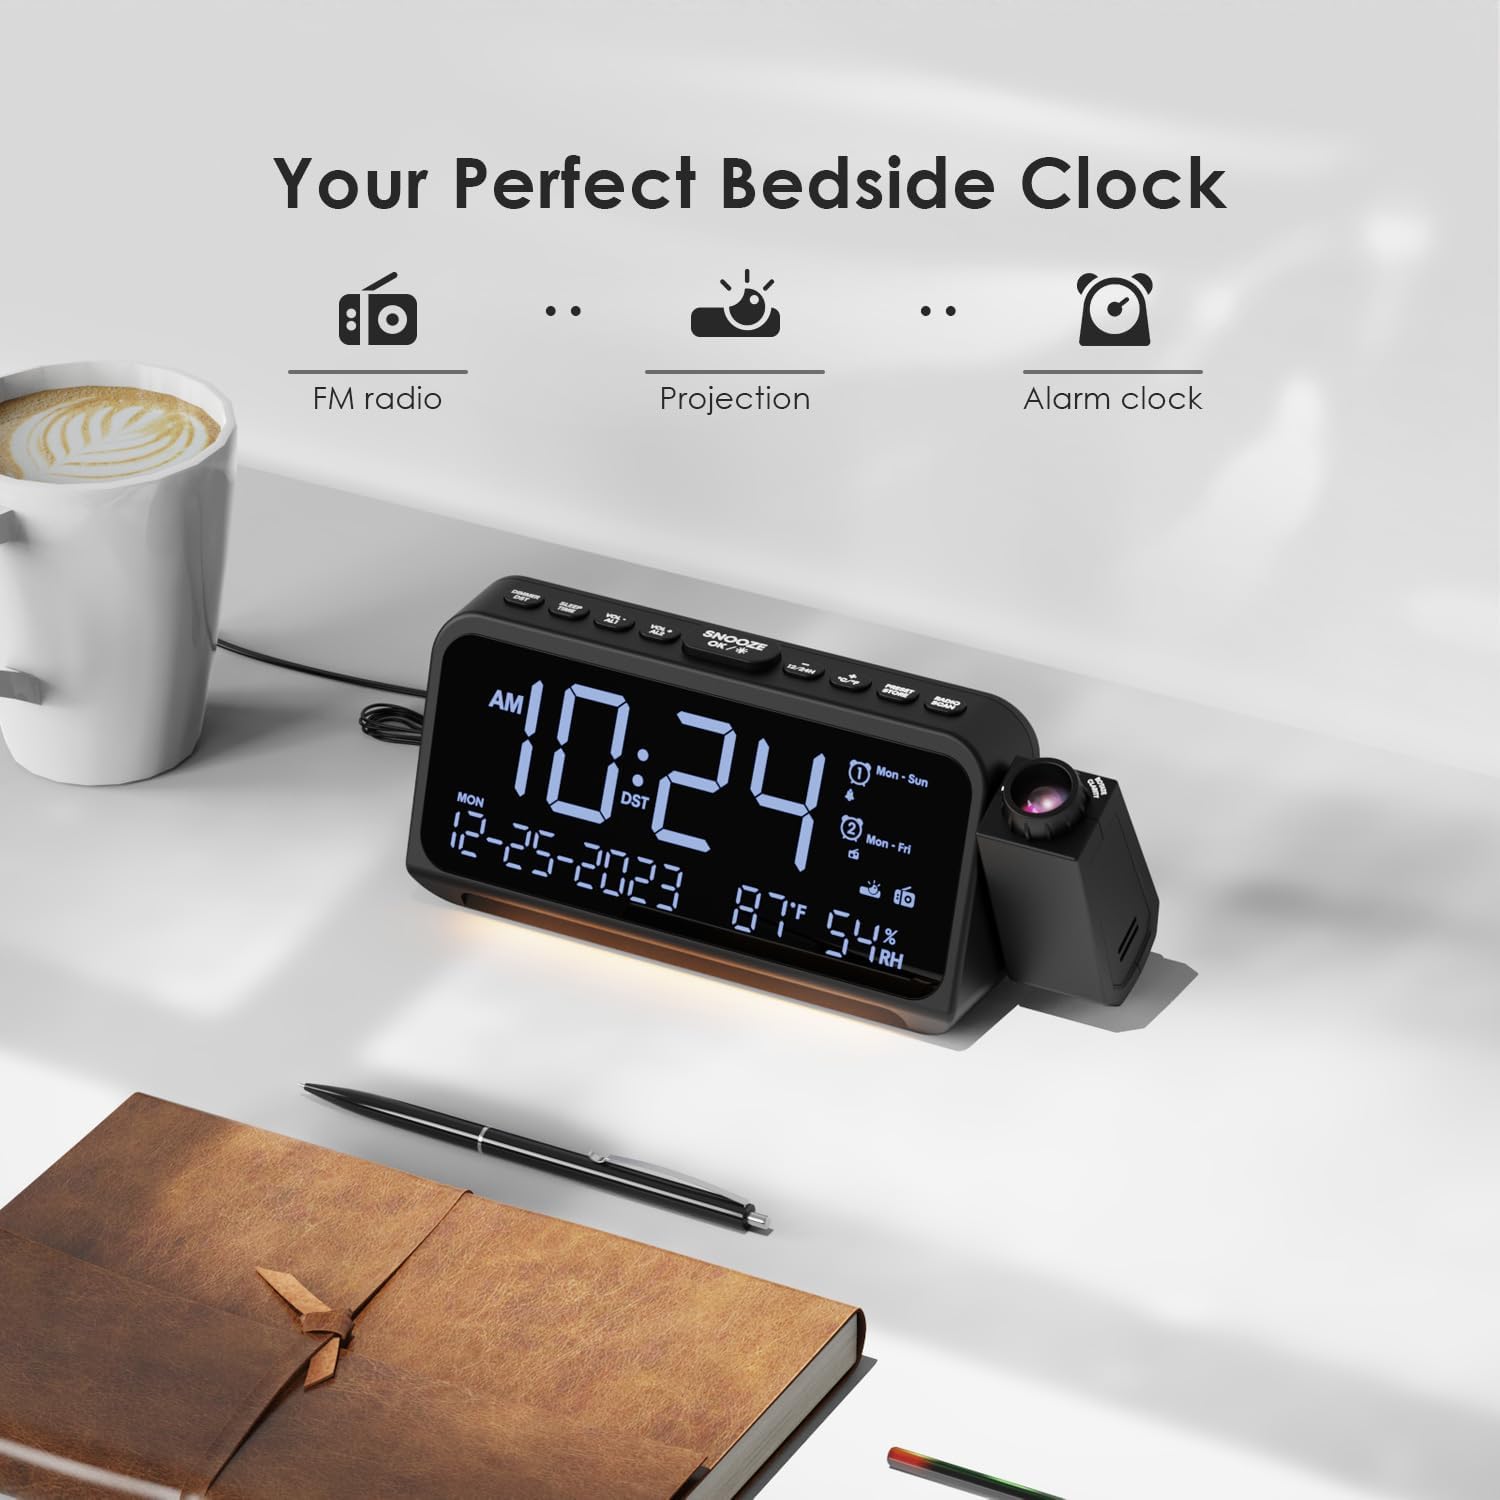
Image: Visual representation of the clock's main functions: FM radio, projection, and alarm clock.
Paket İçeriği
Lütfen paketi aşağıdaki öğeler açısından kontrol edin:
- ROCAM Digital Projection Alarm Clock (CR1024)
- USB Type-C Güç Kablosu
- Güç Adaptörü
- Kullanıcı Kılavuzu
Note: 1 CR2 battery is required for backup functionality and is not included in the package.

Image: The alarm clock, USB-C cable, power adapter, and user manual laid out, with product dimensions (20cm x 8.7cm x 3.81cm) and weight (240g) indicated.
Ürün Bittiview
Üst Panel Düğmeleri:
- SNOOZE/OK/*: Snooze alarm, confirm settings, or activate night light.
- VOL-/AL1: Decrease volume, set Alarm 1.
- VOL+/AL2: Increase volume, set Alarm 2.
- 12/24Saat: 12 saatlik ve 24 saatlik zaman biçimi arasında geçiş yapın.
- °C/°F: Celsius ve Fahrenheit sıcaklık gösterimi arasında geçiş yapın.
- PRESET/STORE: Save FM radio presets.
- RADIO/SCAN: Turn FM radio on/off, scan for stations.
- SAAT AYARI: Zaman ayarı moduna girin.
- ALARM KURULDU: Alarm ayar moduna girin.
Side Panel & Rear:
- Projeksiyon Merceği: Projeler zamanı bir yüzeye yansıtır.
- Odak Tekerleği: Yansıtılan görüntünün netliğini ayarlar.
- Projeksiyon Döndürme: Allows 270° adjustment of the projection angle.
- DIM Düğmesi: Adjusts projection brightness.
- Güç Düğmesi: Turns the projection on/off.
- Type-C Input (5V-2A): Ana güç bağlantısı.
- USB-A Output (5V-1A): Harici cihazları şarj etmek için.
- FM Anteni: Daha iyi radyo alımı için uzatın.
- Pil Bölmesi: For CR2 backup batteries.

Resim: Ayrıntılı view of the top control buttons and the projection unit, highlighting the dual alarm settings.

Image: The back of the alarm clock, illustrating the Type-C power input and the USB-A output port for charging other devices.
Kurmak
1. Güç Bağlantısı:
- Connect the provided USB Type-C cable to the Type-C input port on the back of the alarm clock.
- Plug the other end of the USB cable into the power adapter, then plug the adapter into a standard wall outlet.
- The display will light up, indicating the clock is powered on.

Image: The alarm clock is shown connected to a wall outlet via its USB-C power cable and adapter.
2. Battery Backup Installation:
- Saatin alt kısmında bulunan pil bölmesini bulun.
- Bölme kapağını açın.
- Insert 1 CR2 battery (not included) according to the polarity markings (+/-).
- Close the battery compartment cover. This battery will preserve time and alarm settings during a power outage.

Image: The bottom of the alarm clock with the battery compartment open, showing where to insert CR2 batteries.
Kullanım Talimatları
1. Saat ve Tarihin Ayarlanması:
- Basılı tutun SAAT AYARI button. The hour digits will start flashing.
- Kullanmak HACİM+ or cilt Saati ayarlamak için düğmelere basın. SAAT AYARI Tekrar onaylamak için.
- Repeat the process for minutes, year, month, and day.
- Basmak 12/24H to switch between 12-hour and 24-hour format.
- Basmak °C/°F to switch between Celsius and Fahrenheit for temperature display.
2. Setting Alarms (Alarm 1 & Alarm 2):
- Basılı tutun ALARM KURULDU button. The Alarm 1 icon and hour digits will flash.
- Kullanmak HACİM+ or cilt İstediğiniz alarm saatini ayarlamak için. Basın. ALARM KURULDU onaylamak için.
- Dakikalarca tekrarlayın.
- Select alarm mode (Mon-Sun, Mon-Fri, Sat-Sun, One-Time) using HACİM+ or cilt. Basmak ALARM KURULDU onaylamak için.
- Choose alarm sound: buzzer or FM radio. Use HACİM+ or cilt seçmek için. Basın ALARM KURULDU onaylamak için.
- To set Alarm 2, briefly press ALARM KURULDU again and repeat the steps.
- To activate/deactivate an alarm, briefly press AL1 or AL2. The alarm icon will appear/disappear on the display.
Image: The clock display showing options for setting two alarms with different ringtone choices and day modes (Mon-Sun, Mon-Fri, Sat-Sun, One-Time).
3. Erteleme Fonksiyonu:
Alarm çaldığında, tuşuna basın. SNOOZE/OK/* button to temporarily silence it for 9 minutes. The alarm will sound again after the snooze period.
4. Display Brightness (Dimmer):
Basın SNOOZE/OK/* button repeatedly to cycle through 5 levels of display brightness (L-1 to L-5) or turn the display off.

Image: The clock display showing five different brightness levels (L-1 to L-5) for the main LED screen.
5. Projection Settings:
- Açma/Kapatma: Basın Güç Düğmesi on the side of the projection unit to turn the projection on or off.
- Parlaklığı Ayarla: Basın Sönük button on the side of the projection unit to cycle through 5 levels of projection brightness.
- Açıyı Ayarla: Rotate the projection unit up to 270° to direct the time onto your desired surface (wall or ceiling).
- Odağı Ayarla: Döndür Odak Tekerleği on the projection unit to sharpen the projected image.

Image: The digital time '10:24' projected in red onto a dark wall, demonstrating the projection feature.

Image: The projection unit rotating 270 degrees, showing how the projected time can be adjusted for optimal viewIng.

Image: The projected time showing five distinct brightness levels, from level 1 (dimmest) to level 5 (brightest).
6. FM Radio Operation:
- Daha iyi sinyal alımı için FM antenini uzatın.
- Basın RADIO/SCAN button to turn the FM radio on.
- Basılı tutun RADIO/SCAN to automatically scan and save available stations.
- Kullanmak HACİM+ or cilt to manually tune to a station or cycle through saved presets.
- Basmak PRESET/STORE to save the current station as a preset.
- Basmak RADIO/SCAN again to turn the FM radio off.

Image: The clock displaying an FM radio frequency (108.0 MHz) and options for a sleep timer (OFF, 15, 30, 60, 90 minutes).
7. Uyku Zamanlayıcısı:
When the FM radio is on, press the SNOOZE/OK/* button repeatedly to set a sleep timer (15, 30, 60, 90 minutes, or OFF). The radio will automatically turn off after the selected duration.

Image: A hand pressing a button on the clock, with sleep timer options (P01, P06, P12, P15, P20) displayed, indicating timed radio playback.
8. USB Charging Output:
Connect your smartphone or other USB-powered device to the USB-A output port (5V-1A) on the back of the clock to charge it. Ensure the alarm clock is powered via its USB-C input.
Bakım
- Temizlik: Saati yumuşak, kuru bir bezle silin. Aşındırıcı temizleyiciler veya çözücüler kullanmayın.
- Pil Değişimi: Eğer saat elektrik kesintisi sırasında zaman kaybedersetage, replace the CR2 backup battery.
- Atama: Avoid placing the clock in direct sunlight, high temperatures, or high humidity.
Sorun giderme
| Sorun | Çözüm |
|---|---|
| Saat göstergesi boş. | Ensure the USB-C power cable is securely connected to both the clock and a working power outlet. Check if the display brightness is set to OFF. |
| Alarm çalmıyor. | Verify that the alarm is activated (alarm icon visible). Check the alarm volume. Ensure the alarm mode (Mon-Sun, Mon-Fri, etc.) is correctly set for the current day. |
| Projeksiyon bulanık. | Döndür Odak Tekerleği on the projection unit until the image is clear. Ensure the projection surface is within optimal range. |
| FM radyo alımı zayıf. | Fully extend the FM antenna. Try repositioning the clock to improve signal. Perform an auto-scan to find stronger stations. |
| USB şarj portu çalışmıyor. | Ensure the alarm clock is powered by the USB-C input. Check the charging cable and the device being charged. |
Özellikler
- Model Numarası: CR1024
- Boyutlar: 20 x 3.81 x 8.7 cm (U x G x Y)
- Ağırlık: 240 gr
- Güç Girişi: USB Tip-C, 5V-2A
- USB Çıkışı: USB Type-A, 5V-1A
- Pil Yedekleme: 1 x CR2 battery (not included)
- FM Frekans Aralığı: 87.5 - 108 MHz
Garanti ve Destek
ROCAM products are designed for reliability and performance. This product comes with a standard manufacturer's warranty. For specific warranty details, please refer to the warranty card included in your package or contact ROCAM customer support.
If you encounter any issues or have questions regarding your ROCAM Digital Projection Alarm Clock, please contact our customer support team. Contact information can typically be found on our official websitede veya ürün ambalajında yer almamaktadır.