
BİLGİSAYAR Q20RF
COMPUTHERM Q20RF Wireless Programmable Room Thermostat
Kullanıcı Kılavuzu
1. Giriş
Thank you for choosing the COMPUTHERM Q20RF Wireless Programmable Room Thermostat. This device is designed to provide precise and efficient control over your heating and air conditioning systems. It features daily independent programming, temporary manual modes, and a clear backlit display for optimal comfort and energy savings. Please read this manual carefully before installation and operation to ensure proper use and to maximize the benefits of your new thermostat.
2. Güvenlik Bilgileri
- Elektriksel Güvenlik: Installation and wiring should only be performed by a qualified electrician or service technician. Ensure the main power supply to the heating/cooling system is turned off before any wiring work.
- Pil Kullanımı: The thermostat unit requires 2 AA batteries. Do not mix old and new batteries, or different types of batteries. Dispose of used batteries responsibly according to local regulations.
- Atama: Install the thermostat in a location away from direct sunlight, drafts, or heat sources that could affect temperature readings.
- Temizlik: Temizlik için yumuşak, kuru bir bez kullanın. Aşındırıcı temizleyiciler veya çözücüler kullanmayın.
- Çocuklar: Keep the device out of reach of children to prevent accidental tamperiyor.
3. Paket İçeriği
Paketin tüm bileşenlerinin mevcut olduğunu doğrulayın:
- COMPUTHERM Q20RF Thermostat Unit (Transmitter)
- COMPUTHERM Q20RF Receiver Unit
- Mounting Support / Stand for Thermostat Unit
- Connection Cables/Wires
- Kullanım Kılavuzu (bu belge)
- 2 AA Batteries (may be included or sold separately)
4. Kurulum ve Kurulum
4.1. Thermostat Unit (Transmitter)
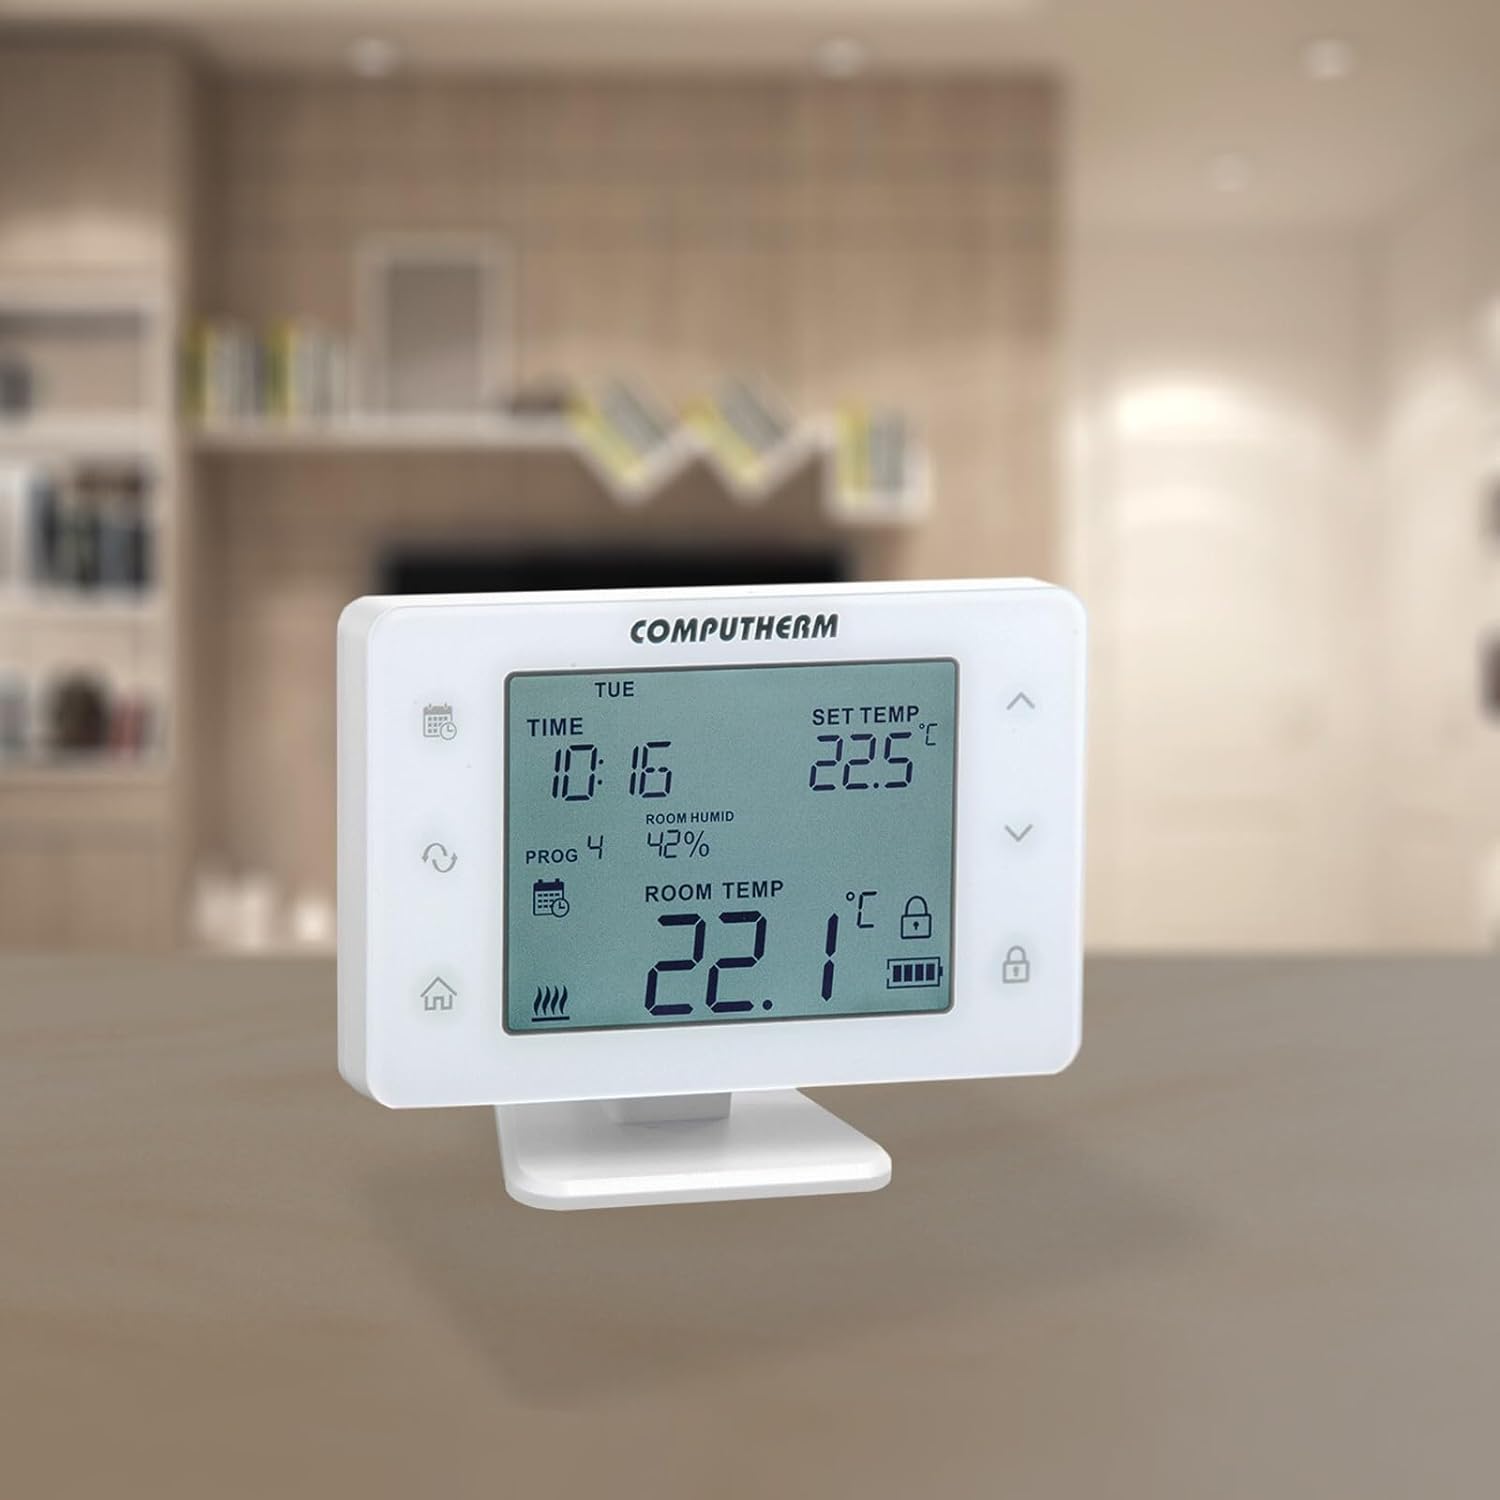
The thermostat unit is portable and can be placed on its mounting stand in any room where you want to measure and control the temperature. It requires 2 AA batteries for operation.
- Pilleri Takın: Open the battery compartment on the back of the thermostat unit and insert 2 AA batteries, observing the correct polarity.
- Atama: Place the thermostat unit on its stand in a central location in the room, away from direct heat sources, drafts, or direct sunlight.

4.2. Alıcı Ünitesinin Kurulumu
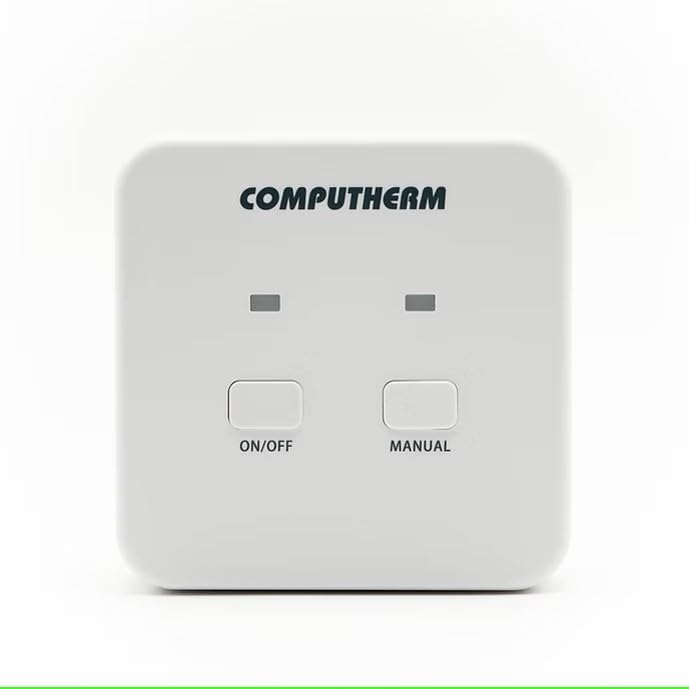
The receiver unit connects directly to your heating or cooling system. This installation should be performed by a qualified professional.
- Kapat: Ensure the main power supply to your heating/cooling system is completely turned off before proceeding.
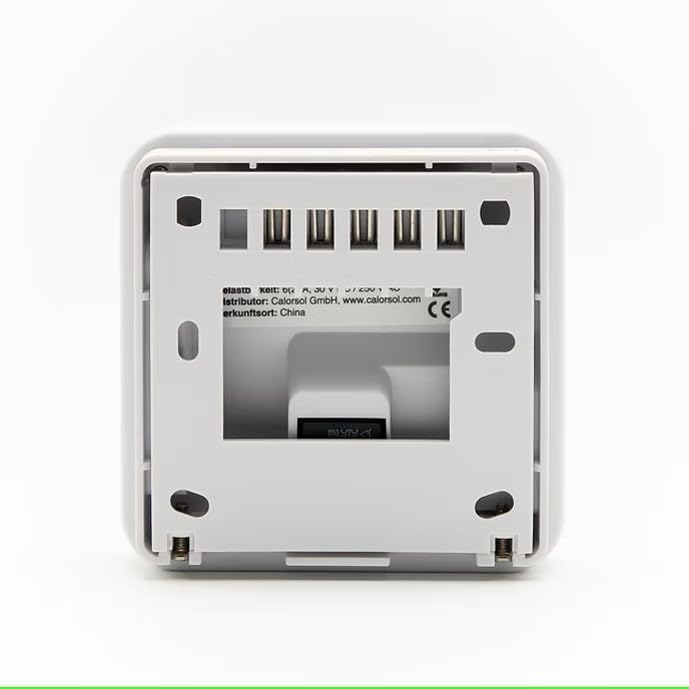
- Montaj: Mount the receiver unit in a suitable location near your heating/cooling system, ensuring good signal reception from the thermostat unit.
- Kablolama: Connect the receiver unit to your heating/cooling system using the provided connection cables according to the wiring diagram specific to your system. Refer to the detailed wiring instructions provided with your heating/cooling appliance or consult a professional. The receiver unit operates on 230 Volts.
- Güç Açık: Once wiring is complete and secure, restore power to your heating/cooling system.
4.3. Pairing (Wireless Connection)
The thermostat unit and receiver unit are typically pre-paired at the factory. If they are not communicating, follow the pairing instructions in the full manual or contact support.
5. Kullanım Talimatları
5.1. Ekran ve Düğmeler
The large display shows current time, set temperature, room humidity, and room temperature. The display features a backlight with adjustable brightness. Buttons activate an acoustic signal when touched.
5.2. Çalışma Modları
The thermostat allows easy switching between various modes:
- Isıtma Modu: Oda sıcaklığı ayarlanan sıcaklığın altına düştüğünde ısıtma sistemini devreye sokar.
- Soğutma Modu: Oda sıcaklığı ayarlanan sıcaklığın üzerine çıktığında soğutma sistemini devreye sokar.
- Nemlendirme Modu: Controls a humidifier to increase room humidity.
- Nem Alma Modu: Controls a dehumidifier to reduce room humidity.
The thermostat also features a humidity limit for cooling. This function allows you to set a humidity level above which the thermostat will stop cooling to prevent condensation.
5.3. Programming Daily Schedules
You can create independent daily programs for each day of the week. For each day, in addition to a fixed switching time, 10 freely adjustable switching times can be set. A different temperature and humidity can be assigned to each switching time.
- Access the programming menu (refer to the full manual for specific button sequences).
- Programlamak istediğiniz haftanın gününü seçin.
- Set up to 10 switching times and their corresponding desired temperature and humidity levels.
- Repeat for other days as needed.
5.4. Manuel Modlar
- Geçici Manuel Mod: Allows you to override the current program setting for a specified duration (1 to 99 hours or 1 to 99 days) until the next programmed switching time.
- Kalıcı Manuel Mod: Maintains a constant temperature setting, overriding all programmed schedules until manually changed.
5.5. Gelişmiş Ayarlar
- Selectable Switching Sensitivity: Adjust the temperature differential before the system activates (e.g., 0.1°C, 0.2°C).
- Temperature and Humidity Sensor Calibration: Allows for fine-tuning the sensor readings if they appear inaccurate.
- Pump Protection Function: Periodically activates the pump to prevent seizing during long periods of inactivity.

6. Bakım
6.1. Pil Değişimi
The thermostat unit will indicate low battery power on its display. Replace the 2 AA batteries promptly to ensure continuous operation. Always use new, high-quality alkaline batteries.
6.2. Temizlik
Wipe the thermostat and receiver units with a soft, dry, or slightly damp cloth. Do not use chemical cleaners, abrasives, or solvents, as these can damage the plastic casing ve elektronik bileşenler.
7. Sorun Giderme
If you encounter issues with your COMPUTHERM Q20RF thermostat, try the following steps:
- No Display / Unit Not Responding: Check if the batteries in the thermostat unit are correctly inserted and have sufficient charge. Replace them if necessary.
- Isıtma/Soğutma Devreye Girmiyor:
- Ensure the receiver unit has power.
- Verify the thermostat is in the correct operating mode (Heating/Cooling).
- Check the set temperature; it must be above (for heating) or below (for cooling) the current room temperature to trigger the system.
- Confirm the thermostat and receiver units are paired and within wireless range.
- Yanlış Sıcaklık Okuması: Consider calibrating the temperature sensor through the advanced settings menu. Ensure the thermostat is not exposed to drafts, direct sunlight, or other heat sources.
- Programlama Sorunları: Review the programming steps in the manual. Ensure the current time and day are set correctly.
Bu çözümleri denedikten sonra sorun devam ederse lütfen müşteri desteğiyle iletişime geçin.
8. Özellikler
| Marka | BİLGİSAYAR |
| Model Numarası | Q20RF |
| Renk | Beyaz |
| Ürün Boyutları (U x G x Y) | 225 x 5 x 14 cm (Thermostat unit); 351 grams |
| Cilttage (Alıcı) | 230 Volt |
| Güç Kaynağı (Alıcı) | Elektrik kablosu |
| Batteries (Thermostat) | 2 adet AA pil gerekli |
| Bağlantı Teknolojisi | Kablosuz (RF) |
| Kontrol Türü | Programlanabilir |
| Sıcaklık Kontrol Tipi | Isıtma, Soğutma |
| Özel Özellik | Ayarlanabilir |
| Ürünün Belirli Kullanımları | Electric or gas heating or cooling |
| Üretici | Quantrax LTD |
9. Garanti
COMPUTHERM products are designed for reliability and user-friendliness. This product is covered by a manufacturer's warranty against defects in materials and workmanship under normal use. The specific terms and duration of the warranty may vary by region. Please retain your proof of purchase for warranty claims.
Information regarding the availability of spare parts is not provided. For detailed warranty information, please refer to the documentation included with your purchase or contact the manufacturer directly.
10. Müşteri Desteği
For further assistance, technical support, or warranty inquiries, please contact the manufacturer:
- Üretici: Quantrax LTD
- Webalan: Please visit the official COMPUTHERM webİletişim bilgileri ve ek kaynaklar için siteyi ziyaret edin.
- Dağıtıcı: CalorSol GmbH (for specific regions, check your purchase details)
When contacting support, please have your product model number (Q20RF) and proof of purchase readily available.
Ask a question about this manual
Ask about setup, troubleshooting, compatibility, parts, safety, or missing instructions. Manuals+ will review the question and use this page’s manual context to help answer it.