
1. Giriş
Thank you for choosing the AQQA Internal Aquarium Filter. This 3-in-1 filter is designed to provide efficient water filtration, oxygen supply, and wave-making functions for a healthy aquatic environment. This manual provides detailed instructions for installation, operation, and maintenance to ensure optimal performance and longevity of your filter.
2. Ürün Özellikleri
- 3'si 1 arada İşlevsellik: Integrates water filtration, oxygen supply (aeration), and wave-making for comprehensive water circulation.
- Fish-Friendly Design: Features small, dense intake holes to prevent small fish and shrimp from being trapped, ensuring safe operation.
- Ultra Sessiz Çalışma: Equipped with a premium motor, operating at a low noise level of ≤ 30 dB for a peaceful environment.
- Ayarlanabilir Akış Hızı: Allows customization of water flow to suit various aquarium sizes and inhabitants.
- Kolay Bakım: Designed for simple assembly, disassembly, and cleaning of filter components.
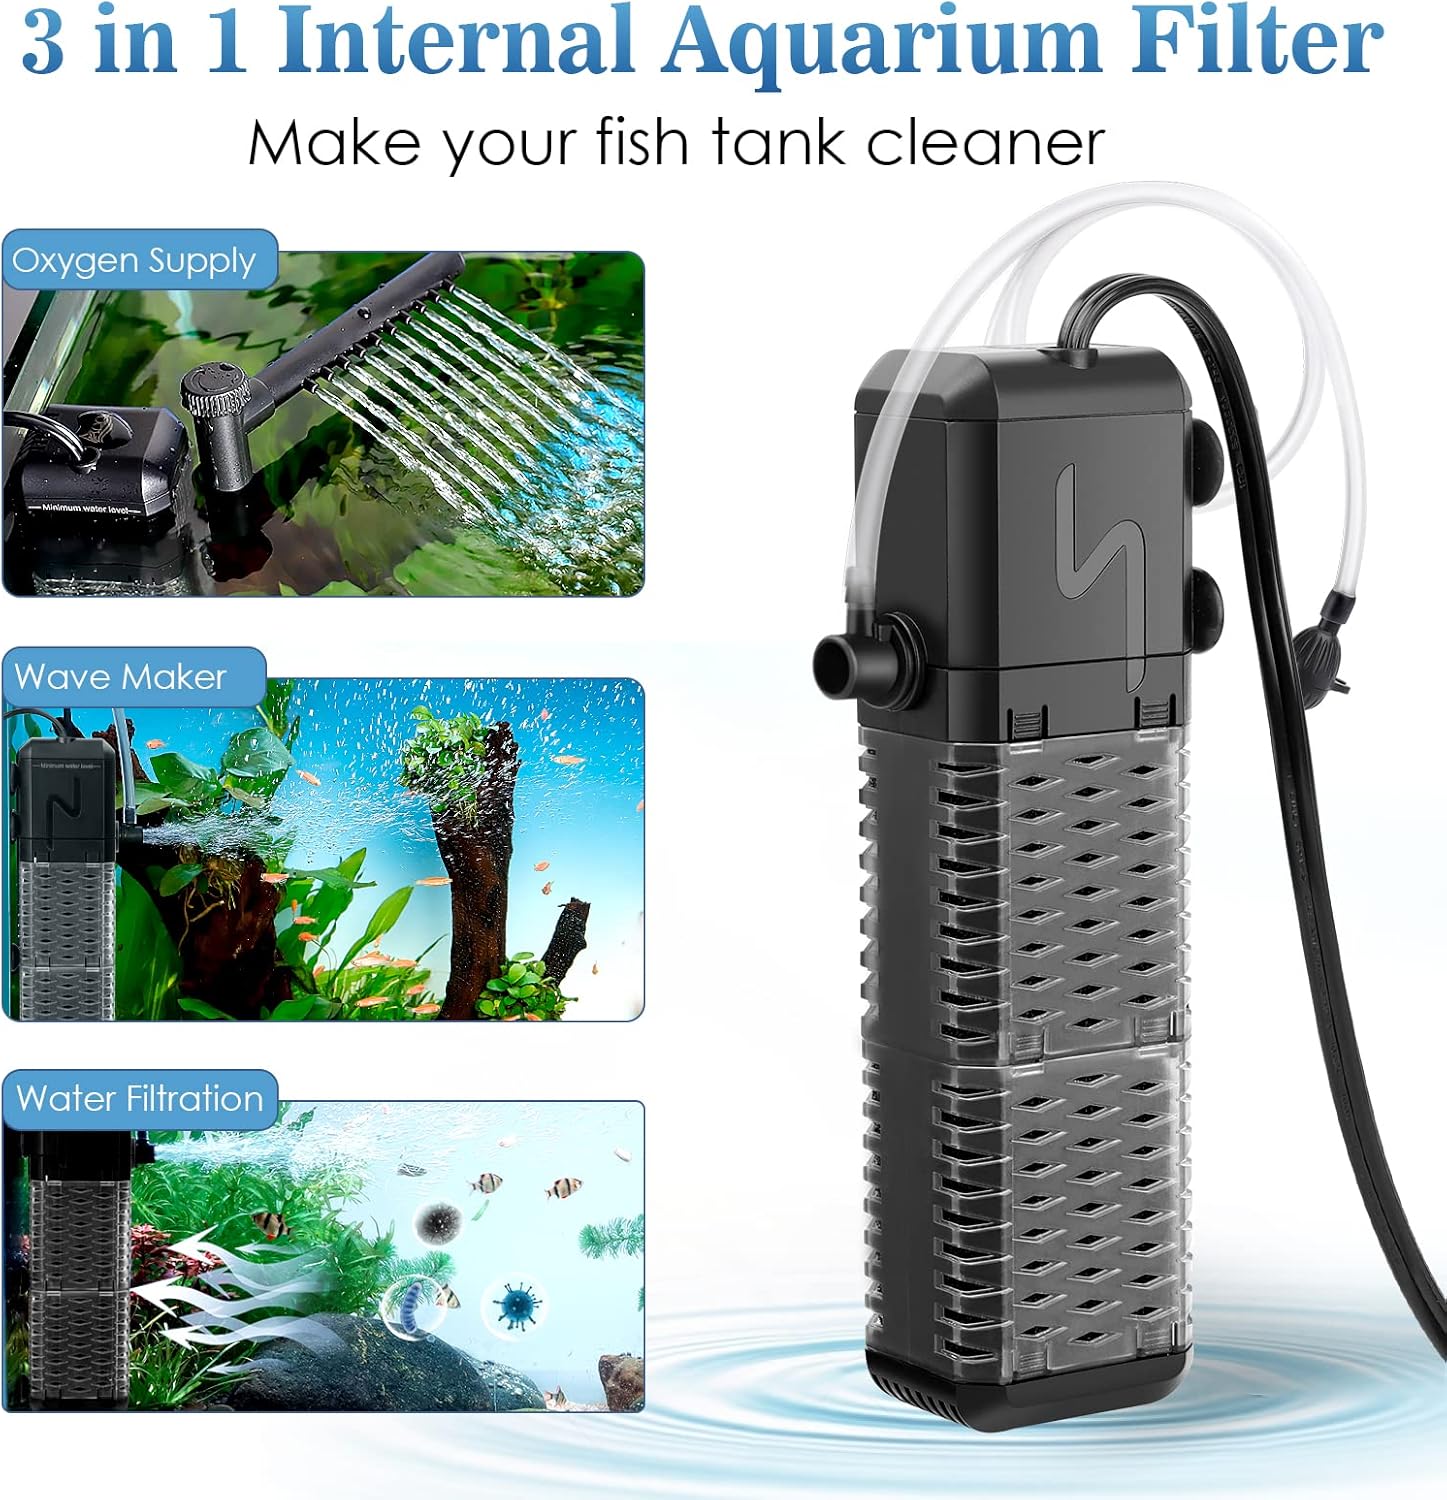
Image: The AQQA 3-in-1 Internal Aquarium Filter illustrating its three primary functions: oxygen supply through a spray bar, wave making for water circulation, and effective water filtration.

Resim: Yakın çekim view of the filter's intake section, highlighting the small, dense holes designed to prevent small aquatic life from being drawn into the filter.
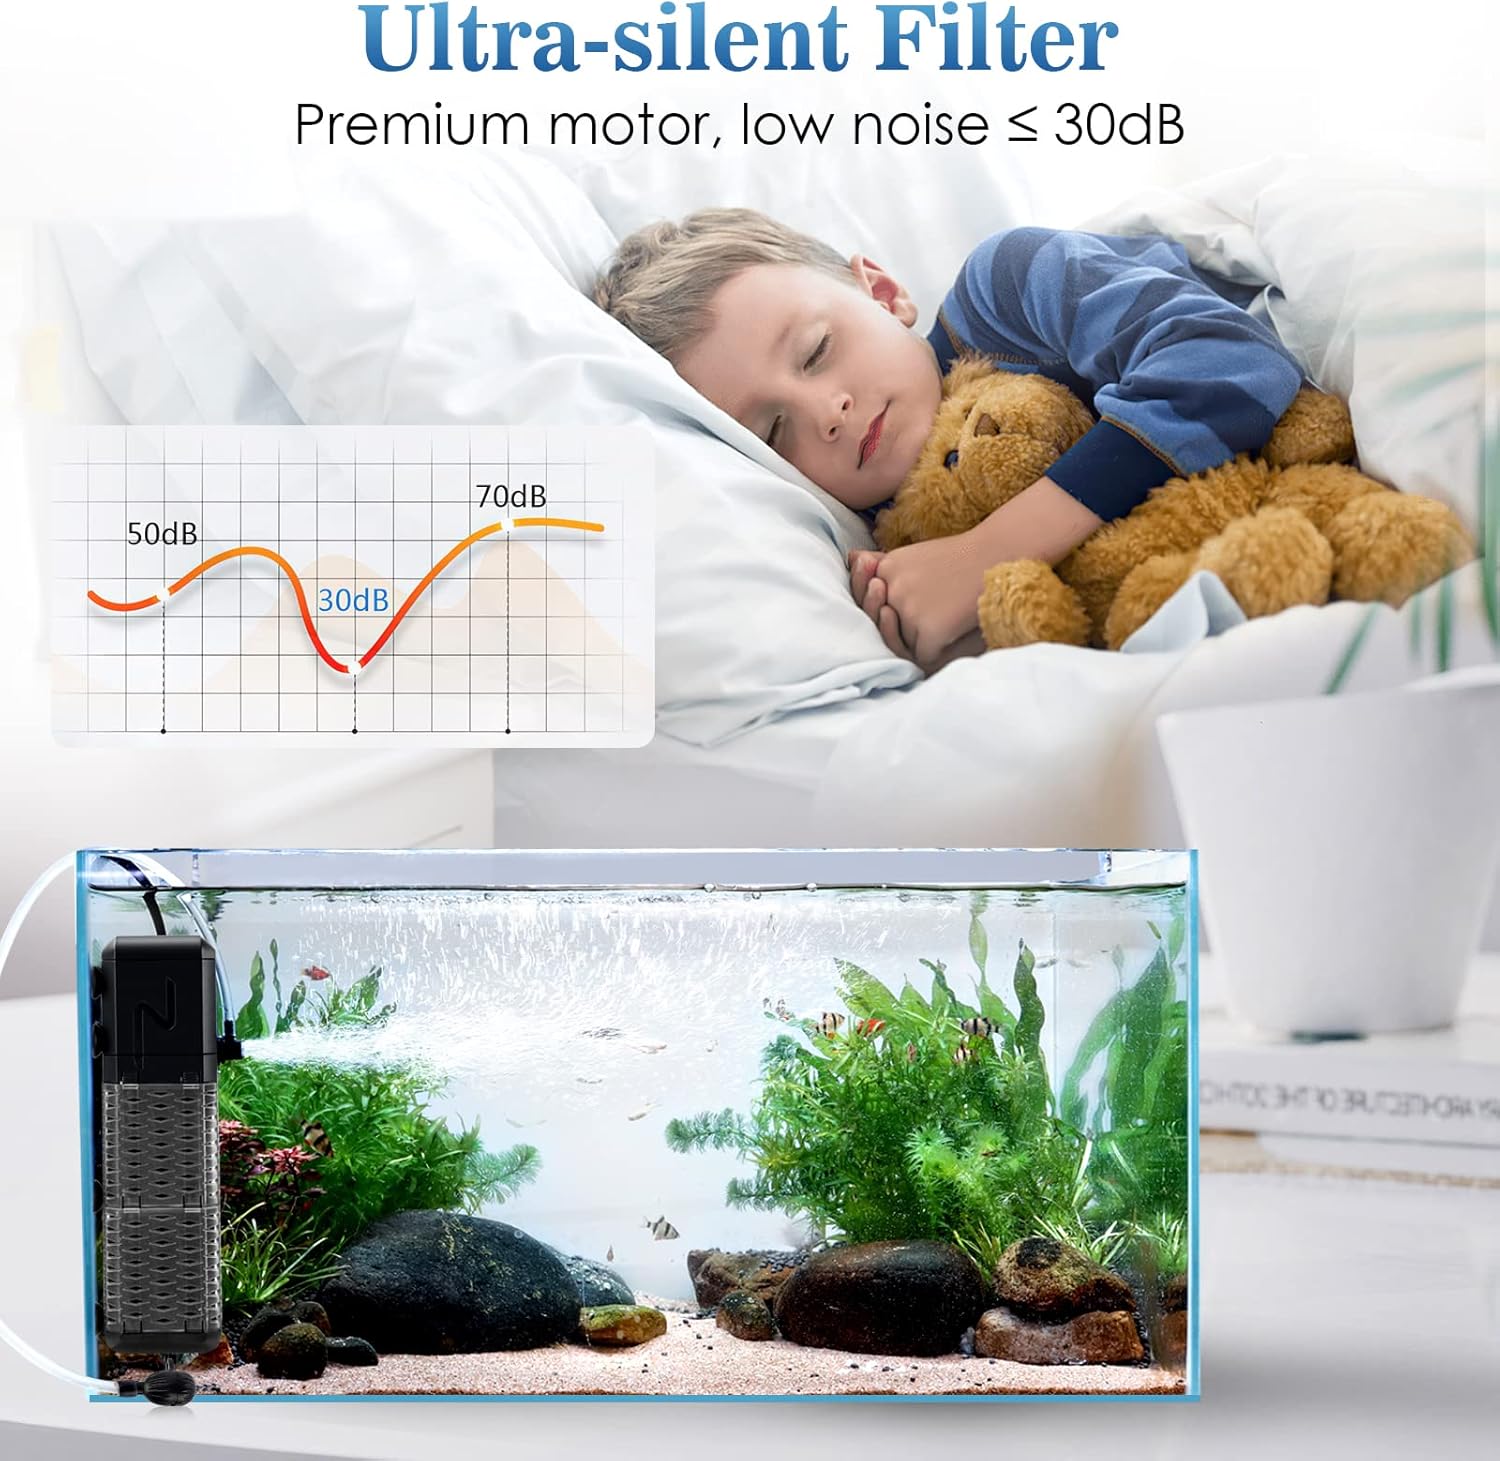
Image: An illustration demonstrating the ultra-quiet operation of the AQQA filter, indicating a noise level of 30dB, suitable for quiet environments.
3. Paket İçeriği
Lütfen pakette tüm öğelerin mevcut olduğundan emin olun:
- 1 x AQQA Internal Filter Unit
- 1 x Replacement Suction Cup
- 1 x Rainwater Pipe (Spray Bar) or 1 x Aerator Tube
- 1 x Kullanım Kılavuzu
4. Kurulum ve Kurulum
Follow these steps for proper installation of your AQQA Internal Filter:
- Konumlandırma: Place the filter inside your aquarium, ensuring it is fully submerged. The pump should always be immersed at or above the minimum water level indicated on the unit during operation.
- Güvenli Bağlantı: Use the provided suction cups to firmly attach the filter to the inner wall of the aquarium.
- Rainwater Pipe Installation (Optional):
- Attach the elbow connector to the filter's outlet.
- Connect the rainwater pipe (spray bar) to the elbow connector.
- Position the spray bar just above or at the water surface to create a gentle waterfall effect and increase surface agitation for oxygen exchange.
- Aerator Tube Installation (Optional):
- Connect the small air intake nozzle to the designated port on the filter.
- Attach the clear aerator tube to the air intake nozzle.
- Ensure the other end of the aerator tube is above the water surface to draw in air.
- Güç Bağlantısı: Once installed and submerged, connect the power plug to a suitable electrical outlet.

Image: Visual guide demonstrating correct filter immersion at the minimum water level and different installation orientations within the aquarium.

Image: Step-by-step visual instructions for attaching the rainwater pipe to the filter outlet.

Image: Step-by-step visual instructions for connecting the aerator tube to the filter for oxygen supply.
5. Kullanım Talimatları
Once installed, the filter will begin operating upon power connection. The AQQA filter offers adjustable features for optimal performance:
- Akış Hızı Ayarı: The filter features an adjustable knob on the outlet to control the water flow rate. Rotate the knob to increase or decrease the flow as needed for your aquarium's inhabitants and size.
- Air Adjusting Knob (for Aeration): If using the aerator tube, an air adjusting knob allows you to regulate the amount of air drawn into the filter, controlling the bubble output and oxygenation level. Turn the knob to achieve the desired aeration.

Image: A visual representation of the air adjusting knob, demonstrating how it can be turned to regulate airflow and bubble distribution for aeration.
6. Bakım
Regular maintenance is crucial for the efficient operation and longevity of your filter. It is suggested to clean the impeller monthly and check the filter sponge regularly.
- Gücü Kesin: Herhangi bir bakım işlemi yapmadan önce filtreyi daima elektrik prizinden çıkarın.
- Disassemble Filter: Carefully separate the pump unit from the filter housing.
- Pervaneyi çıkarın: Locate and gently remove the impeller from its chamber.
- Clean Impeller and Chamber: Use a small brush (not included) to clean any debris, algae, or mineral buildup from the impeller and its chamber. Rinse thoroughly with aquarium water.
- Filtre süngerini temizleyin: Remove the filter sponge from the housing. Rinse it thoroughly with old aquarium water (from a water change) to preserve beneficial bacteria. Do not use tap water as chlorine can kill these bacteria. Replace the sponge if it is heavily clogged or deteriorated.
- Yeniden birleştirme: Carefully reassemble all components, ensuring they are securely fitted.
- Tekrar başlat: Place the filter back into the aquarium, ensure it is fully submerged, and reconnect the power.

Image: A four-step guide illustrating the process of disassembling the filter, removing the impeller, cleaning the impeller chamber, and cleaning the impeller itself to resolve noise issues and maintain performance.

Image: Demonstrates the filter's effectiveness in removing impurities, showing a 'before' cloudy tank and an 'after' clear tank, alongside a diagram of the filter sponge capturing particles.
7. Sorun Giderme
- Filter is noisy:
- Ensure the filter is fully submerged and not drawing air.
- Clean the impeller and its chamber as described in the Maintenance section. Debris or mineral buildup can cause noise.
- Check for proper assembly of all parts.
- Reduced water flow or no flow:
- Check if the filter sponge is clogged. Clean or replace it.
- Ensure the impeller is clean and spinning freely.
- Verify that the flow adjustment knob is not set to minimum.
- Check for blockages in the outlet pipe or spray bar.
- Filter not starting:
- Güç kablosunun çalışan bir prize güvenli bir şekilde takıldığından emin olun.
- Güç kontrolü yapıntagee.
- Inspect the impeller for any obstructions preventing it from starting.
8. Özellikler
| Özellik | Specification (Model AQ047-L) |
|---|---|
| Model Numarası | AQ047 |
| Güç Tüketimi | 9W |
| Akış Hızı | 800 L/S (211 GPH) |
| Maksimum Kafa | 3.6 fit |
| Önerilen Tank Boyutu | Up to 250 Liters (26-70 Gallons) |
| Ebatlar (Paket) | 23.3x10x7.1 cm |
| Ağırlık (Paket) | 450 gram |
| Gürültü Seviyesi | ≤ 30 dB |
| Cilttage/Frekans | AC220-240V, 50Hz |

Image: A detailed table outlining the specifications for different AQQA filter models, including power, flow rate, head, recommended tank size, voltage ve frekans.
9. Garanti ve Destek
The AQQA Internal Aquarium Filter comes with a one-year warranty. Additionally, AQQA provides lifetime 24/7 customer service for any inquiries or assistance you may need. Please refer to your purchase documentation for specific warranty claim procedures or contact AQQA customer support directly.