
1. Giriş
This manual provides essential information for the safe and effective use of your Lovskoo Mini Video Projector. Please read these instructions thoroughly before operating the device and retain them for future reference.
2. Güvenlik Bilgileri
- Yangın veya elektrik çarpmasını önlemek için projektörü yağmura veya neme maruz bırakmayın.
- C'yi açmayınasing. Tüm servis işlemlerini yetkili personele yaptırın.
- Uygun havalandırmayı sağlayın. Havalandırma açıklıklarını kapatmayın.
- Lütfen yalnızca bu cihaz için belirtilen güç adaptörünü kullanın.
- Cihaz çalışırken projektör merceğine doğrudan göz temasından kaçının.
- Projeksiyon cihazını ısı kaynaklarından ve doğrudan güneş ışığından uzak tutun.
3. Paket İçeriği
Paketin içinde tüm öğelerin mevcut olduğundan emin olun:
- Lovskoo Mini Video Projector (Host)
- USB Güç Kablosu
- Uzaktan kumanda
- Kullanıcı Kılavuzu
4. Ürün Bittiview
Familiarize yourself with the components and dimensions of your projector.

Şekil 4.1: Ön view of the Lovskoo Mini Video Projector.

Figure 4.2: Dimensions of the Lovskoo Mini Video Projector (approximately 4.3 x 1.9 x 3.5 inches).
The projector features a compact design with a lens at the front and control buttons on the top surface. Connectivity ports are located on the sides or rear, typically including USB and a 3.5mm audio output.
5. Kurulum
Follow these steps to set up your projector for first use:
- Güç Bağlantısı: Connect the provided USB power cable to the projector's micro USB input and then to a compatible 5V 2A power source (e.g., a wall adapter or power bank).
- Atama: Place the projector on a stable, flat surface. Ensure there are no obstructions in front of the lens. The recommended projection distance is 2-13.1 feet for a 14-100 inch screen size. For optimal viewing, a 9.32 feet distance is suggested for a 100-inch display.
- Güç Açık: Cihazı açmak için projektördeki veya uzaktan kumandadaki güç düğmesine basın.
- Odak Ayarı: Adjust the focus ring (if available) near the lens until the projected image is clear and sharp.
Video 5.1: This video demonstrates the projector's capability to display various screen sizes (40" to 60") and shows the projector in different color variants. It illustrates the projection distance and how the image scales.
6. Çalıştırma
Once powered on, the projector will display its main interface. Use the remote control or the buttons on the projector to navigate menus and select input sources.
6.1 Temel Kontroller
- Güç Düğmesi: Projektörü açar veya kapatır.
- Yön tuşları: Used to move through menu options (Up, Down, Left, Right).
- Tamam/Giriş Düğmesi: Seçimleri onaylar.
- Geri/Çıkış Düğmesi: Returns to the previous menu or exits the current function.
- Ses Düğmeleri: Ses çıkış seviyesini ayarlar.
6.2 Bağlantı
The projector supports various input methods:
- USB Girişi: Connect a USB drive to play media filedoğrudan s.
- 3.5mm Ses Çıkışı: Gelişmiş ses için harici hoparlörleri veya kulaklıkları bağlayın.
- Cep Telefonu Bağlantısı: Connect your Android or iOS phone to the projector to mirror content. Specific connection methods (e.g., wired screen mirroring) may vary by phone model and require additional adapters (not included).

Figure 6.1: The projector can be powered by a mobile power supply (power bank) for portable use.
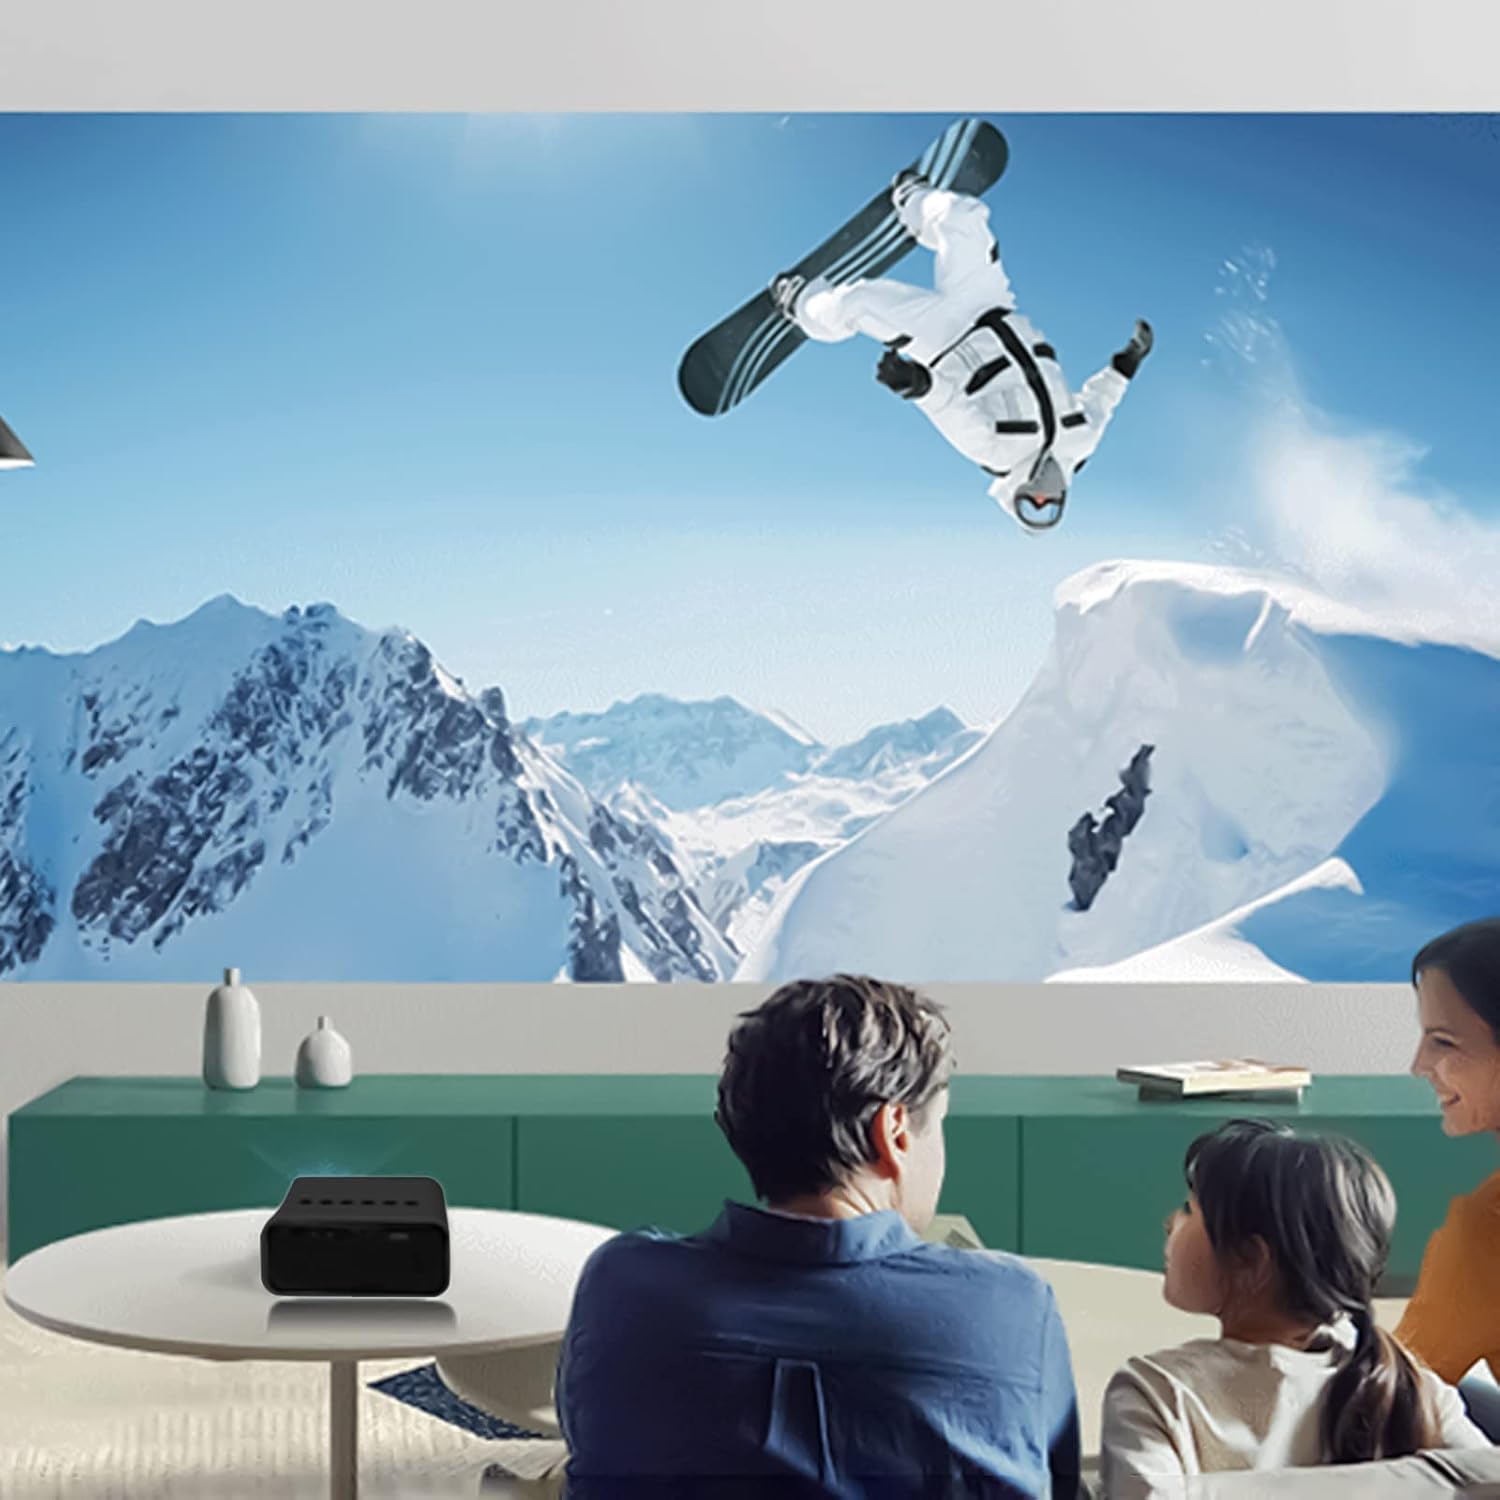
Şekil 6.2: Ör.ample of indoor projection setup.

Şekil 6.3: Ör.ample of outdoor projection setup, ideal for campIng.
7. Bakım
Doğru bakım, projektörünüzün uzun ömürlü olmasını ve performansını garanti eder.
- Lens Temizliği: Projeksiyon merceğini nazikçe silmek için optik lensler için özel olarak tasarlanmış, yumuşak ve tüy bırakmayan bir bez kullanın. Aşındırıcı temizleyiciler veya aşırı güç kullanmayın.
- Toz Giderimi: Periodically clean the projector's exterior with a soft, dry cloth. Ensure ventilation openings are free from dust and debris.
- Depolamak: Kullanılmadığı zamanlarda projektörü serin, kuru bir yerde, doğrudan güneş ışığından ve aşırı sıcaklıklardan uzakta saklayın.
8. Sorun Giderme
Projeksiyon cihazınızla ilgili sorunlarla karşılaşırsanız, aşağıdaki yaygın sorunlar ve çözümlerine göz atın:
| Sorun | Olası Neden | Çözüm |
|---|---|---|
| Güç Yok | Power cable not connected properly; faulty power source. | Ensure the USB power cable is securely connected. Try a different power adapter or USB port. |
| Resim yok | Incorrect input source selected; lens cap on; focus issue. | Select the correct input source (e.g., USB). Remove any lens cap. Adjust the focus. |
| Bulanık Görüntü | Out of focus; incorrect projection distance. | Adjust the focus ring. Ensure the projector is within the recommended projection distance. |
| Ses Yok | Volume too low; external speakers not connected or faulty. | Increase the volume. Check external speaker connections if used. |
9. Özellikler
Key technical specifications for the Lovskoo Mini Video Projector:
- Modeli: Mini Video Projektörü
- Desteklenen Çözünürlük: 1080P HD (1920 x 1080 Max)
- Yerel Çözünürlük: 320x180
- Ekran Teknolojisi: TFT LCD
- Projeksiyon Boyutu: 14-100 inç
- Projeksiyon Mesafesi: 2-13.1 feet
- LED Ömrü: 30,000 saate kadar
- Güç Tüketimi: 10 B
- Cilttage/Güncel: 5V 2A
- Kontrol Modu: Manual buttons / Remote control
- Arayüzler: USB x 1, 3.5mm Audio Output x 1, Micro USB (Power Input)
- Boyutlar: Approximately 4.3 x 1.9 x 3.5 inches (11 x 4.7 cm)
- Ağırlık: Yaklaşık 11.3 ons
- Dahili Hoparlör: Evet
10. Garanti ve Destek
For warranty information and customer support, please refer to the documentation provided at the time of purchase or contact Lovskoo customer service through their official channels. Keep your purchase receipt as proof of purchase.