
giriiş
Thank you for choosing the Roxicosly Digital Wooden Alarm Clock. This manual provides detailed instructions for setting up, operating, and maintaining your new alarm clock. Please read this manual thoroughly before use to ensure proper functionality and to maximize your experience with its features, including dual alarms, USB charging ports, and temperature/humidity display.
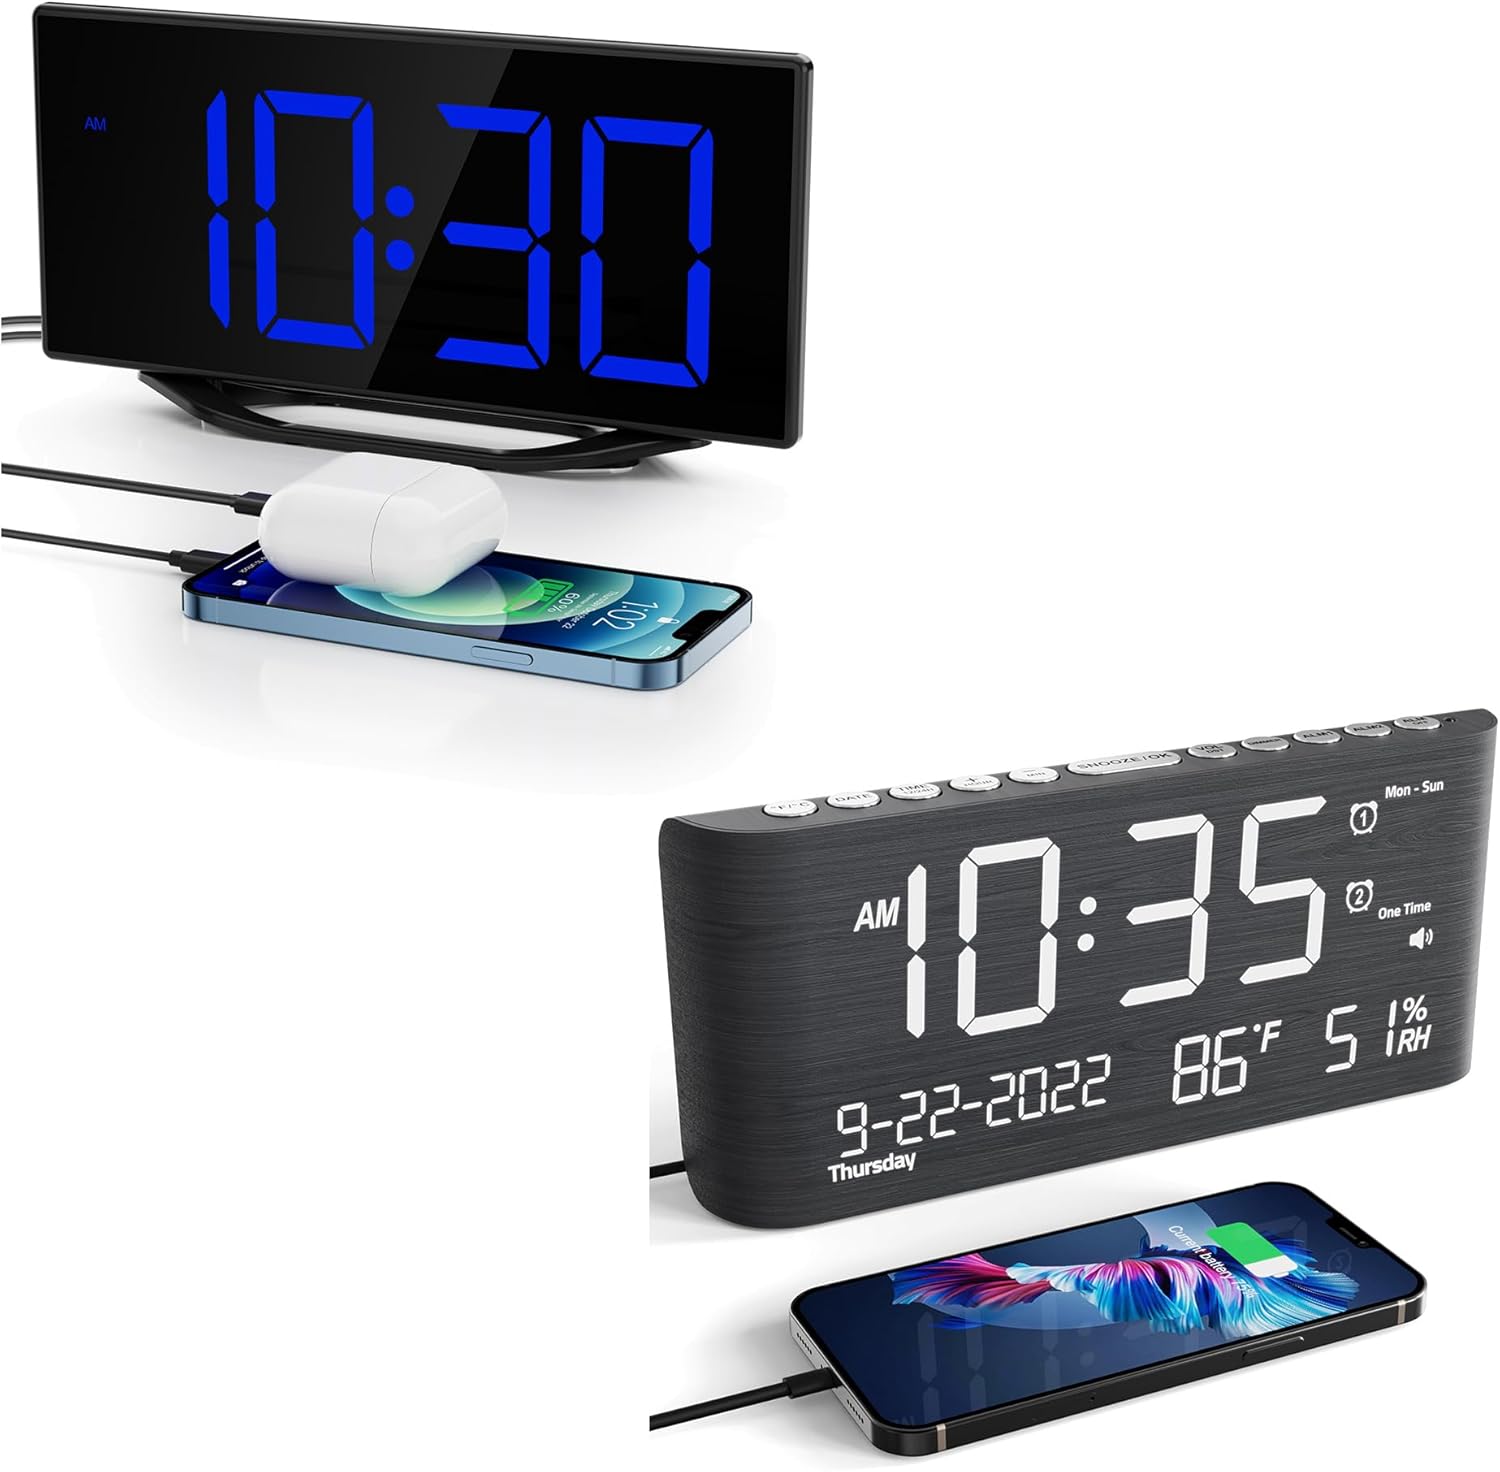
This image displays the Roxicosly Digital Wooden Alarm Clock, highlighting its prominent blue LED time display and the convenience of its integrated USB charging port, shown actively charging a smartphone.
Kurmak
1. Güç Bağlantısı
Connect the provided AC adapter to the DC/Type-C power input port on the back of the alarm clock, then plug the adapter into a standard electrical outlet. The clock will power on and the display will illuminate.
2. Pil Yedekleme Kurulumu
Dış mekan kullanımı sırasında yedek güç kaynağı içintages, install two (2) AAA batteries (not included) into the battery compartment located on the back of the clock. The battery backup preserves time and alarm settings but does not power the display or USB charging ports.

The image details the power options for the clock, including the DC/Type-C power input and the battery backup compartment, where two AAA batteries (not included) can be installed to preserve settings during power outagee.
Kullanım Talimatları
1. Saat ve Tarihin Ayarlanması
- Basın SAAT AYARI Zaman ayarı moduna girmek için düğmeye basın. Saat rakamları yanıp sönecektir.
- Kullanın SAAT Ve DAKİKA Saati ve dakikayı ayarlamak için düğmeler.
- Basmak SAAT AYARI again to confirm and move to the 12/24-hour format setting. Use SAAT or DAKİKA seçmek için.
- Basmaya devam et SAAT AYARI Yıl, ay ve gün ayarları arasında geçiş yapmak ve her birini ayarlamak için SAAT or DAKİKA.
- Basmak SAAT AYARI one last time to exit time and date setting mode.
2. Alarmların Ayarlanması (Alarm 1 ve Alarm 2)
Bu saat iki bağımsız alarmı desteklemektedir.
- Basın ALARM 1 button to enter Alarm 1 setting mode. The hour digits for Alarm 1 will flash.
- Kullanın SAAT Ve DAKİKA İstediğiniz alarm saatini ayarlamak için butonlara basın.
- Basmak ALARM 1 again to confirm. The alarm icon will appear on the display, indicating Alarm 1 is active.
- Repeat the process using the ALARM 2 button to set and activate Alarm 2.
- To deactivate an alarm, press its corresponding ALARM Alarm simgesi ekrandan kaybolana kadar düğmeye basın.

This image visually explains the dual alarm clock settings and the 9-minute snooze feature. A hand is shown pressing the large snooze button located on the top of the clock.
3. Erteleme Fonksiyonu
Alarm çaldığında, büyük düğmeye basın. ERTELEME / IŞIK button on the top of the clock. The alarm will pause for 9 minutes and then sound again. This can be repeated multiple times.
4. Ekran Parlaklığı Ayarı
The LED display has 7 adjustable brightness levels. Press the DİMMER button repeatedly to cycle through the brightness levels (Level 1 being the dimmest, Level 7 the brightest) to suit your preference.

This visual guide illustrates the seven distinct brightness levels of the clock's LED display, allowing users to customize visibility from very dim to bright, suitable for various lighting conditions.
5. Alarm Volume Adjustment
The alarm volume can be adjusted to 5 different levels, ranging from 65dB to 120dB. While an alarm is sounding, or during alarm setup, press the HACİM button repeatedly to select your desired volume level.

The image demonstrates the adjustable alarm volume feature, contrasting a lower volume setting (92dB) with a higher one (110dB), indicating the range from gentle to loud for different user preferences.
6. USB Şarj Bağlantı Noktaları
The clock features two USB charging ports on its side. Connect your USB-powered devices (e.g., smartphones, tablets, earbuds) to these ports for convenient charging. These ports are active when the clock is connected to AC power.
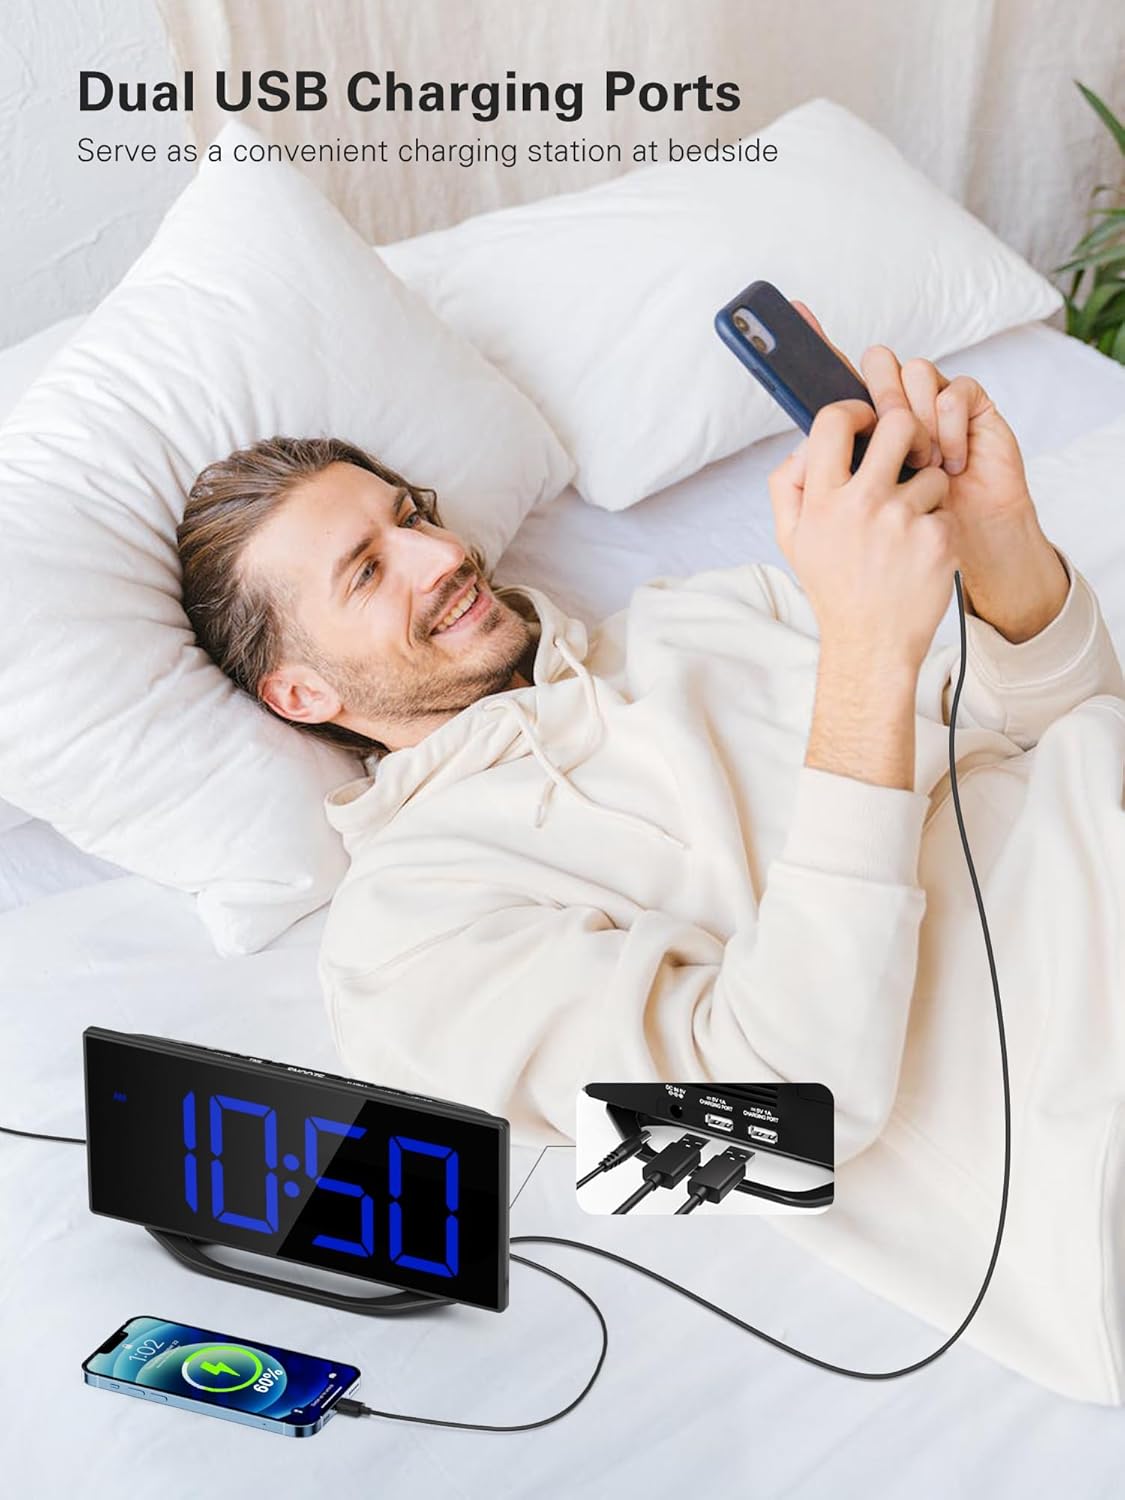
A user is depicted utilizing the dual USB charging ports on the side of the alarm clock to conveniently charge their smartphone, highlighting the clock's functionality as a bedside charging hub.
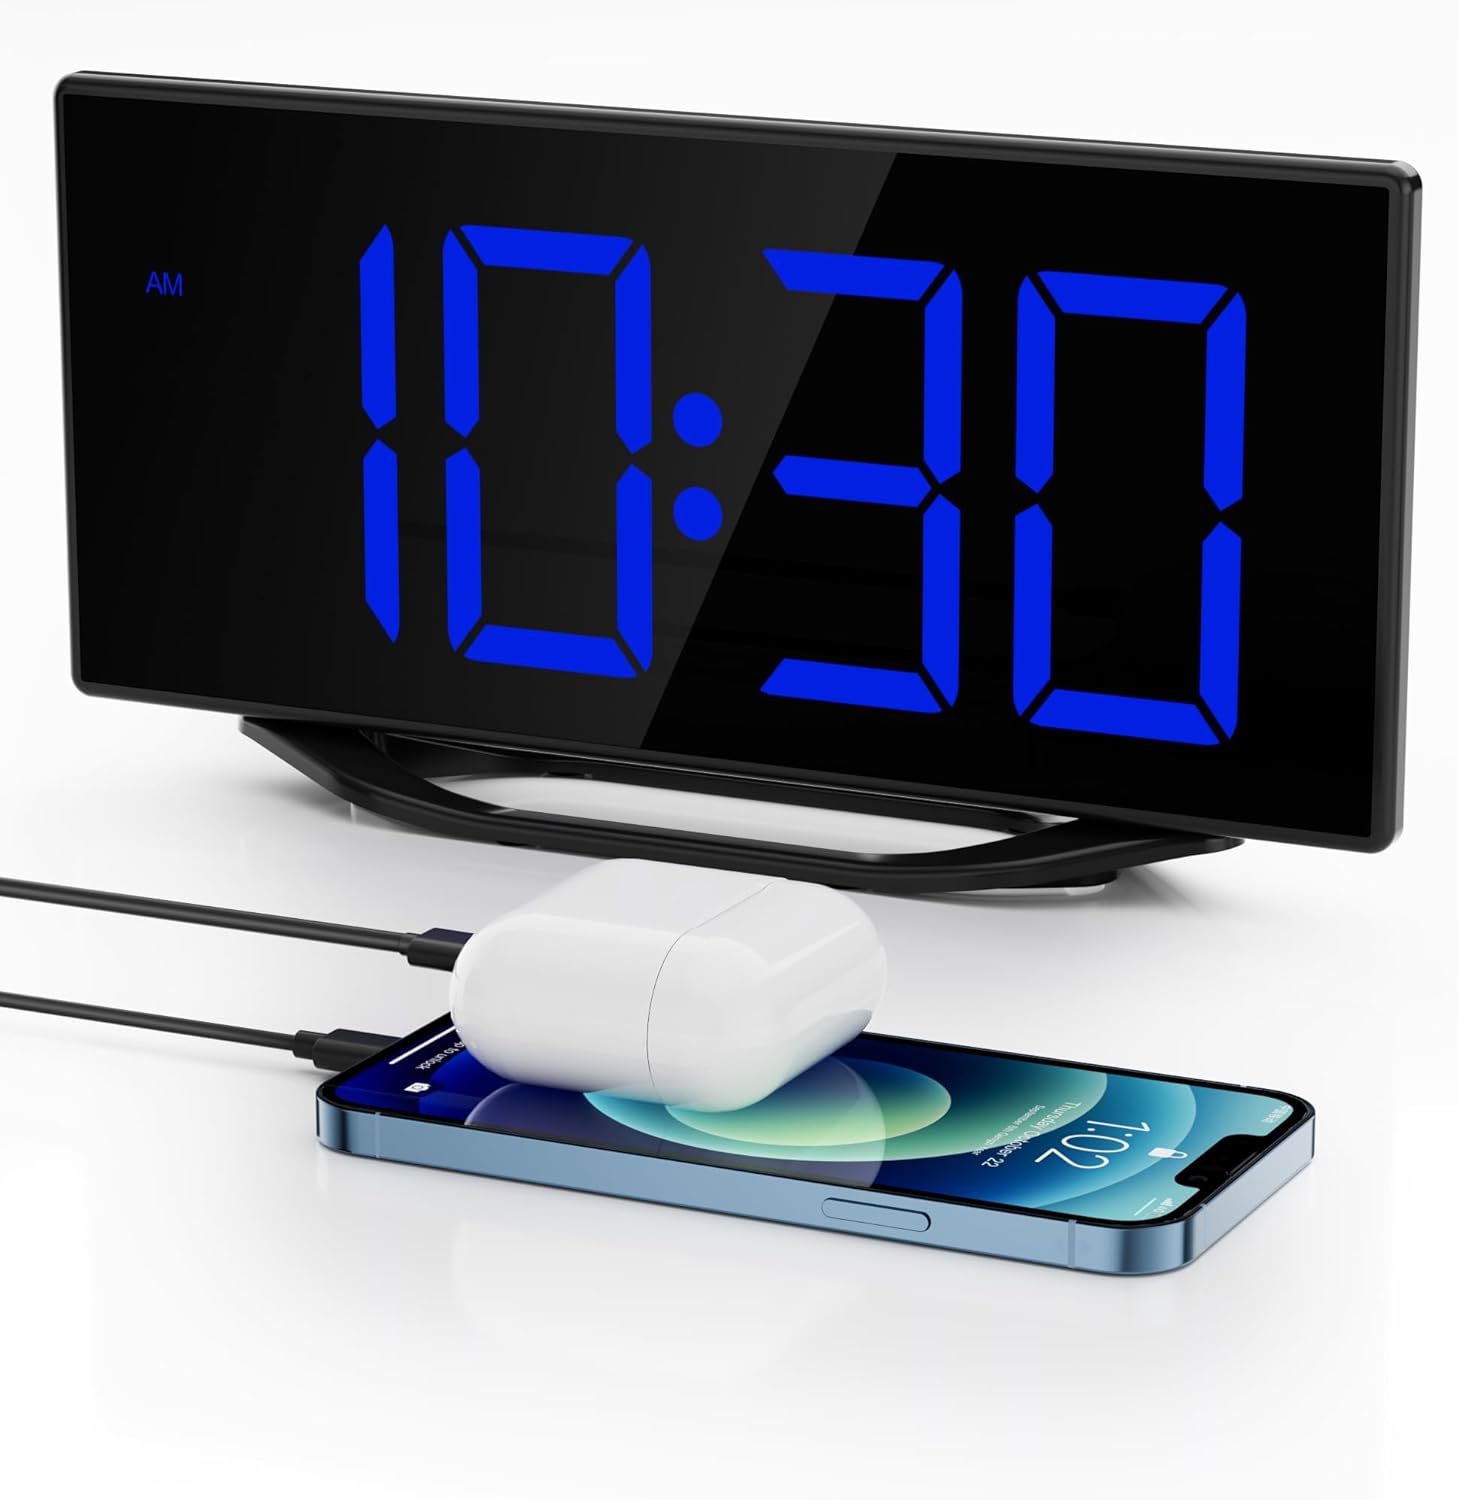
The image illustrates the clock's dual USB charging capability, with a smartphone and a pair of wireless earbuds connected and charging, demonstrating its utility as a bedside charging station.
7. Sıcaklık ve Nem Göstergesi
The clock continuously monitors and displays indoor temperature and humidity. To switch between Celsius (C°) and Fahrenheit (F°) for temperature, press the C / F düğme.
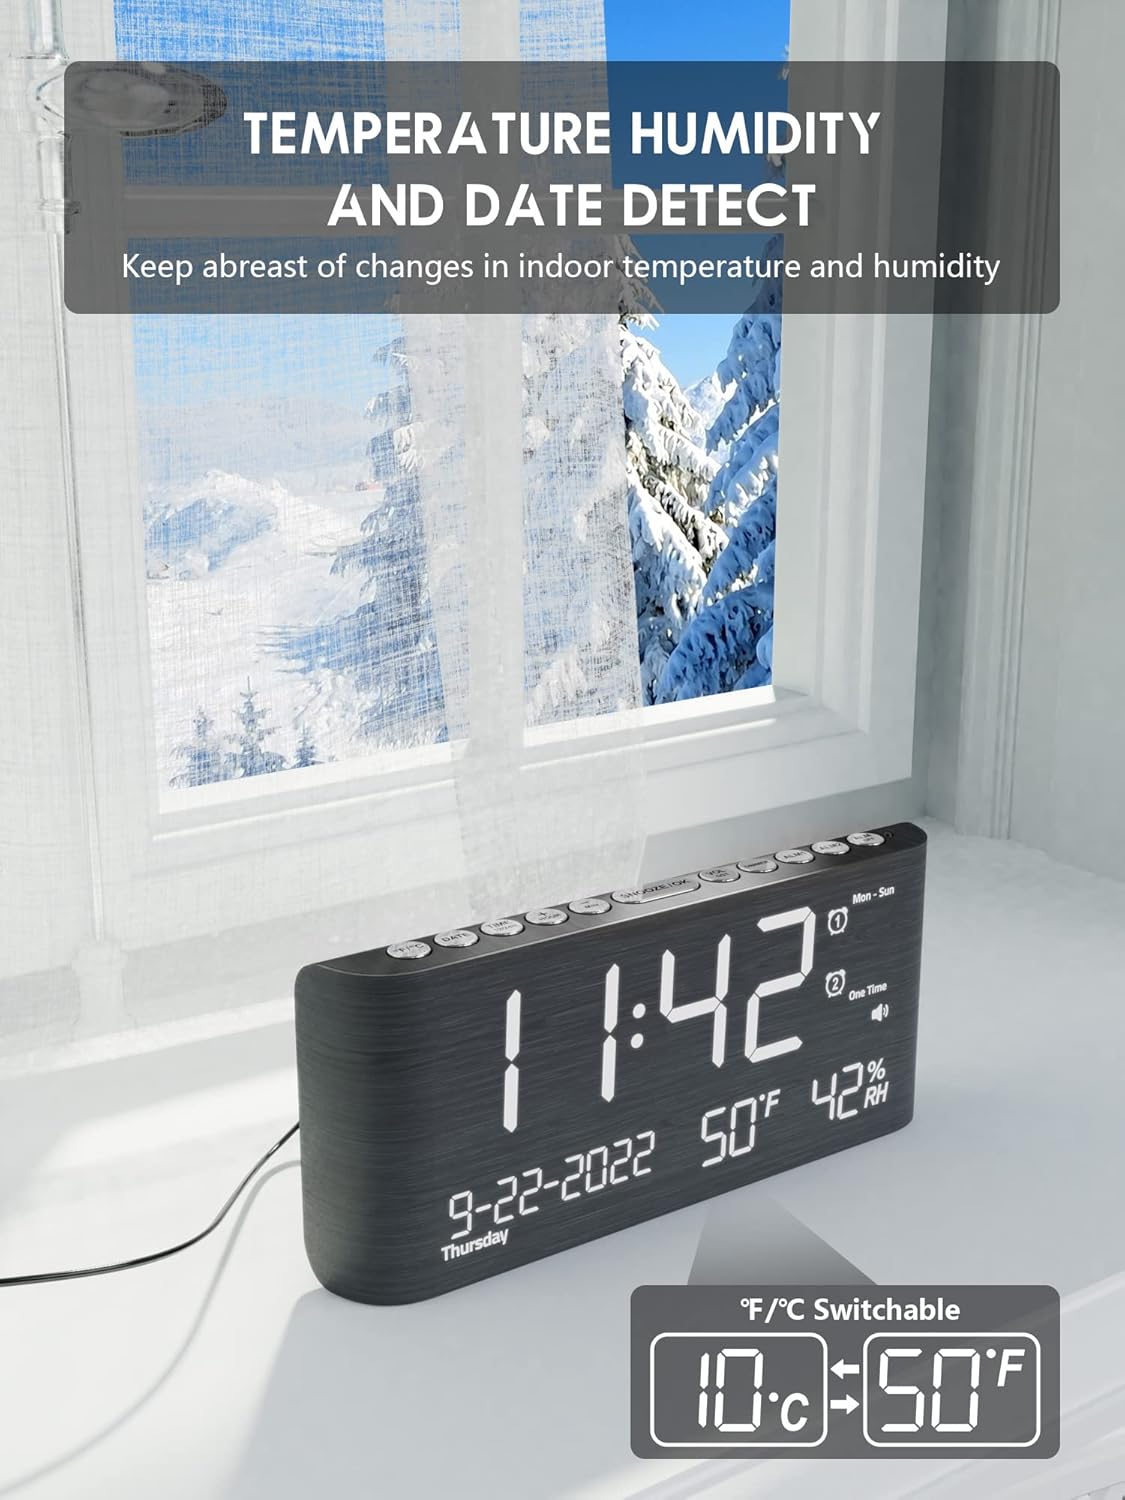
This image emphasizes the clock's built-in temperature and humidity sensors, showing the display with current indoor conditions against a backdrop of an outdoor winter scene, suggesting its utility for monitoring indoor climate.

Bu view shows the alarm clock's comprehensive display, including the current time, date, indoor temperature, and humidity. A smartphone is also visible, connected for charging.
8. Yaz Saati Uygulaması (DST)
To activate or deactivate Daylight Saving Time, press and hold the Yaz saati uygulaması button. The time will adjust by one hour forward or backward, and a DST indicator will appear/disappear on the display.
Bakım
To ensure the longevity and optimal performance of your Roxicosly Digital Wooden Alarm Clock, follow these maintenance guidelines:
- Temizlik: Wipe the clock's surface with a soft, dry cloth. Avoid using abrasive cleaners, solvents, or chemical sprays, as these can damage the finish and electronic components.
- Atama: Saati, doğrudan güneş ışığından, aşırı sıcaktan, nemden veya güçlü manyetik alanlardan uzak, sabit ve düz bir yüzeye yerleştirin.
- Güç: Always use the provided AC adapter. If the clock will not be used for an extended period, disconnect it from the power outlet and remove the backup batteries.
Sorun giderme
Çalar saatinizle ilgili herhangi bir sorunla karşılaşırsanız, lütfen aşağıdaki yaygın sorunlar ve çözümlere bakın:
- Ekran boş:
- AC adaptörünün hem saate hem de çalışan bir elektrik prizine güvenli bir şekilde takılı olduğundan emin olun.
- Başka bir cihaz takarak prizin çalışıp çalışmadığını kontrol edin.
- Alarm çalmıyor:
- Verify that the alarm (Alarm 1 or Alarm 2) is activated (its icon should be visible on the display).
- Check the alarm time to ensure it is set correctly (AM/PM).
- Ensure the alarm volume is not set to the lowest level or muted.
- USB şarjı çalışmıyor:
- Confirm the clock is connected to AC power, as USB charging does not operate on battery backup.
- Ensure your USB cable is properly connected and not damaged.
- Try charging a different device to rule out an issue with the device or cable.
- Elektrik kesintisi sonrasında saat/ayarlar sıfırlanır.tage:
- Ensure fresh AAA batteries are installed in the battery backup compartment. The battery backup preserves settings during power interruptions.
- Incorrect temperature/humidity reading:
- Ensure the clock is placed in an area with good air circulation, away from direct heat sources or vents.
- Sensörlerin ilk kurulumundan veya yer değiştirmesinden sonra stabilize olması için biraz zaman tanıyın.
Özellikler
| Marka | Roxicosly |
| Örnek | Digital Wooden Alarm Clock |
| Görüntü Türü | Digital LED (8.7 inches) |
| Ekran Parlaklığı | 7 Levels (Dimmable) |
| Alarm Sesi | 5 Levels (65dB-120dB) |
| Alarmlar | Çift Alarm |
| Erteleme süresi | 9 Dakika |
| Şarj Portları | 2 USB Şarj Bağlantı Noktası |
| Özel Özellikler | Temperature & Humidity Detection, DST Function, 12/24h Format |
| Güç Kaynağı | Corded Electric (AC Adapter included), Battery Backup (2x AAA, not included) |
| Malzeme | Odun |
| Renk | Siyah |
Garanti ve Destek
This Roxicosly Digital Wooden Alarm Clock comes with a standard manufacturer's warranty. For specific warranty details, please refer to the product packaging or contact your retailer. For technical support, troubleshooting assistance beyond this manual, or inquiries regarding your product, please contact Roxicosly customer service through the retailer's platform or the official brand webalan.
Garanti taleplerinde bulunmak için lütfen satın alma fişinizi saklayın.