
1. Giriş
Thank you for choosing the Roxicosly CR1023 Digital Alarm Clock. This user-friendly device features a large, mirrored display, dual alarms, adjustable brightness, a night light, and convenient charging ports. This manual provides detailed instructions to help you set up and operate your new alarm clock effectively.

Image: The Roxicosly Digital Alarm Clock, highlighting its mirrored display and key features such as large digital display, dimmer, snooze, night light, dual alarm, volume knob, 12/24H format, USB/Type-C charging, and DST indicator.
2. Paket İçeriği
- 1x Roxicosly CR1023 Digital Alarm Clock
- 1x DC Adapter & USB Cable
- 1x Kullanım Kılavuzu
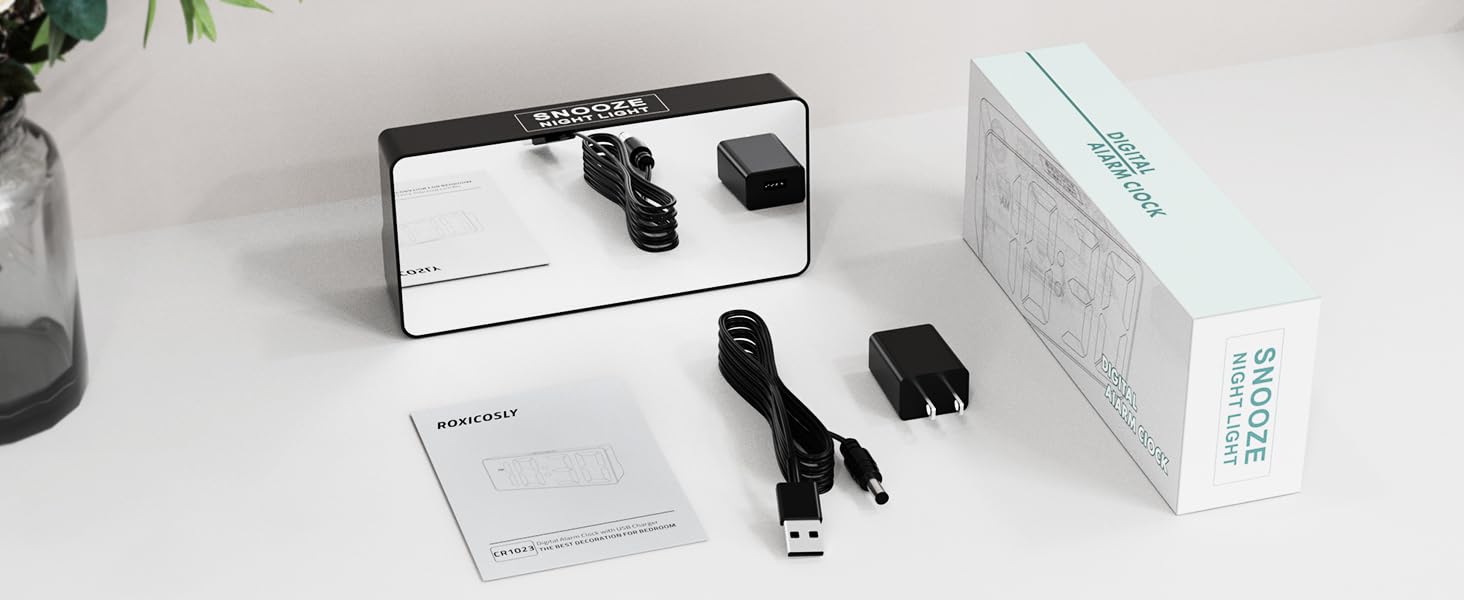
Image: The Roxicosly Digital Alarm Clock, its power adapter, and USB cable, laid out next to the product box and manual.
3. Kurulum
3.1 Güç Bağlantısı
- Connect the provided DC adapter to the DC jack on the back of the alarm clock.
- Plug the DC adapter into a standard wall outlet. The clock display will illuminate.
3.2 Pil Yedekleme (İsteğe Bağlı)
Dış mekan kullanımı sırasında yedek güç kaynağı içintages, install 2 AAA batteries (not included) into the reserved slot on the back of the clock. These batteries will preserve time and alarm settings. During a power outage, the screen will go blank, but the alarm function will remain active. The correct time will display once main power is restored.

Resim: Arka view of the alarm clock with the battery compartment open, showing where to insert AAA backup batteries.
4. Kullanım Talimatları
4.1 Saat ve Tarihin Ayarlanması
- Basın TIME/DST button on the back of the clock. The hour digits will flash.
- Kullanın + or - Saati ayarlamak için düğmeler.
- Basmak TIME/DST again to set the minutes, then use + or - Ayarlamak.
- Basmaya devam et TIME/DST to cycle through setting the year, month, and day, adjusting each with + or -.
- Basmak TIME/DST one last time to confirm all settings.
4.2 12H/24H Format & DST
- 12 saatlik ve 24 saatlik zaman formatları arasında geçiş yapmak için tuşuna basın. 12/24H düğme.
- To activate or deactivate Daylight Saving Time (DST), press and hold the TIME/DST düğme.

Image: The alarm clock displaying time in 12-hour, 24-hour, and with Daylight Saving Time (DST) activated.
4.3 Setting Alarms (Dual Alarms)
Saat, iki bağımsız alarmı destekler (Alarm 1 ve Alarm 2).
- Basın ALARM 1 or ALARM 2 Düğmeye basın. Seçilen alarmın saat rakamları yanıp sönmeye başlayacaktır.
- Kullanın + or - alarm saatini ayarlamak için düğmeler.
- İlgili düğmeye basın. ALARM button again to set the minutes, then use + or - Ayarlamak.
- Basın ALARM Son kez onaylamak için düğmeye basın.
- To turn an alarm ON or OFF, use the dedicated ALM ON/OFF switch for Alarm 1 or Alarm 2.
4.4 Alarm Sesi Ayarı
Adjust the alarm volume using the physical twist knob located on the back of the clock. There are 7 volume levels (70-118 dB) to suit your preference.

Image: The alarm clock displaying two different alarm times (7:30 and 15:30) and illustrating the 7 adjustable increasing volume levels.
4.5 Display Brightness (0-100% Dimmer)
The digital display brightness can be adjusted from 0% to 100% using the physical twist knob on the back of the clock. This allows you to set a comfortable brightness level for day or night without disturbing your sleep.

Image: The alarm clock with large, bold numbers and a visual representation of the 0-100% full-range dimmer functionality.
4.6 Night Light & Snooze Function
- The clock features a built-in night light at the back with 3 adjustable brightness settings.
- To activate or adjust the night light, press the large button on the top of the clock.
- When an alarm sounds, press the large button on the top for a 9-minute snooze.
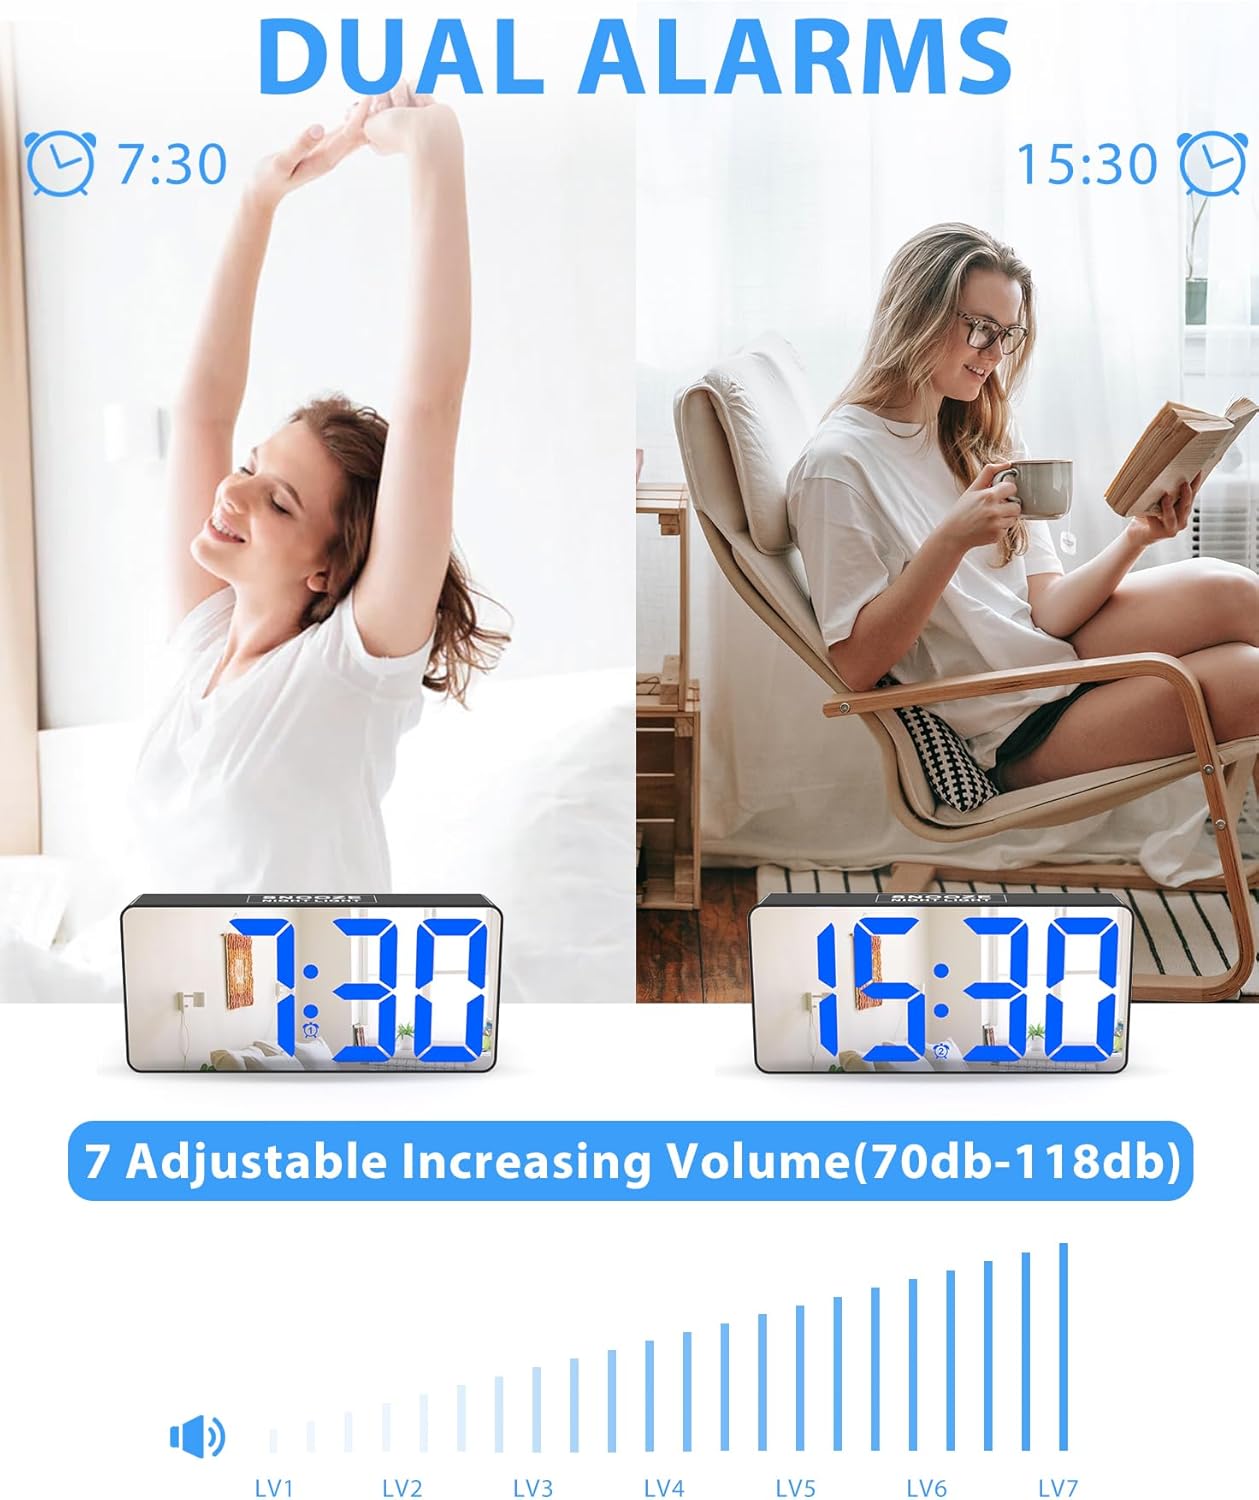
Image: The alarm clock on a nightstand, illustrating the night light feature with three brightness levels and the large top button for snooze.
4.7 Şarj Portu
The clock is equipped with two charging ports on the back:
- 1x USB charging port
- 1x Type-C charging port
These ports allow you to charge up to two mobile devices simultaneously, making it ideal for overnight charging.

Image: The alarm clock on a desk, showing a smartphone and wireless earbuds charging via its USB and Type-C ports.
5. Bakım
- Clean the clock's mirrored surface and body with a soft, dry cloth. Avoid abrasive cleaners or solvents.
- Ensure the clock is unplugged before cleaning.
- Saati sudan ve yüksek nemden uzak tutun.
6. Sorun Giderme
| Sorun | Çözüm |
|---|---|
| Saat göstergesi boş. | Ensure the DC adapter is securely plugged into both the clock and a working wall outlet. If using battery backup, the screen will be blank during a power outage, but the alarm will still function. |
| Alarm çalmıyor. | Check that the alarm is set correctly and the ALM ON/OFF switch is in the ON position. Verify the volume knob is not set to the lowest level. |
| Elektrik kesintisi sonrasında saat/ayarlar sıfırlanır.tage. | Install 2 AAA backup batteries (not included) to retain settings during power interruptions. |
| Ekran çok parlak/loş. | Adjust the display brightness using the physical twist knob on the back of the clock. |
7. Özellikler
- Marka: Roxicosly
- Modeli: CR1023
- Görüntüleme Türü: Digital LED with Mirrored Face
- Ekran Boyutu: 7 inches (approx. 6.5"W x 3.03"H)
- Güç Kaynağı: DC (Fişli)
- Pil Yedekleme: 2x AAA batteries (not included) for memory retention
- Selektör: 0-100% Full Range Dimmer (adjustable via knob)
- Alarm: Dual Alarms with 7 Volume Levels (70-118 dB)
- Uyuklama: 9 dakikadır.
- Gece Lambası: Built-in, 3 adjustable brightness settings
- Şarj Bağlantı Noktaları: 1x USB, 1x Type-C
- Zaman Biçimi: 12 saat/24 saat seçilebilir
- Özel Özellikler: DST (Daylight Saving Time) function
- Malzeme: Akrilonitril Bütadien Stiren (ABS)
- Montaj Tipi: Masaüstü
8. Resmi Ürün Videosu
Video: An official demonstration of the Roxicosly Digital Alarm Clock with Mirror Screen, showcasinÖzellikleri ve kullanım kolaylığı.
9. Garanti ve Destek
If you have any questions or require assistance with your Roxicosly CR1023 Digital Alarm Clock, please feel free to contact us. Refer to your product packaging or purchase platform for specific warranty details and customer support contact information.