
1. Giriş
This manual provides essential instructions for the safe and effective use of your Victoper VT-BL2001 USB Rechargeable Bike Light Set. This set includes a high-lumen headlight and a multi-mode taillight, designed to enhance visibility and safety during cycling, especially in low-light conditions.
Lütfen ilk kullanımdan önce bu kılavuzu dikkatlice okuyun ve ileride başvurmak üzere saklayın.
2. Güvenlik Önlemleri
- Işık ışınına doğrudan bakmayın to avoid temporary vision impairment.
- Ensure lights are securely mounted before riding.
- Always use appropriate light modes for current riding conditions and local regulations.
- Çocukların erişemeyeceği yerde saklayınız.
- Do not disassemble the lights; this may void the warranty and cause damage.
- Charge only with the provided USB-C cables to prevent potential damage to the device.
3. Paket İçeriği
Your Victoper VT-BL2001 Bike Light Set includes:
- 1 x Victoper Headlight (VT-BL2001)
- 1 x Victoper Taillight
- 2 x USB-C Şarj Kablosu
- 2 x Silicone Mounting Straps (for headlight and taillight)
- 1 x Kullanım Kılavuzu (bu belge)
4. Kurulum ve Kurulum
4.1 Far Montajı
- Identify the silicone mounting strap attached to the headlight.
- Wrap the strap around your bicycle's handlebar.
- Hook the strap securely onto the latch on the underside of the headlight. Ensure the light is stable and facing forward.

Image: Victoper Headlight securely mounted on a bicycle handlebar. The light is positioned to illuminate the path ahead.

Resim: Yakın çekim view of the headlight's silicone strap wrapping around the handlebar and securing into its latch.
4.2 Taillight Installation
- Identify the silicone mounting strap attached to the taillight.
- Wrap the strap around your bicycle's seat post or another suitable rear component.
- Hook the strap securely onto the latch on the taillight. Ensure the light is stable and facing backward.
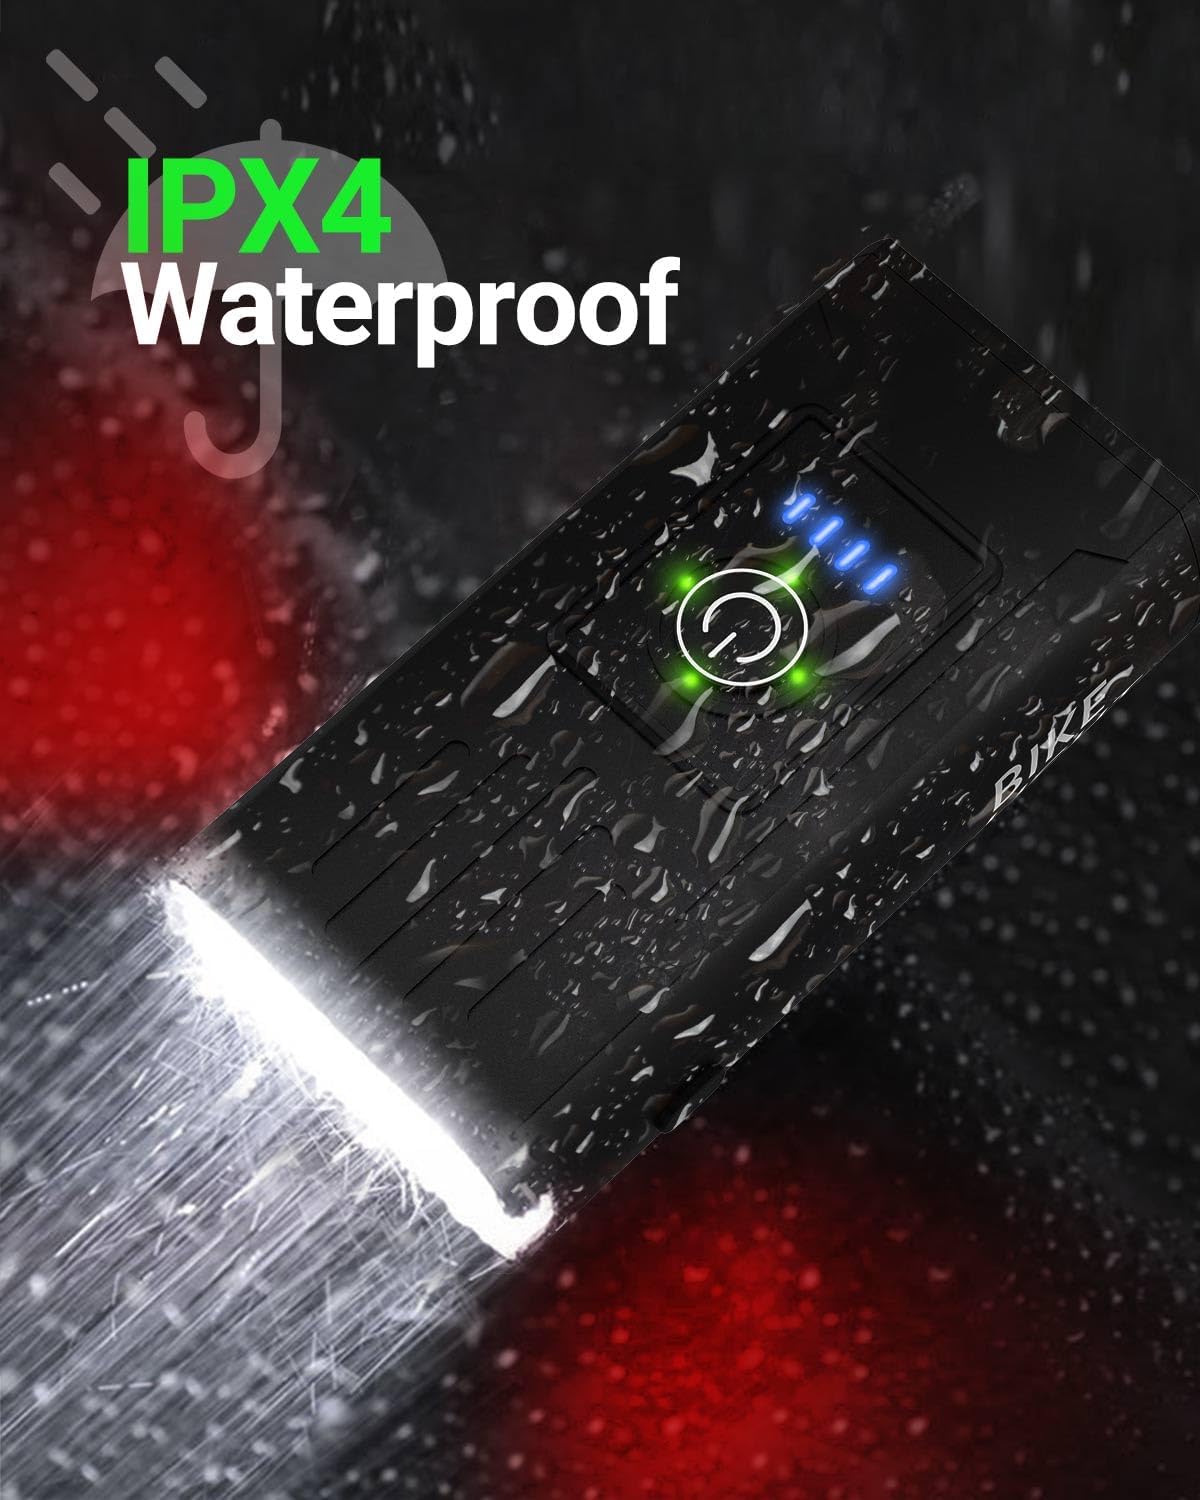
Image: Victoper Taillight mounted on a bicycle seat post, positioned for maximum rear visibility.
5. Kullanım Talimatları
5.1 Headlight Operation
- Güç Açma/Kapatma: Press and hold the power button (circular icon) on top of the headlight for 2 seconds.
- Modları Değiştir: While the light is on, short press the power button to cycle through the 6 available modes:
- Left Strong Light
- Left Weak Light
- Right Strong Light
- All-On (Both LEDs strong)
- Breathing Light (Gradual fade in/out)
- Strobe (Rapid flashing)
- Pil Göstergesi: Four blue LED lights on the top indicate battery level (each light represents approximately 25% charge).

Resim: Üst view of the Victoper Headlight showing the power button and four blue LED battery indicator lights.

Image: Illustration of the Victoper Headlight cycling through its six different lighting modes, including left strong, left weak, right strong, all-on, breathing, and strobe.
5.2 Taillight Operation
- Güç Açma/Kapatma: Press and hold the power button on the taillight for 2 seconds.
- Modları Değiştir: While the light is on, short press the power button to cycle through the 4 available modes:
- Strong Light (Solid red)
- Yavaş yanıp sönme
- Strobe (Rapid flashing)
- Hızlı Yanıp Sönme
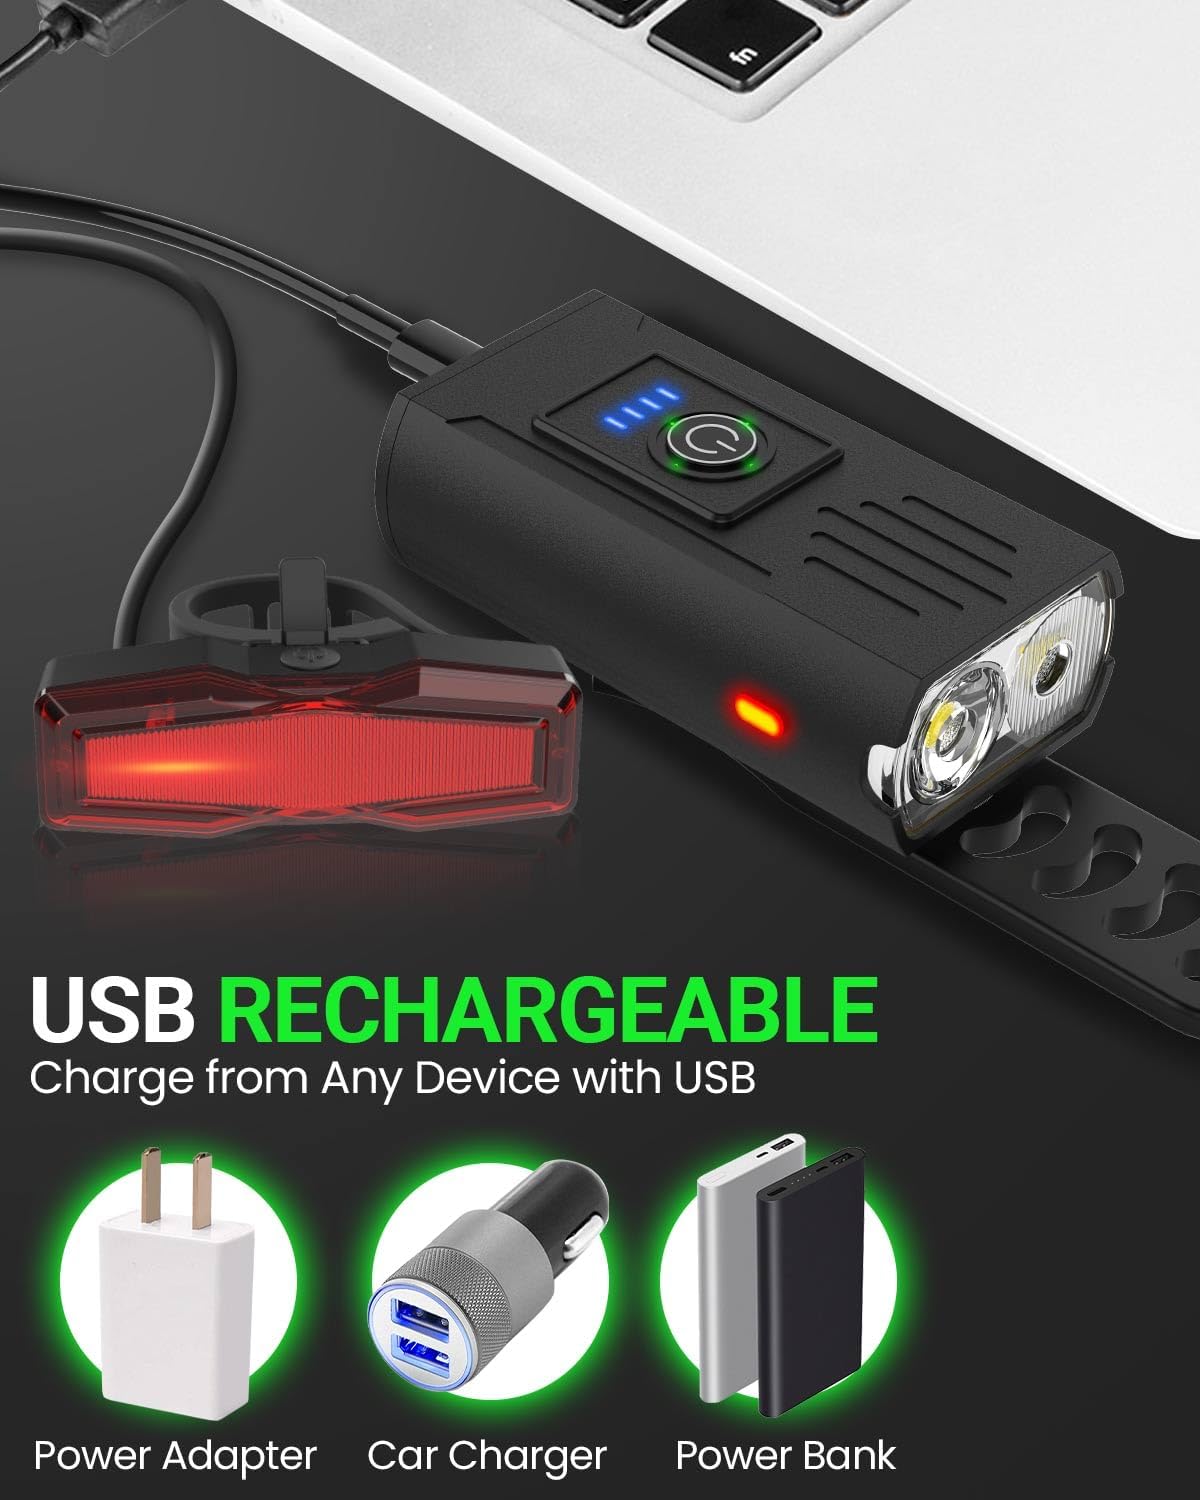
Image: Illustration of the Victoper Taillight cycling through its four different lighting modes, including strong light, slow flashing, strobe, and quick flashing.
6. Şarj Talimatları
- Both the headlight and taillight are USB rechargeable.
- Locate the USB-C charging port on each light, typically covered by a rubber flap for water resistance.
- Connect the provided USB-C cable to the light and to a compatible USB power source (e.g., computer, wall adapter, power bank).
- The battery indicator lights on the headlight will show charging progress. For the taillight, a red indicator light will typically show charging status and turn green or off when fully charged.
- Önemli: Use only the provided USB-C cables or cables with compatible voltage to avoid damaging the lights.
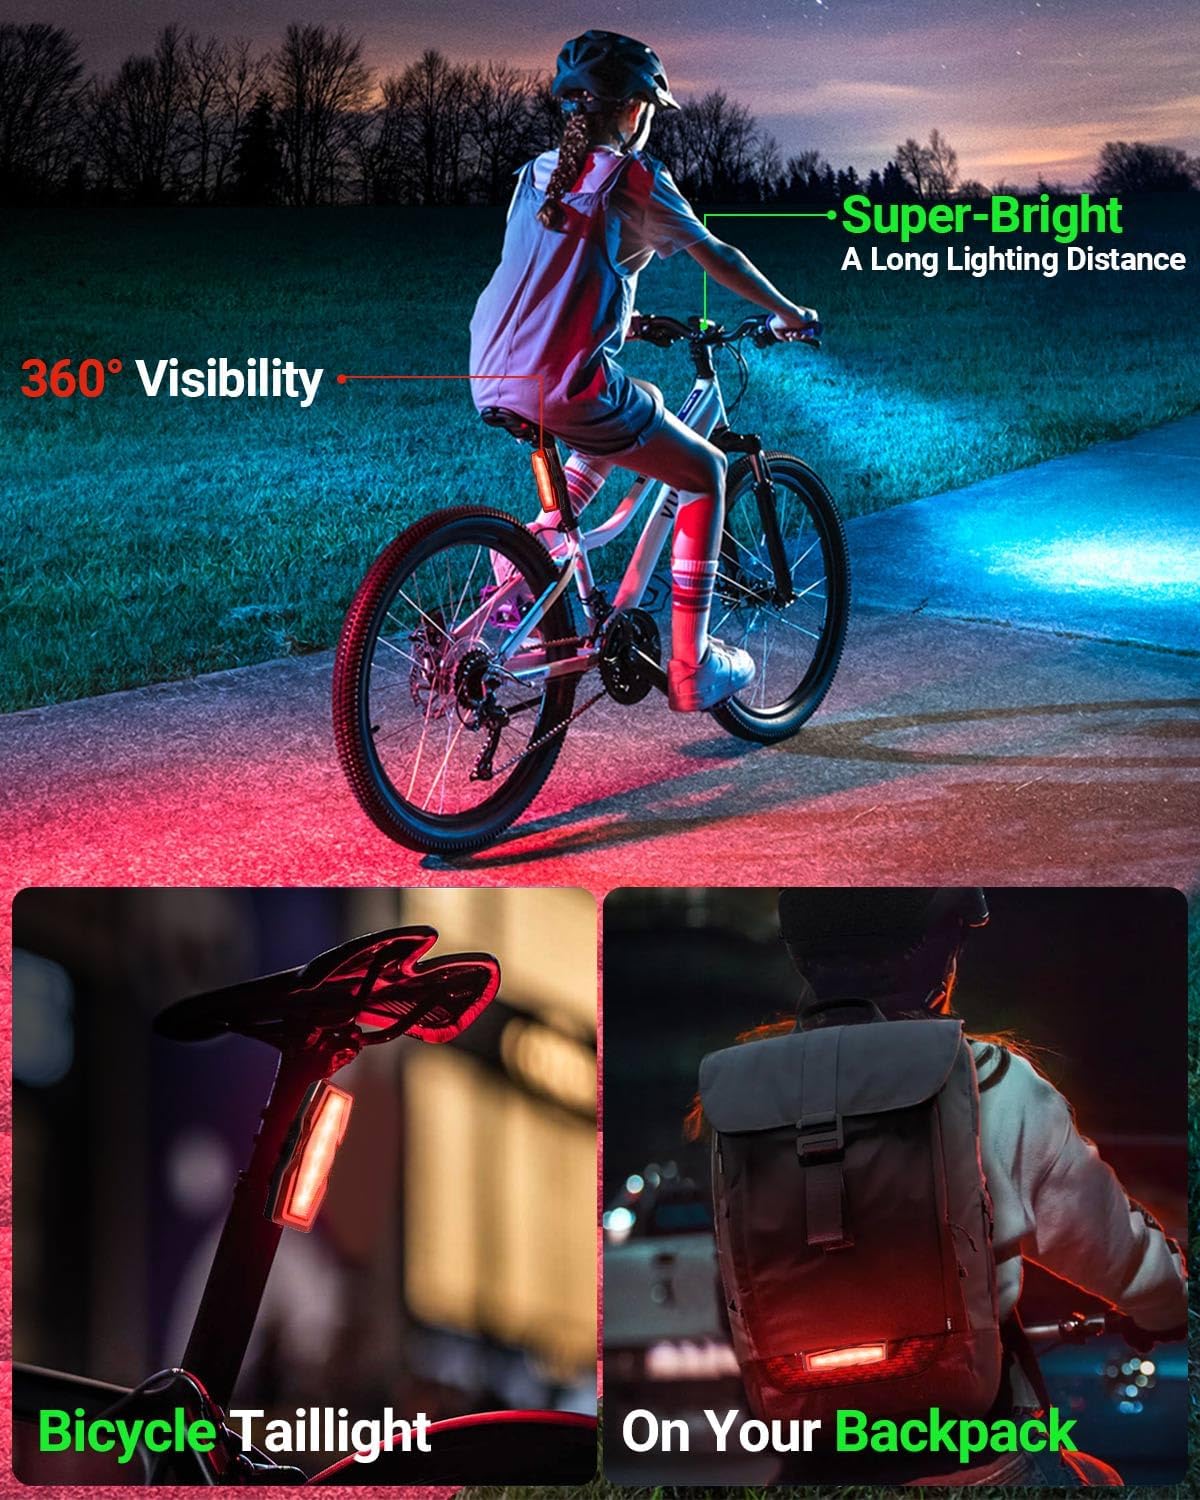
Image: Victoper Headlight and Taillight connected via USB cables to various power sources (power adapter, car charger, power bank) for recharging.
7. Bakım
- Temizlik: Işıkları yumuşak bir bezle silin.amp bezle silin. Aşındırıcı temizleyiciler veya çözücüler kullanmayın.
- Depolamak: Store the lights in a cool, dry place when not in use. If storing for extended periods, charge them periodically to maintain battery health.
- Suya Dayanıklılık: The lights are IPX4 waterproof, meaning they are resistant to splashing water from any direction. They are not designed for submersion. Ensure the USB port cover is securely closed to maintain water resistance.
Image: Victoper Headlight shown with water droplets, illustrating its IPX4 water-resistant design.
8. Sorun Giderme
| Sorun | Olası Neden | Çözüm |
|---|---|---|
| Işık açılmıyor. | Pil zayıf veya güç düğmesine doğru basılmamış. | Charge the light fully. Press and hold the power button for 2 seconds to turn on. |
| Işık şarj olmuyor. | Kablo, güç kaynağı veya şarj portu arızalı olabilir. | Try a different USB-C cable and power source. Ensure the cable is fully inserted. |
| Light falls off during riding. | Improper installation or loose strap. | Re-install the light, ensuring the silicone strap is tightly secured to the latch. |
| Kısa pil ömrü. | Using high brightness modes frequently or aging battery. | Use lower brightness modes when possible. Ensure full charge before each use. Battery life naturally degrades over time. |
9. Özellikler
- Marka: galip
- Model Adı: VT-BL2001
- Light Output Maximum: 150 Lumens (Headlight)
- Mod Sayısı: 6 (Headlight), 4 (Taillight)
- Güç Kaynağı: Pil ile çalışır (USB ile şarj edilebilir)
- Suya Dayanıklılık Seviyesi: IPX4 (Suya Dayanıklı)
- Ürün Ağırlığı: Approximately 4 Ounces (total for set)
- Ürün Ölçüleri: 4.17"L x 1.89"W x 1.04"H (Headlight)
- Montaj Tipi: Handlebar Mount (Headlight), Seat Post Mount (Taillight)
10. Garanti ve Destek
Victoper products are designed for durability and performance. For any questions, concerns, or warranty claims, please contact Victoper customer support. Refer to the product packaging or the official Victoper webEn güncel iletişim bilgileri için sitemizi ziyaret edin.
Not: The warranty typically covers manufacturing defects. Damage due to misuse, unauthorized modification, or improper charging may not be covered.

Image: Victoper customer support team ready to assist.
11. Ürün Videoları
11.1 Victoper Bike Light Overview
Video: Hızlı bir bakışview of the Victoper bike light, highlighting its brightness and ease of installation.
11.2 Close Look - Victoper Bike Light
Video: A detailed look at the Victoper bike light, showcasing its features and bright illumination.
11.3 Victoper Bike Light Functionality
Video: Demonstration of the Victoper bike light's various modes and how it functions in different settings.


