Primos Hunting 119219CT2
Tasco Trail Camera User Manual
Modeli: 119219CT2
giriiş
This manual provides comprehensive instructions for the setup, operation, maintenance, and troubleshooting of your Tasco 12MP Low Glow Trail Camera. Designed for ease of use, this camera is ideal for monitoring wildlife or for security purposes. Please read this manual thoroughly before using your camera to ensure optimal performance and longevity.
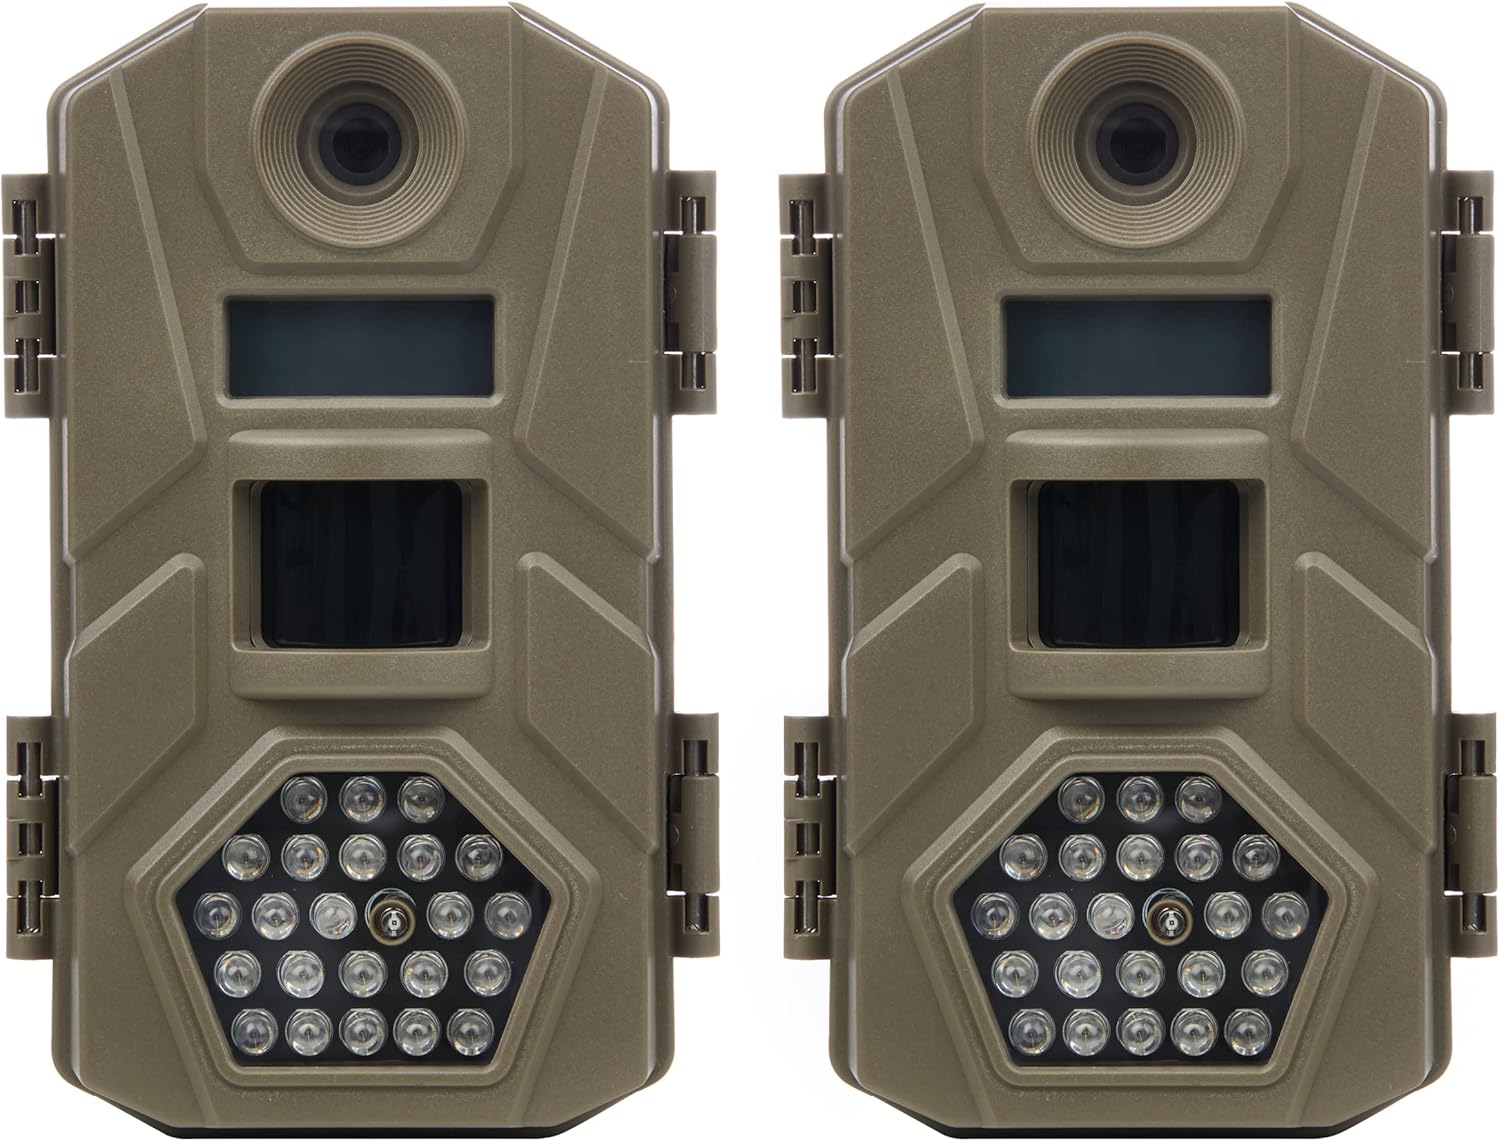
Image: Two Tasco 12MP Low Glow Trail Cameras, showing their compact design and tan finish.
Paket İçeriği
Your Tasco Trail Camera package should include the following items:
- Two (2) Tasco 12MP Low Glow Trail Cameras
- Mounting Straps (one per camera)
- Kullanım Kılavuzu (bu belge)
Not: AA batteries and SD cards are not included and must be purchased separately.
Kurmak
1. Pillerin Takılması
The Tasco Trail Camera requires 8 AA batteries for operation. For best performance and battery life, use high-quality alkaline or lithium batteries.
- Open the camera's latch on the side to access the interior compartment.
- Locate the removable battery tray at the bottom of the camera.
- Pil tepsisini dışarı çekin.
- 8 adet AA pili, belirtildiği gibi kutupların (+/-) doğru olmasına dikkat ederek tepsiye yerleştirin.
- Pil tepsisini yerine güvenli bir şekilde oturana kadar kameraya doğru kaydırın.
- Close the camera latch firmly.

Image: The camera's interior with the removable battery tray, illustrating battery insertion.
2. SD Kart Takma
The camera supports SD cards up to 32GB. A high-speed SD card (Class 10 or higher) is recommended for optimal performance, especially for video recording.
- Kamerayı açın ve SD kart yuvasını bulun.
- Insert the SD card into the slot with the metal contacts facing down, until it clicks into place.
- To remove the SD card, gently push it in until it springs out.
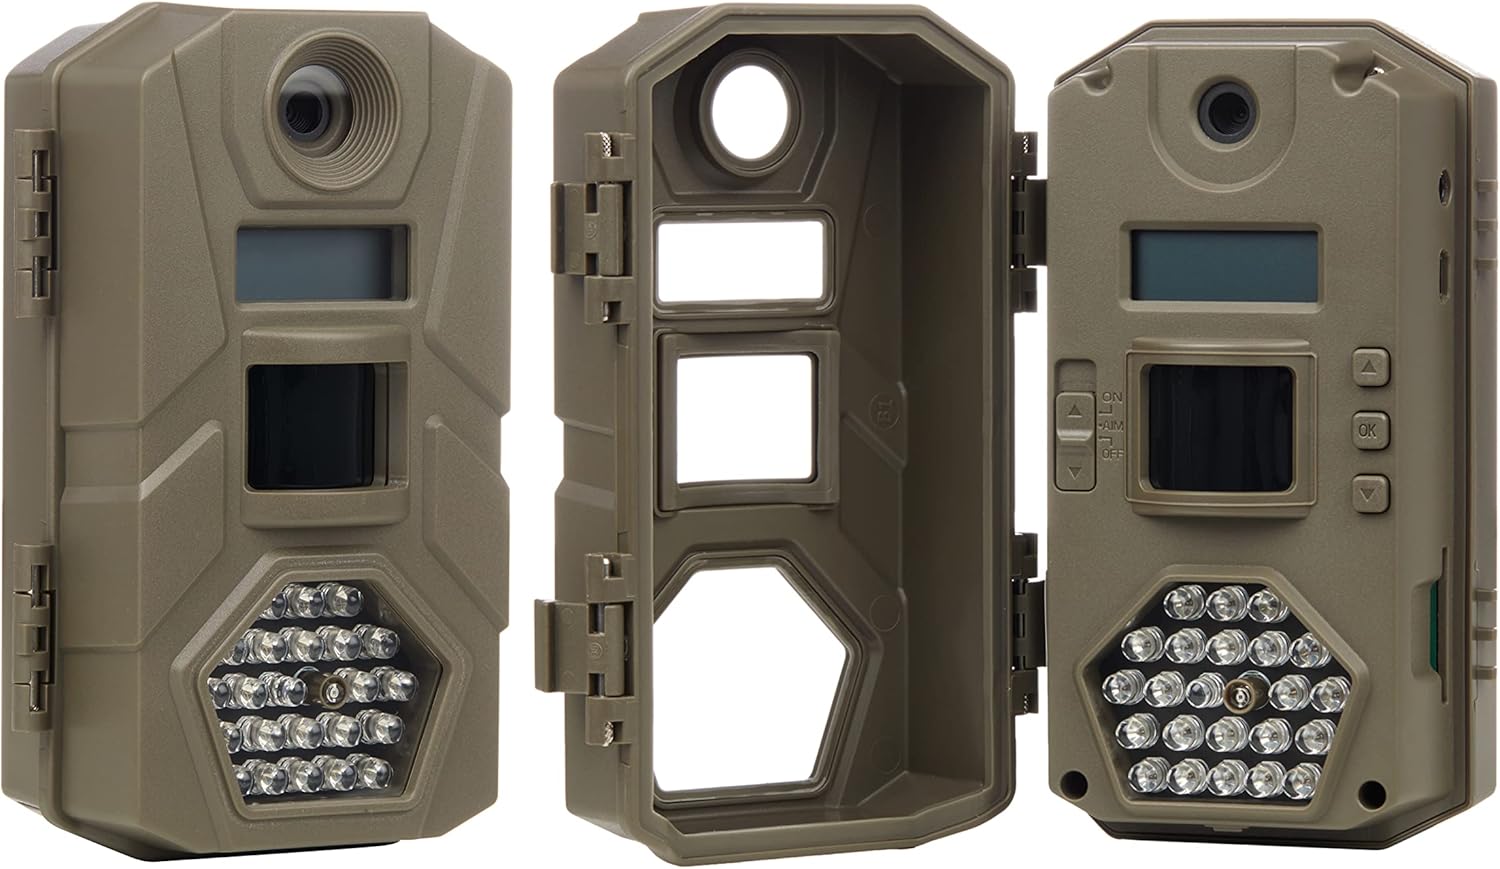
Image: An open camera view highlighting the internal components, including the SD card slot.
3. Kameranın Montajı
The camera comes with a mounting strap for easy attachment to trees, posts, or other surfaces.
- Verilen kayışı kameranın arkasındaki yuvalardan geçirin.
- Secure the camera to a stable object at the desired height and angle. Ensure the camera is level and pointed towards the area you wish to monitor.
- Tighten the strap firmly to prevent movement.

Resim: Eskiamples of the camera mounted to different surfaces using the included strap.
Kameranın Çalıştırılması
Powering On and Basic Settings
Once batteries and an SD card are installed, you can power on the camera and configure basic settings.
- Open the camera's front cover.
- Locate the power switch (usually labeled ON/OFF/SETUP).
- Slide the switch to the "SETUP" position. The internal LCD screen will illuminate.
- Use the navigation buttons (e.g., UP, DOWN, OK) to navigate through the menu options.
- Tarih ve Saati Ayarla: It is crucial to set the correct date and time for accurate photo and video timestamps.
- Yakalama Modunu Seçin: Kamera çeşitli çekim modlarını destekler:
- Fotoğraf Modu: 12 MP çözünürlükte fotoğraf çeker.
- Video Modu: Records video clips (720p resolution).
- Fotoğraf + Video Modu: Önce durağan bir görüntü, ardından bir video klibi kaydeder.
- Adjust Trigger Speed: The camera features a 1-second trigger speed, ensuring quick capture of moving subjects.
- Set Recovery Time: The camera has a 5-second recovery time between photographs, allowing for multiple captures without excessive duplicates.
- Once settings are configured, slide the power switch to the "ON" position. The screen will turn off, and the camera will enter monitoring mode.
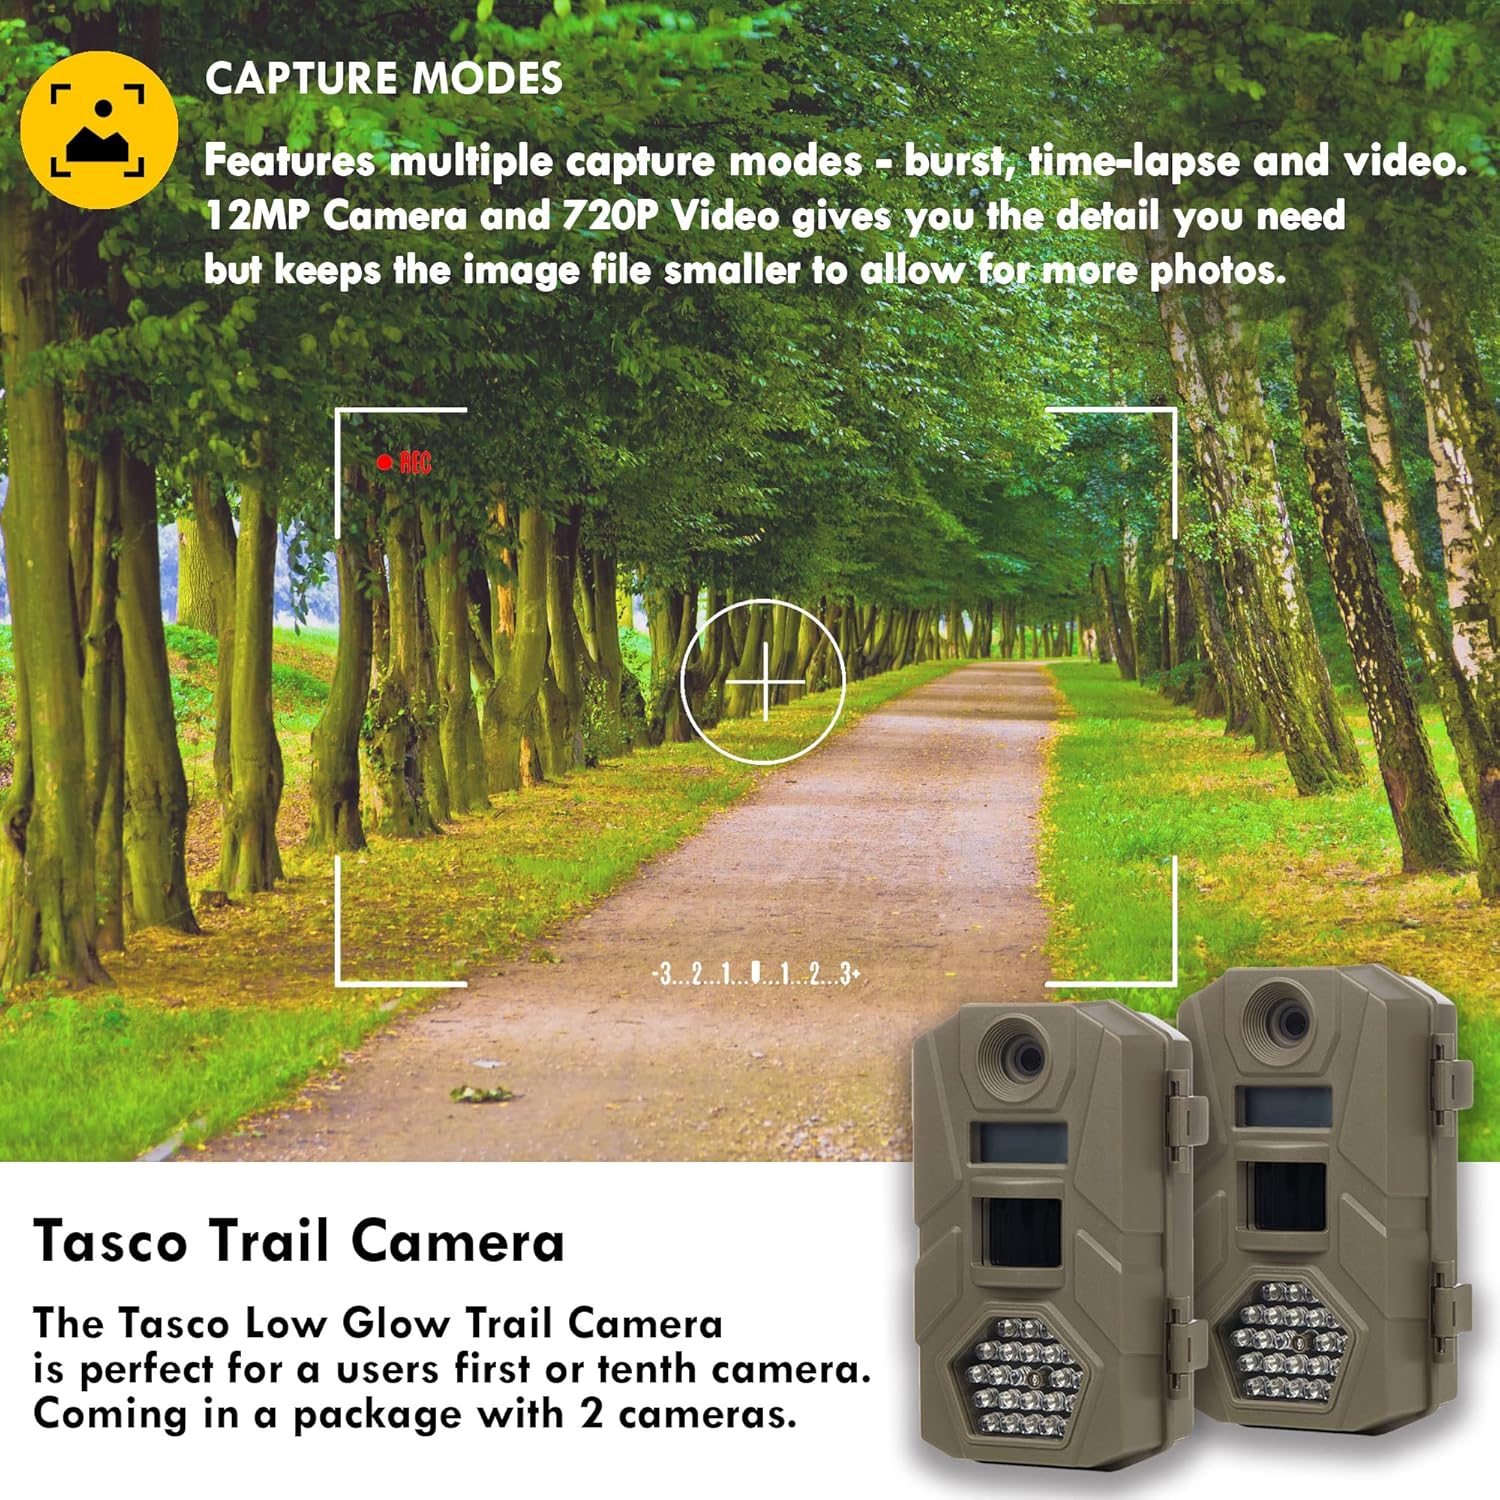
Image: Visual representation of the camera's capture modes and resolution capabilities.

Image: Illustration of the camera's fast trigger speed, ideal for capturing wildlife in motion.
Bakım
- Pil Değişimi: The camera offers approximately 6 months of battery life. Replace all 8 AA batteries when the low battery indicator appears on the screen or when performance degrades. Always replace all batteries at once with new ones.
- SD Kart Yönetimi: Regularly check the SD card capacity. Format the SD card periodically (after backing up important files) En iyi performansı korumak ve veri bozulmasını önlemek.
- Lens Temizliği: Gently clean the camera lens and infrared LEDs with a soft, lint-free cloth. Avoid abrasive materials or harsh chemicals.
- Konut Bakımı: Keep the camera housing clean and free of dirt, dust, and debris. Ensure the latch is securely closed to maintain water resistance.
- Depolamak: Uzun süre kullanılmadığında pilleri ve SD kartı çıkarın. Kamerayı serin ve kuru bir yerde saklayın.
Sorun giderme
| Sorun | Olası Neden | Çözüm |
|---|---|---|
| Kamera açılmıyor. |
|
|
| Hiç fotoğraf/video çekilmedi. |
|
|
| Görüntü/video kalitesi zayıf. |
|
|
| Kısa pil ömrü. |
|
|
Özellikler
| Özellik | Detay |
|---|---|
| Model Numarası | 119219CT2 |
| Görüntü Çözünürlüğü | 12 Megapiksel |
| Video Çözünürlüğü | 720p |
| Tetik Hızı | 1 saniye |
| İyileşme Süresi | 5 saniye |
| Flaş Menzili | 50 feet (Düşük Parlaklıklı Kızılötesi) |
| Gece Görüşü | Yes (Infrared LEDs) |
| Pil Türü | 8 x AA (dahil değildir) |
| Pil Ömrü | Yaklaşık 6 aya kadar |
| SD Kart Desteği | 32 GB'a kadar (dahil değildir) |
| Boyutlar (U x G x Y) | 30.48 x 25.4 x 7.62 cm (yaklaşık 12 x 10 x 3 inç) |
| Ağırlık | 640 g (yaklaşık 1.4 lbs) |
| Renk | Bronzlaşmak |

Resim: Üzeriview of key camera specifications and features.
Garanti ve Destek
For warranty information and technical support, please refer to the official Primos Hunting webSite üzerinden satın alabilir veya doğrudan müşteri hizmetleriyle iletişime geçebilirsiniz. Satın alma fişinizi, garanti talepleriniz için satın alma belgesi olarak saklayın.
Marka: Primos Hunting
Üretici: TASCO
Daha fazla yardım için şu adresi ziyaret edin: PRIMOS Store on Amazon.
Resmi Ürün Videoları
Satıcıdan bu model için herhangi bir resmi ürün videosu bulunamadı.