
1. Giriş
The AXTON AT401 is a powerful 4-channel Class D amplifier specifically designed for 24V on-board networks found in trucks, lorries, and motorhomes. This amplifier provides a significant audio upgrade, enhancing the performance and sound quality of existing factory or aftermarket multimedia/GPS systems without requiring a complete system overhaul. Its compact design and robust construction ensure reliable operation and flexible installation.
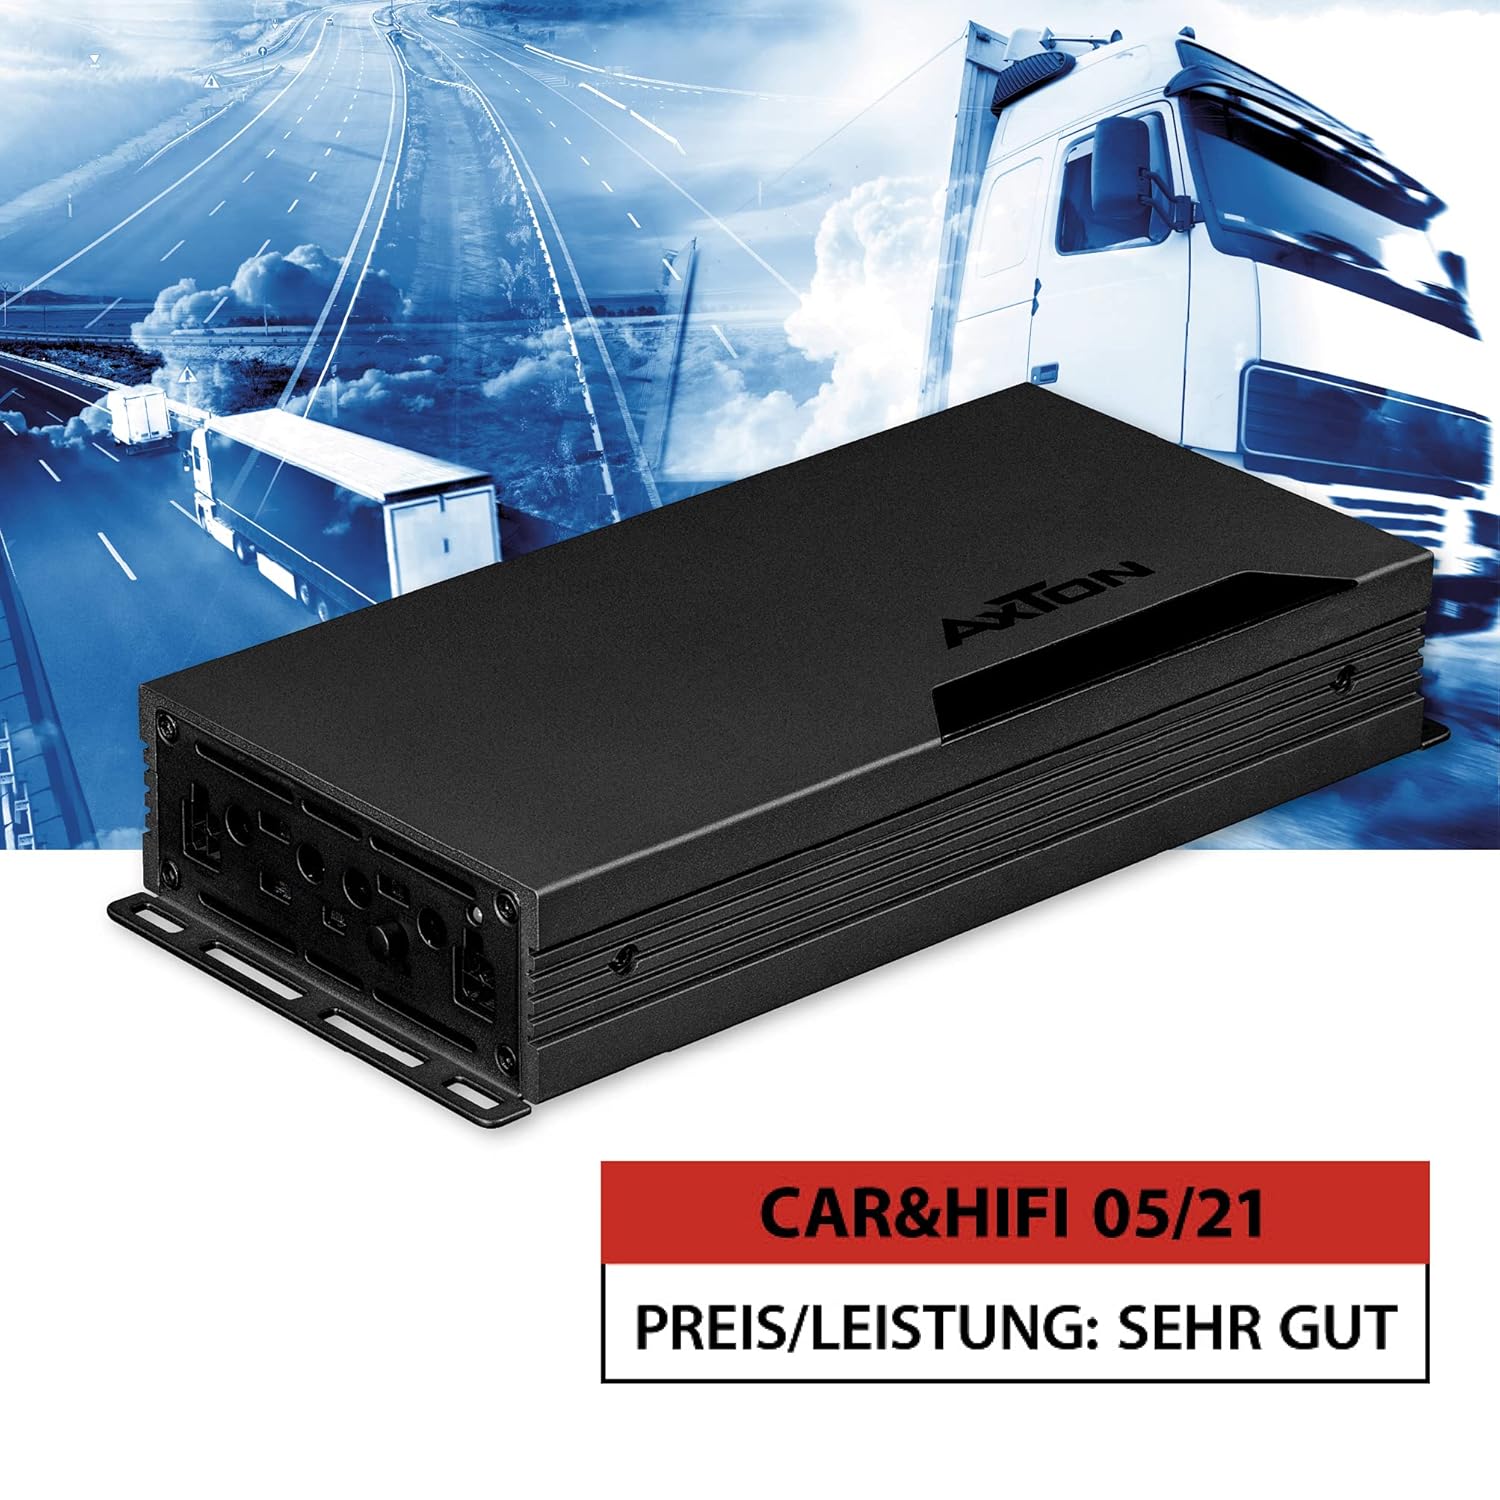
Resim 1.1: Ön view of the AXTON AT401 4-Channel 24V Class D Ampcankurtaran.
2. Güvenlik Talimatları
- Always disconnect the vehicle's battery before starting any electrical work.
- Elektrik tehlikelerini önlemek için uygun topraklamayı sağlayın.
- Kurulum amplifier in a dry, well-ventilated location, away from direct sunlight, heat sources, and moisture.
- Kurulum kılavuzunda belirtildiği gibi, güç, topraklama ve hoparlör bağlantıları için uygun kalınlıkta kablo kullanın.
- açmaya veya değiştirmeye çalışmayın. ampTüm bakımları yetkili personele yaptırın.
- Avoid routing cables near moving parts or sharp edges. Secure all wiring to prevent damage.
- Bu amplifier is designed for 24V vehicle electrical systems only. Connecting it to a 12V system or higher voltage than specified will cause damage.
3. Paket İçeriği
Lütfen paketi aşağıdaki öğeler açısından kontrol edin:
- AXTON AT401 4-Channel Ampcankurtaran
- Montaj donanımı (vidalar, braketler)
- Kullanım Kılavuzu (bu belge)
- Connector plugs for power and speaker outputs
Herhangi bir öğenin eksik veya hasarlı olması durumunda lütfen derhal satıcınızla iletişime geçin.
4. Ürün Özellikleri
- Powerful 4-Channel Class D Ampkaldırıcı: Delivers robust sound performance for 24V vehicle systems.
- 24V On-Board Network Compatibility: Specifically designed for trucks, lorries, and motorhomes.
- Kompakt Tasarım: Measuring approximately 10.5 cm wide and 4 cm high, allowing flexible installation in confined spaces.
- Verimli Isı Dağılımı: Solid aluminum heat sink ensures optimal continuous operating temperature.
- Optimized Circuitry: Board layout designed for low distortion and equipped with selected components.
- Yüksek Çıkış Gücü: 4 x 100 W RMS (4 ohms) or 2 x 350 W RMS (bridged).
- Integrated Electronic Crossovers: 12 dB/octave, continuously adjustable from 40 to 400 Hz (High-Pass or Low-Pass filter).
- High-Level Inputs with Auto-Turn-On: Allows connection to original radios without RCA outputs, simplifying integration with factory systems.
5. Kurulum ve Kurulum
Optimum performans ve güvenlik için doğru kurulum çok önemlidir. Herhangi bir adımdan emin değilseniz, profesyonel bir montajcıya danışın.
5.1 Montajı Ampcankurtaran
Choose a mounting location that is dry, well-ventilated, and secure. Ensure sufficient space around the amplifier for air circulation. Use the provided mounting hardware to firmly secure the amplifier to a solid surface in the vehicle.

Image 5.1: The aluminum heat sink ensures efficient heat dissipation.
5.2 Kablo Bağlantıları
Refer to the diagram below for connection points. Always use appropriate gauge wiring.

Resim 5.2: Üzeriview of amplifier connections and controls.
- Güç Bağlantısı (+24V): Connect a fused 24V power cable directly from the vehicle's battery. Ensure the fuse is located close to the battery.
- Toprak Bağlantısı (GND): Connect a short, heavy-gauge cable from the amplifier'in GND terminalini araç şasisindeki temiz, boyasız metal bir yüzeye bağlayın.
- Uzaktan Açma (REM): If using low-level inputs, connect this to the remote output of your head unit. If using high-level inputs with Auto-Turn-On, this connection may not be necessary.
- Hoparlör Çıkışları: Connect your speakers to the FRONT and REAR output terminals. Observe correct polarity (+/-). For bridged mode, refer to the specific bridging instructions.
- Giriş Bağlantıları:
- Üst Düzey Giriş: Connect the speaker outputs from your head unit directly to the amplifier's high-level input terminals. This is ideal for factory radios without RCA outputs.
- Düşük Seviyeli Giriş (RCA): Araç teybinizde RCA ön çıkışları varsa, bunları bağlayın. amplifier'in RCA giriş jakları.
5.3 Auto-Turn-On Function
The AT401 features an Auto-Turn-On function for high-level inputs. This allows the amplifier to turn on automatically when it detects an audio signal from the head unit, eliminating the need for a separate remote turn-on wire. Ensure the switch is set to the appropriate mode (DC or VOX) for this function.

Image 5.3: Auto-Turn-On function switch for flexible use.
6. Kullanım Talimatları
Once installed, the AT401 amplifier offers various adjustments to fine-tune your audio system.
6.1 Gain (SENS) Adjustment
The gain control (SENS) matches the amplifier's input sensitivity to the output level of your head unit. Start with the gain set to minimum. Gradually increase the head unit volume until distortion is heard, then back off slightly. Then, slowly increase the amplifier's gain until the desired volume is achieved without distortion.
6.2 Crossover (X-OVER) Settings
The AT401 features integrated 12 dB/octave electronic crossovers, adjustable from 40 to 400 Hz. These allow you to filter specific frequency ranges to your speakers.

Image 6.1: Adjustment options for crossovers and input sensitivity.
- HPF (Yüksek Geçirgen Filtre): Frekanslara izin verir üstünde the set point to pass through. Use for full-range speakers to prevent low bass distortion.
- LPF (Alçak Geçirgen Filtre): Frekanslara izin verir altında the set point to pass through. Use for subwoofers.
- TAM DOLU: Çapraz geçişi devre dışı bırakarak tüm frekansların geçmesine izin verir.
Adjust the FREQ knob to select the desired crossover frequency for each channel pair (FRONT/REAR).
7. Bakım
- Tut ampYüzeyi yumuşak, kuru bir bezle silerek temizleyin. Sert kimyasallar veya aşındırıcı temizleyiciler kullanmayın.
- Ensure that the heat sink fins are free from dust and debris to maintain proper cooling.
- Tüm kablo bağlantılarını sıkılık ve korozyon açısından düzenli olarak kontrol edin.
- üzerine nesneler yerleştirmekten kaçının. ampHava akışını engelleyebilecek bir yükseltici.
8. Sorun Giderme
| Sorun | Olası Neden | Çözüm |
|---|---|---|
| Elektrik yok/Ses yok | Blown fuse, loose power/ground connection, no remote signal, incorrect Auto-Turn-On setting. | Check fuse, verify power/ground connections, ensure remote wire is connected (if applicable), check Auto-Turn-On switch. |
| Bozuk ses | Gain set too high, incorrect crossover settings, damaged speaker. | Reduce gain, adjust crossover settings, check speaker condition. |
| Bir kanaldan ses gelmiyor | Loose speaker wire, faulty RCA/high-level input, damaged speaker. | Check speaker connections, verify input signal, test speaker. |
| AmpAsansör ısınıyor | Insufficient ventilation, low impedance load, prolonged high output. | Ensure proper airflow, check speaker impedance, reduce volume or gain. |
9. Özellikler
| Özellik | Şartname |
|---|---|
| Model Numarası | AT401 |
| Üretici | Axton |
| Kanal Sayısı | 4 |
| Ampkaldırıcı Sınıf | D Sınıfı |
| Çıkış Gücü (RMS) | 4 x 100 W (4 Ohms) / 2 x 350 W (Bridged) |
| Cilttage | 24 Volt (DC) |
| Geçiş Tipi | 12 dB/oct. High-Pass/Low-Pass |
| Geçiş Frekans Aralığı | 40 - 400 Hz (Continuously adjustable) |
| Giriş Türü | High-Level with Auto-Turn-On / Low-Level (RCA) |
| Malzeme | Alüminyum |
| Boyutlar (U x G x Y) | Yaklaşık 27.7 x 10.5 x 4 cm (10.9 x 4.1 x 1.6 inç) |
| Ağırlık | 1.38 kg (3.04 lbs) |
| Sertifikalar | CE |
10. Garanti ve Destek
AXTON products are manufactured to high-quality standards. This product is covered by a manufacturer's warranty against defects in materials and workmanship. The specific warranty period and terms may vary by region and retailer. Please retain your proof of purchase for warranty claims.
For technical support, service, or warranty inquiries, please contact your authorized AXTON dealer or visit the official AXTON webiletişim bilgileri için site.