
1. Ürün Bittiview
The Hugolog HU01-SNL Electronic Deadbolt Lock provides secure and convenient keyless entry for your home. This manual guides you through the installation, operation, and programming of your new lock.

Figure 1: Hugolog HU01-SNL Electronic Deadbolt Lock
1.1 Temel Özellikler
- Keyless Entry Convenience: Unlock with a keypad, eliminating the need for physical keys. Features an auto-lock function with a programmable timer for added peace of mind.
- Auto-Lock & Anti-Peep Security: Programmable auto-lock timer from 10-99 seconds. Supports anti-peep functionality to prevent code exposure.
- Kolay Kurulum: Designed to fit doors 35-50mm thick and compatible with standard backsets and handle sizes. Self-adjusting for bolt side distance.
- Manage Access with Codes: Supports up to 20 user codes and single-use temporary codes, allowing flexible access management for family or guests.
1.2 Paket İçeriği

Şekil 2: Paket İçeriği
The package includes the exterior assembly, interior assembly, latch, strike, mounting plate, installation guide, drilling template, mounting plate screws, strike screws, latch screws, cover screws, reset tool, backup key, and an optional bolt faceplate.
Video 1: What's in the box? This video provides a visual overview of all components included in the Hugolog HU01-SNL Electronic Deadbolt Lock package.
1.3 Özellikler
| Özellik | Tanım |
|---|---|
| Marka | Hugolog |
| Model Numarası | HU01-SNL |
| Özel Özellik | Anti-Collision, Keyless |
| Kilit Tipi | Tuş takımı |
| Boyutlar (U x G x Y) | 6.89 x 4.92 x 3.35 inç |
| Malzeme | Alüminyum |
| Önerilen Kullanımlar | Güvenlik |
| Renk | Saten Nikel |
| Ürün Ağırlığı | 1.74 pound (0.79 Kilogram) |
| Kontrol Yöntemi | Dokunmak |
| UPC | 192728011991 |
| Piller Gerekli | Evet |
2. Kurulum ve Kurulum
2.1 Kurulum Öncesi Kontroller
Before beginning installation, ensure your door is prepared and meets the following dimensions:
- Door Hole: 2-1/8 inches (54 mm)
- Backset: 2-3/8 inches (60 mm) or 2-3/4 inches (70 mm)
- Door Edge Hole: 1 inch (25 mm)
- Door Thickness: 1-3/8 inches to 2 inches (35 to 50 mm)

Figure 3: Door Preparation and Dimensions
Video 2: The Preparation before the Installation. This video guides you through checking your door's dimensions and preparing it for the lock installation.
2.2 Adım Adım Kurulum
Follow these steps to install your Hugolog electronic deadbolt lock:
- Mandalı takın: Ensure the latch is oriented correctly (facing upwards) and install it into the door frame. Secure it with two screws. Test the deadbolt's smooth operation with a screwdriver and keep the latch in the retracted (unlocked) position.
- Dış Aksamın Kurulumu: Hold the exterior assembly flush against the door. Guide the key tailpiece and power cable through the door hole.
- Montaj Plakasını Takın: Install the mounting plate, ensuring it is parallel to the door edge. Secure it with the provided screws.
- İç Montaj Parçalarını Bağlayın: Connect the power cable from the exterior assembly to the socket on the interior PCB. Rotate the thumb turn to a vertical, upward-facing position.
- Fix Interior Assembly: Fix the interior assembly to the mounting plate. Test if the latch works smoothly by rotating the thumb turn.
- Insert Batteries and Reset: With the lock in the unlocked state, insert three new AA alkaline batteries into the battery pack. Use the reset tool to press and hold the reset hole for 3 seconds until you hear a beep. The deadbolt will then reallocate to learn the door's orientation.
- Kurulumu Tamamla: Put back the lid of the battery pack. Test the lock's functionality using the backup key and the default master pin code (12345678).

Şekil 4: Kolay Kurulum Adımları
Video 3: How to install smart lock -JU02 quickly? This video provides a quick guide to the installation process.
Video 4: How to mount the JU02 lock to door. This video details the steps for mounting the lock onto your door.
3. Kullanım Talimatları
3.1 Kilit Açma ve Kilitleme
The Hugolog deadbolt offers multiple ways to unlock and lock your door:
- Klavye: Enter your programmed user code or master code on the keypad.
- Fiziksel Anahtar: Use the provided backup key for manual unlocking.
- Başparmak Çevirme: Manually lock or unlock the deadbolt from the interior using the thumb turn.

Şekil 5: Çoklu Kilit Açma Yöntemleri
Video 5: Hugolog Keyless Entry Lock. This video demonstrates the keyless entry functionality and general operation.
3.2 Multi-Function Button (MFB) Usage
The button with the Hugolog logo on the keypad is the Multi-Function Button (MFB). It is used for entering administrator mode and confirming operations.
Video 6: How to use the Multi-Function Button (MFB). This video explains the functions and usage of the MFB.
4. Programlama Kılavuzu
All pin codes must be 4-10 digits long. Avoid forward/backward number sequences or repeating number sequences for security. Existing code sequences are also invalid.
4.1 Ana Kodu Değiştir
The default master pin code is [12345678]. You will be prompted to change this code before adding any other codes for security reasons.
- MFB'ye iki kez basın.
- Enter the current Master Code.
- MFB'ye basın.
- Wait for long green lights, then press '1'.
- Enter your New Master Code.
- MFB'ye basın.
- Re-enter your New Master Code to verify.
- Press the MFB to store the new master code.
Video 7: Change the Master Code. This video demonstrates how to change the default master code.
4.2 Add User Code
You can add up to 20 user codes.
- MFB'ye iki kez basın.
- Ana Kodu girin.
- MFB'ye basın.
- Wait for long green lights, then press '2'.
- Yeni Kullanıcı Kodunu girin.
- MFB'ye basın.
- Re-enter the New User Code to verify.
- Press the MFB to add the new user code.
Video 8: Add User Code. This video demonstrates how to add new user codes to the lock.
4.3 Delete User Code
To delete an unwanted user code:
- MFB'ye iki kez basın.
- Ana Kodu girin.
- MFB'ye basın.
- Wait for long green lights, then press '3'.
- Silinecek Kullanıcı Kodunu giriniz.
- Press the MFB to delete the user code.
4.4 Sessiz Mod
Silent Mode disables all beeps and sounds from the lock. It is disabled by default.
- To Enable Silent Mode: Double-press the MFB, enter Master Code, press MFB, wait for long green lights, then press '4', then '2', then MFB.
- To Disable Silent Mode: Double-press the MFB, enter Master Code, press MFB, wait for long green lights, then press '4', then '1', then MFB.
4.5 Auto-Lock Time Delay
The auto-lock function automatically locks the door after a set period. The default delay is 30 seconds.
- To Enable Auto-Lock: Double-press the MFB, enter Master Code, press MFB, wait for long green lights, then press '5', then '1', then MFB.
- To Disable Auto-Lock: Double-press the MFB, enter Master Code, press MFB, wait for long green lights, then press '5', then '2', then MFB.
- To Set Auto-Lock Time Delay (10-99 seconds): Double-press the MFB, enter Master Code, press MFB, wait for long green lights, then press '8', enter the desired delay time (e.g., '30' for 30 seconds), then MFB.
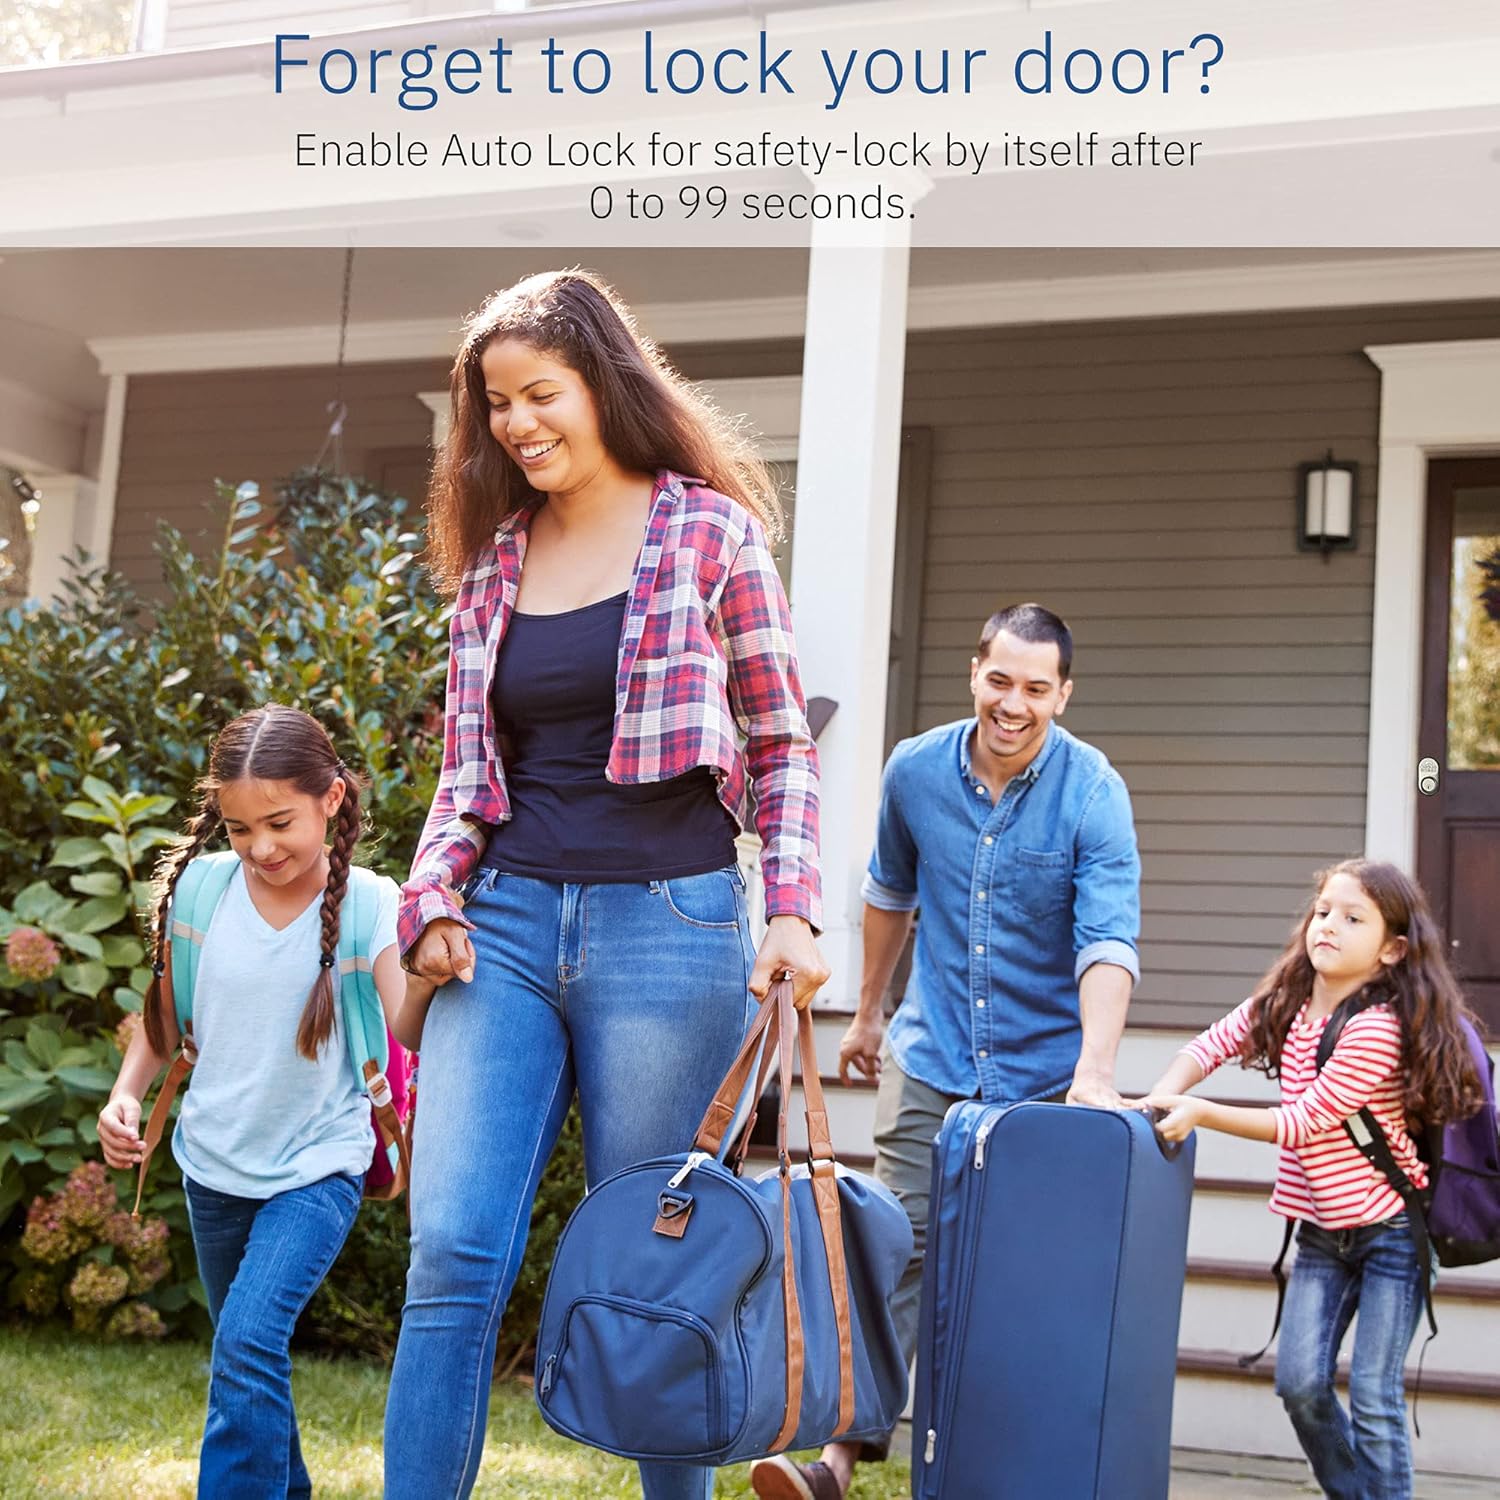
Figure 6: Auto-Lock for peace of mind
4.6 Add One-Time Code
A one-time code will expire after a single use.
- MFB'ye iki kez basın.
- Ana Kodu girin.
- MFB'ye basın.
- Wait for long green lights, then press '7'.
- Enter the New One-Time Code.
- MFB'ye basın.
- Re-enter the New One-Time Code to verify.
- Press the MFB to add the one-time code.

Figure 7: Managing Access with User Codes
4.7 Tatil Modu
In Vacation Mode, the lock will reject all user codes until the master code is entered. If the lock is unlocked by key or thumb turn while in Vacation Mode, an alarm will sound.
- To Enable Vacation Mode: Double-press the MFB, enter Master Code, press MFB, wait for long green lights, then press '6', then MFB.
- To Disable Vacation Mode: Ana Kodu girin.

Figure 8: Anti-Peep Pin Code
5. Sorun Giderme
For common issues and solutions, please refer to the detailed troubleshooting section in the full user manual. If the problem persists or cannot be resolved, please contact customer support.
6. Garanti ve Destek
Hugolog provides satisfactory service with no hidden fees. For technical support or warranty inquiries, please contact us directly.
Video 9: How to contact us? This video provides information on how to reach Hugolog customer support.