
Roxicosly CR1001E
Roxicosly Digital Alarm Clock User Manual
Model: CR1001E
1. Giriş
This manual provides detailed instructions for the setup, operation, and maintenance of your Roxicosly Digital Alarm Clock. Designed for ease of use, this alarm clock features a large LED display, dual alarms, adjustable brightness and volume, a USB charging port, and battery backup for convenience and reliability.
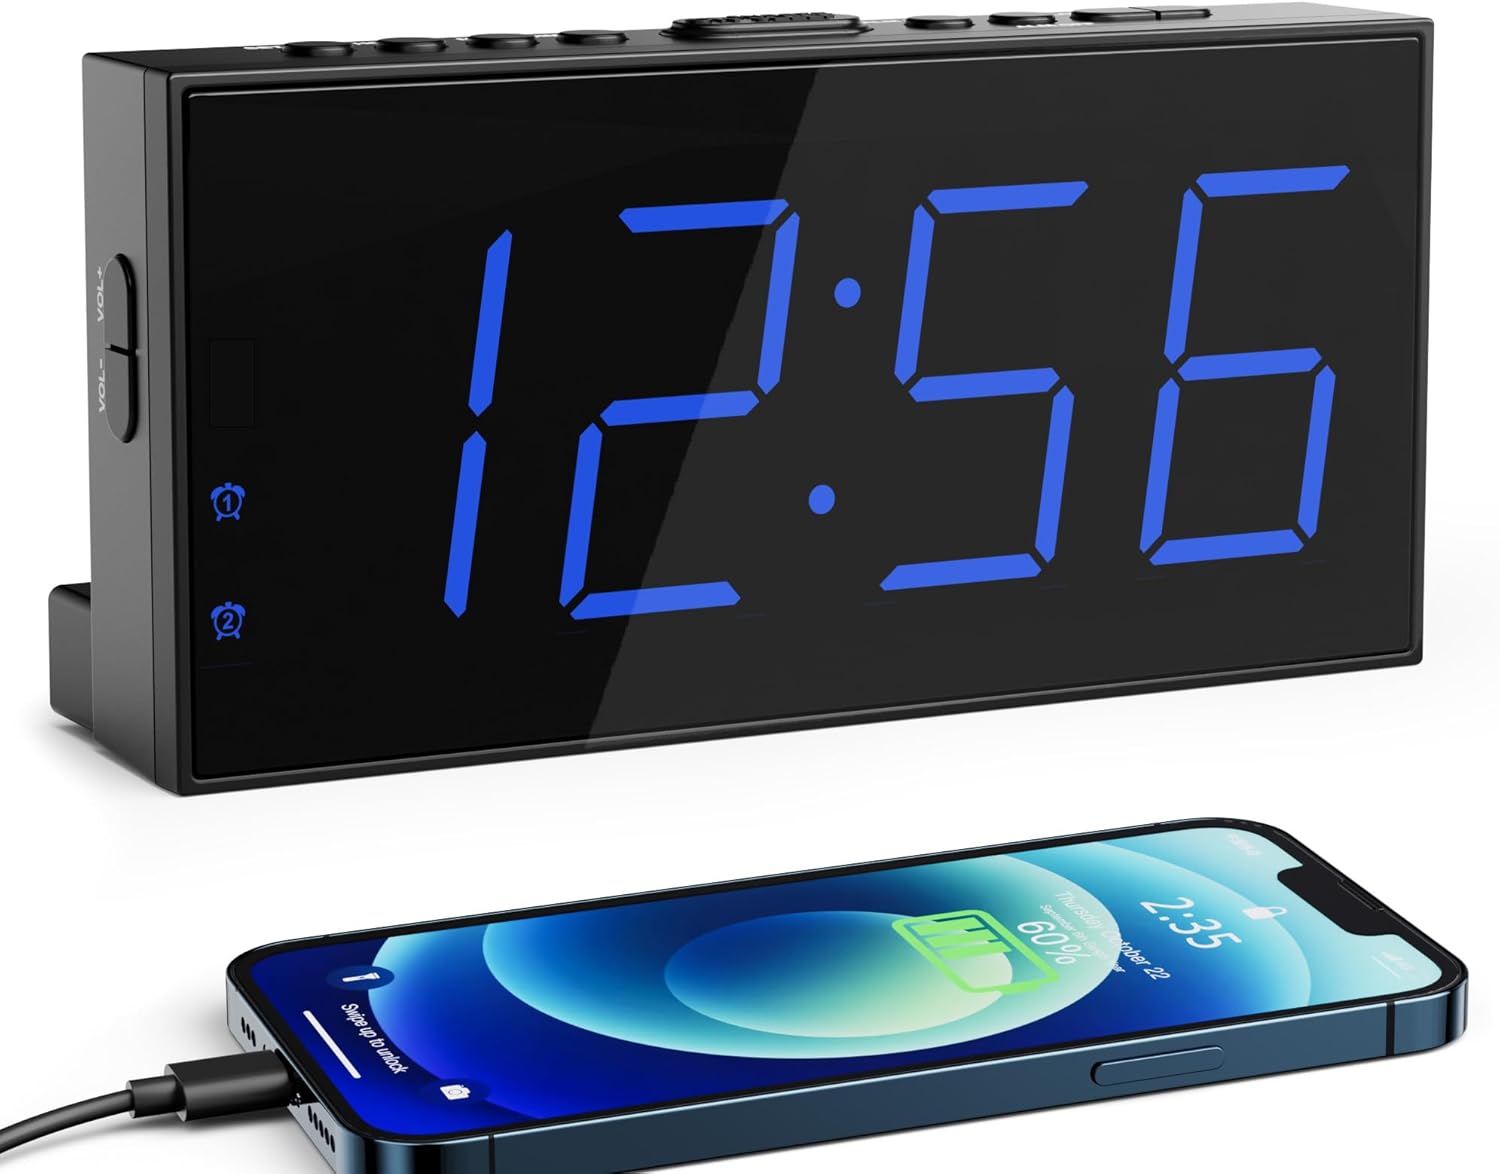
Image 1.1: The Roxicosly Digital Alarm Clock displaying time, with a smartphone connected for charging.
2. Ürün Özellikleri
- 7.5 inç Büyük LED Ekran: Provides clear visibility of time from a distance.
- 5-Level Adjustable Screen Brightness: Customize display intensity for day or night viewIng.
- Çift Alarm: Set two independent wake-up times.
- 5-Level Adjustable Alarm Volume: Ensures effective waking for various sleep preferences.
- 9 Dakikalık Erteleme Fonksiyonu: Allows for a brief extension of sleep.
- USB Şarj Noktası: Conveniently charge external devices (e.g., smartphones).
- 12/24H Format & DST Function: Switch between time formats and adjust for Daylight Saving Time.
- Pil Yedeğiyle Güçlendirilmiş AC: Operates on AC power with AAA batteries (not included) to retain settings during power outagee.
- Stable Standing Design: Includes two back holders for secure tabletop placement.
3. Kurulum Talimatları
3.1 Paketin Açılması ve Bileşenler
Carefully remove all components from the packaging. The package should contain:
- Roxicosly Digital Alarm Clock
- Elektrik fişi
- 1.5m Güç Kablosu
- Two Back Holders
- Kullanım Kılavuzu (bu belge)

Image 3.1: Included components of the alarm clock package.
3.2 Güç Bağlantısı
- Connect the provided power cable to the DC IN port on the back of the alarm clock.
- Plug the power adapter into a standard AC power outlet (100-240V). The clock display will illuminate.

Image 3.2: Connecting the alarm clock to AC power.
3.3 Yedek Pil Kurulumu
For retaining time and alarm settings during power outages, install two AAA batteries (not included).
- Saatin arkasındaki pil bölmesi kapağını açın.
- İki adet 1.5V AAA pili, doğru kutuplara (+ ve -) dikkat ederek takın.
- Pil bölmesinin kapağını kapatın.
Not: Batteries are for backup only; the clock requires AC power for normal operation and display illumination.

Image 3.3: Installing AAA batteries for backup.
3.4 Stable Placement
Insert the two provided back holders into the designated slots on the bottom rear of the clock for enhanced stability on flat surfaces.
4. Kullanım Talimatları
4.1 Saati Ayarlama
- Basılı tutun AYARLANAN ZAMAN Saat haneleri yanıp sönmeye başlayana kadar düğmesine basın.
- Kullanın SAAT Ve DAKİKA Saati ve dakikayı ayarlamak için kullanılan düğmeler.
- Basmak AYARLANAN ZAMAN Tekrar onaylamak ve zaman ayarı modundan çıkmak için.
4.2 12/24 Hour Format and DST
To switch between 12-hour and 24-hour time formats, or to activate/deactivate Daylight Saving Time (DST):
- Basın 12/24H & DST button. Each press will cycle through 12H, 24H, and DST modes.
- In 12H format, a 'PM' indicator will appear for afternoon hours.
- When DST is active, a 'DST' indicator will be displayed, and the time will adjust by one hour.

Image 4.1: 12/24H and DST function button.
4.3 Ekran Parlaklığının Ayarlanması
The clock features 5 levels of display brightness. To adjust:
- Basın DİMMER button repeatedly to cycle through the 5 brightness levels (from brightest to darkest, then off).
- Rahat bir kullanım için istediğiniz parlaklık seviyesini seçin. viewIng.
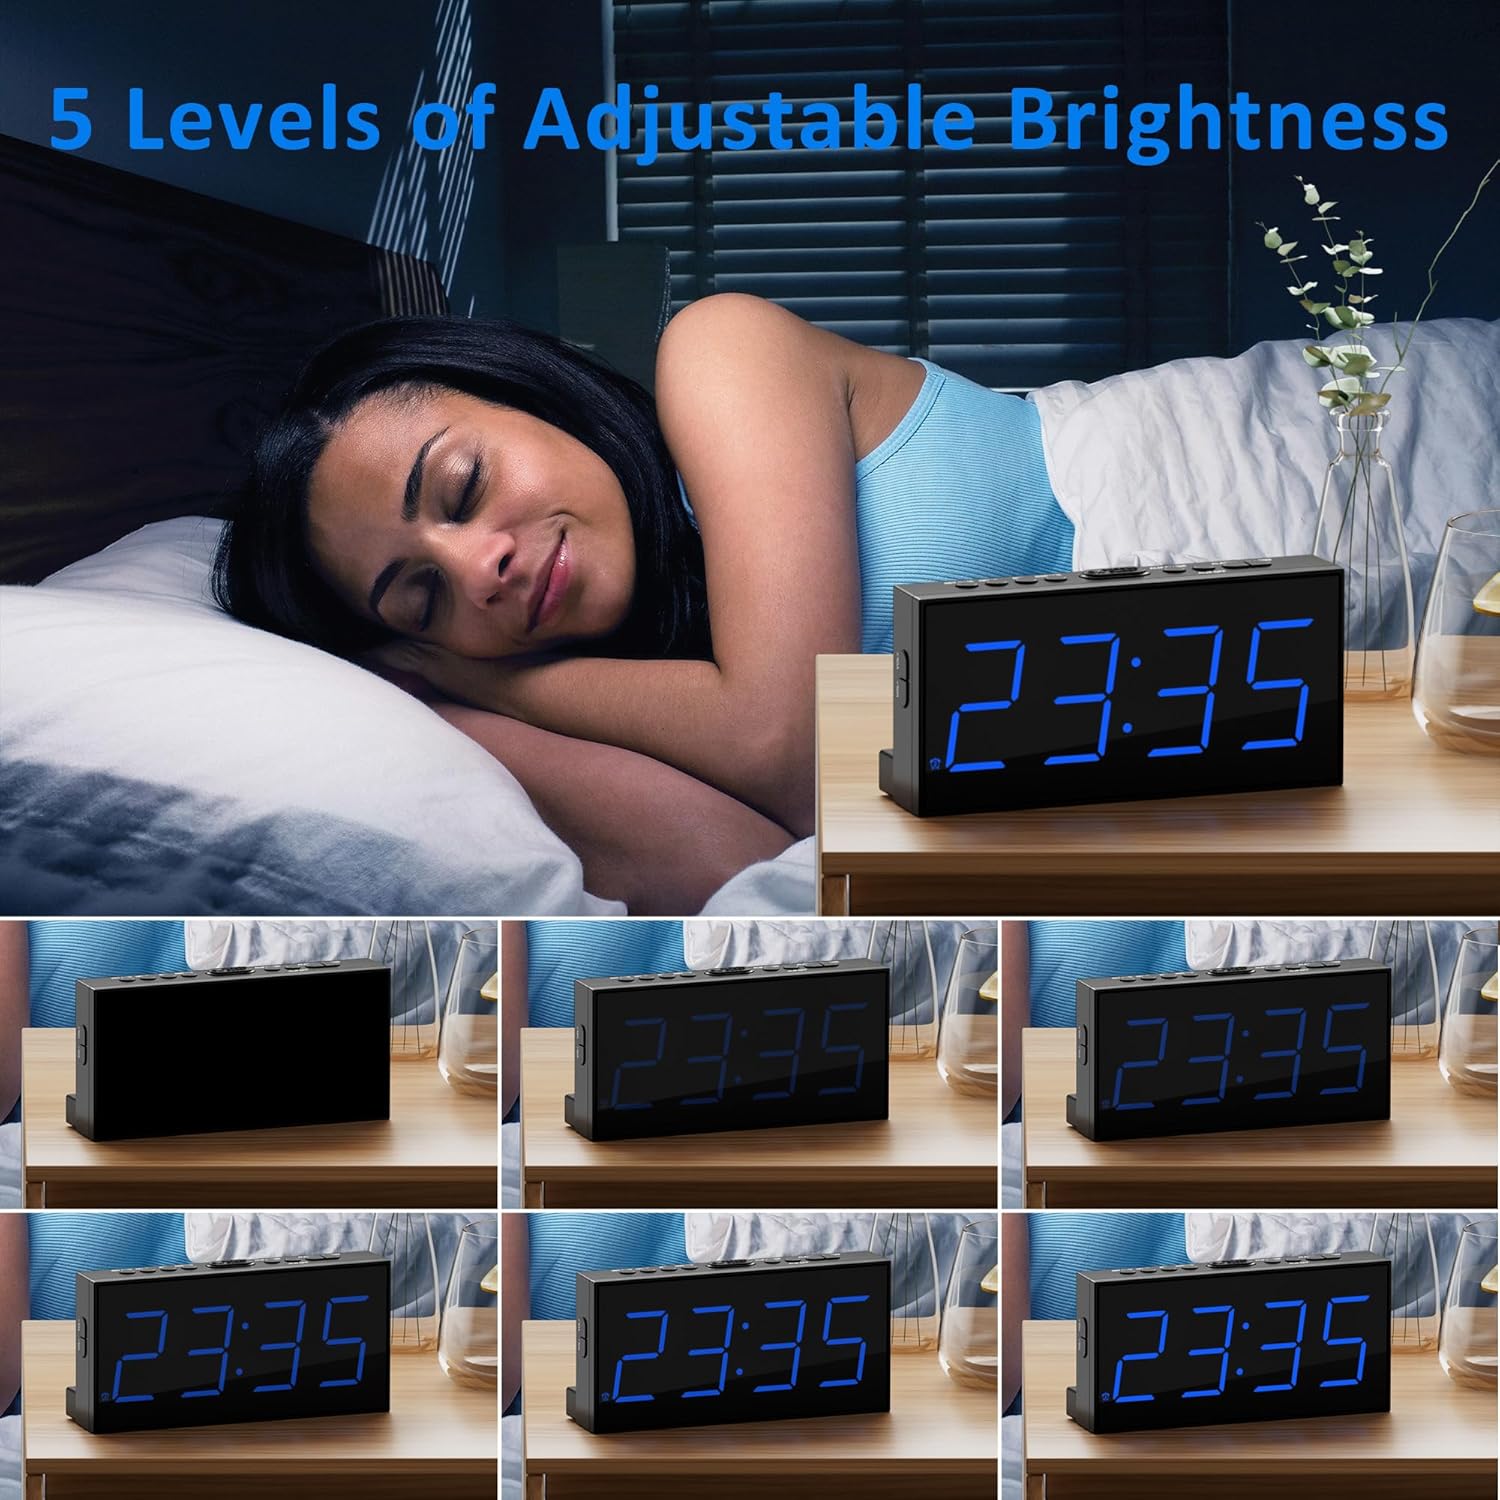
Resim 4.2: Örn.amples of the 5 adjustable brightness levels.
4.4 Alarmların Ayarlanması (Alarm 1 ve Alarm 2)
Bu saat, birbirinden bağımsız iki alarm kurmanıza olanak tanır.
- Basın ALARM 1 or ALARM 2 Alarmın geçerli saatini görüntülemek için düğmeye bir kez basın.
- İlgili tuşa basın ve basılı tutun ALARM Saat haneleri yanıp sönene kadar düğmesine basın.
- Kullanın SAAT Ve DAKİKA İstediğiniz alarm saatini ayarlamak için butonlara basın.
- Basın ALARM button again to confirm and activate the alarm. The corresponding alarm icon (1 or 2) will appear on the display.
- To deactivate an alarm, press the respective ALARM Alarm simgesi kaybolana kadar düğmeye basın.

Image 4.3: Dual alarm functionality.
4.5 Erteleme İşlevi
Alarm çaldığında, büyük düğmeye basın. UYUKLAMA button located on top of the clock to temporarily silence the alarm for 9 minutes. The alarm will sound again after 9 minutes.
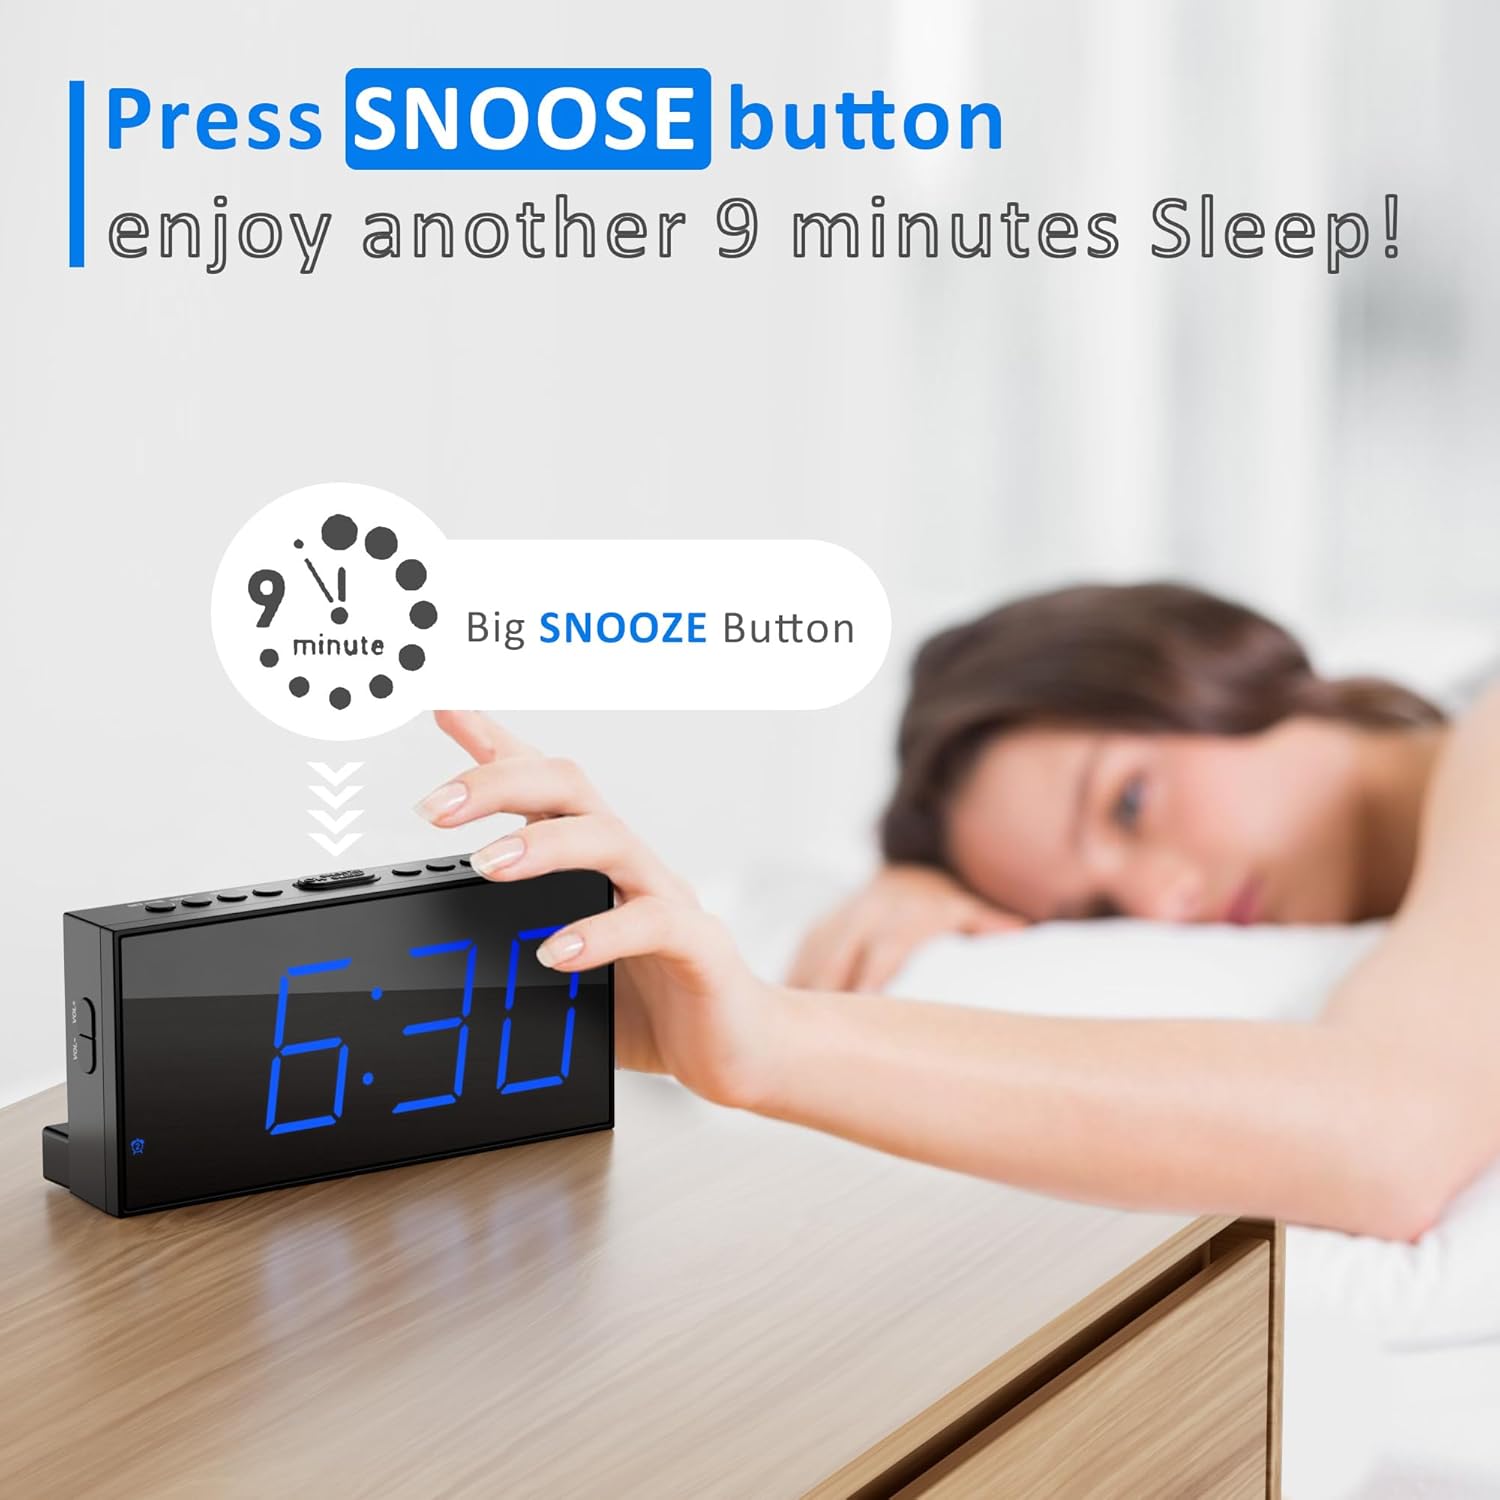
Image 4.4: Using the snooze button.
4.6 Alarm Ses Seviyesini Ayarlama
The alarm volume can be adjusted to 5 different levels.
- During an alarm, or while setting an alarm, use the HACİM+ or cilt buttons on the side of the clock to increase or decrease the volume.
- The current volume level will be indicated on the display.

Image 4.5: Volume adjustment buttons and range.
4.7 USB Şarj Portu
A USB charging port is located on the back of the clock. Connect your smartphone or other USB-powered device to this port using a compatible USB cable for charging.

Image 4.6: Using the USB charging port.
5. Bakım
5.1 Temizlik
To clean the alarm clock, gently wipe the surface with a soft, dry cloth. Avoid using abrasive cleaners, solvents, or harsh chemicals, as these may damage the finish or electronic components.
5.2 Pil Değişimi
If the clock loses its time or alarm settings after a power interruption, the AAA backup batteries may need to be replaced. Follow the steps in Section 3.3 to replace the batteries.
6. Sorun Giderme
- Display is blank or very dim:
Ensure the clock is properly connected to AC power. Check the brightness level using the DİMMER button; it might be set to the lowest or off setting. - Time or alarm settings are lost after a power outage:
Verify that two fresh AAA batteries are correctly installed in the battery backup compartment. The batteries are essential for retaining settings during power interruptions. - Alarm is not sounding or is too quiet:
Ensure the alarm is activated (the alarm icon should be visible on the display). Adjust the alarm volume using the HACİM+ düğme. - USB charging port is not working:
Ensure the clock is connected to AC power, as the USB charging function requires main power. Check the USB cable for damage and ensure it is properly connected to both the clock and your device. - Clock is unstable on a surface:
Ensure the two back holders are correctly inserted into their slots on the bottom rear of the clock.
7. Özellikler
| Özellik | Detay |
|---|---|
| Marka | Roxicosly |
| Örnek | CR1001E |
| Görüntü Türü | NEDEN OLMUŞ |
| Ekran Boyutu | 7.5 inç |
| Güç Kaynağı | Corded Electric (AC 100-240V) |
| Pil Yedekleme | 2 x AAA pil (dahil değildir) |
| Özel Özellikler | 12/24H&DST, 5-level Screen Brightness, Dual Alarms & 5-level Volume, USB Charging Port |
| Montaj Tipi | Masaüstü |
| Ürün Boyutları | 17.32x3.81x8.61 cm |
| Ürün Ağırlığı | 170 gr |
| Malzeme Türü | Plastik |
8. Garanti ve Destek
For warranty information or technical support, please refer to the contact details provided with your purchase or visit the official Roxicosly website. Herhangi bir garanti talebi için satın alma belgeniz olarak satın alma makbuzunuzu saklayın.
Ask a question about this manual
Ask about setup, troubleshooting, compatibility, parts, safety, or missing instructions. Manuals+ will review the question and use this page’s manual context to help answer it.