
1. Giriş
This manual provides detailed instructions for the installation, operation, and maintenance of your new ATA 43 Inch Full HD LED Smart TV, Model 43S1. Please read this manual thoroughly before using the television to ensure proper functionality and to maximize your viewdeneyim. Bu kılavuzu ileride başvurmak üzere saklayın.
2. Önemli Güvenlik Bilgileri
- Güç Kaynağı: Televizyonun belirtilen voltaj aralığında bir güç kaynağına bağlı olduğundan emin olun.tage aralığı.
- Havalandırma: Havalandırma açıklıklarını kapatmayın. Televizyonun etrafında yeterli hava akışı için yeterli alan bırakın.
- Su ve Nem: Televizyonu yağmur veya neme maruz bırakmayın. Vazo gibi sıvı dolu nesneleri televizyonun üzerine koymaktan kaçının.
- Temizlik: Temizlemeden önce televizyonun fişini çekin. Yumuşak ve kuru bir bez kullanın. Sıvı veya aerosol temizleyiciler kullanmayın.
- Atama: Televizyonunuzu sabit ve düz bir yüzeye yerleştirin. Doğrudan güneş ışığına veya ısı kaynaklarının yakınına yerleştirmekten kaçının.
- Servis: Bu ürüne kendiniz servis vermeye çalışmayın. Tüm servis işlemleri için kalifiye servis personeline başvurun.
3. Paket İçeriği
Lütfen aşağıdaki öğelerin kutucuğunu işaretleyin:
- ATA 43 Inch Full HD LED Smart TV (Model 43S1)
- Uzaktan kumanda
- TV Sehpası (2 adet)
- Güç Kablosu
- Kullanım Kılavuzu (bu belge)
- TV Sehpası Vidaları
4. Ürün Bittiview
4.1. Ön View
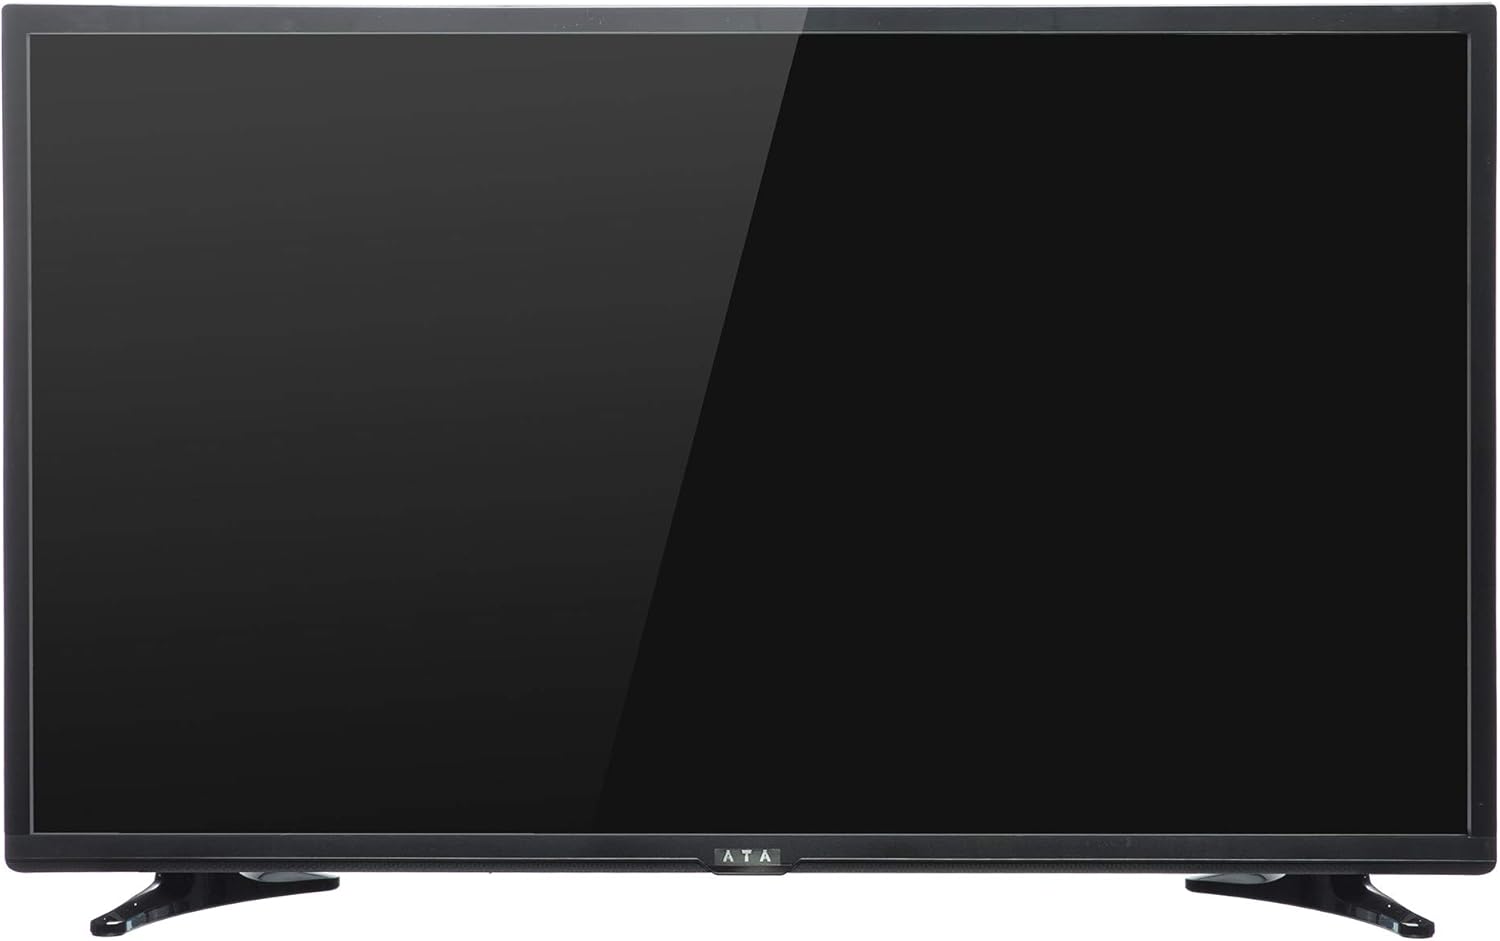
Resim 1: Ön view of the ATA 43 Inch Smart TV. The screen is black, indicating it is powered off or in standby mode. The ATA logo is visible at the bottom center.
The front of the ATA 43S1 TV features a sleek design with a narrow bezel, maximizing the screen area. The ATA brand logo is centrally located at the bottom of the frame. An indicator light (not visible in image) and IR receiver for the remote control are typically located near the logo.
4.2. Arka View

Resim 2: Arka view of the ATA 43 Inch Smart TV. This image displays the back panel, including VESA mounting holes for wall installation and designated areas for input/output ports.
The rear panel of the TV includes VESA mounting points for wall installation (wall mount bracket sold separately). Various input and output ports are located on the side and bottom sections of the back panel for easy access.
4.3. Giriş/Çıkış Portları
Your ATA Smart TV is equipped with a variety of ports to connect external devices.

Image 3: Close-up of the side-facing ports, showing three HDMI ports (HDMI1, HDMI2, HDMI3) and two USB ports (USB2.0, USB2.0).
- HDMI Bağlantı Noktaları (x3): For connecting high-definition devices such as Blu-ray players, gaming consoles, and set-top boxes.
- USB Bağlantı Noktaları (x2): Medya oynatmak için USB depolama aygıtlarını bağlamak için fileveya yazılım güncellemeleri için.

Image 4: Close-up of the bottom-facing ports, including Earphone, RJ45 (Ethernet), PC Audio, PC(VGA), Mini YPbPr, Video, L/R Audio (AV In), and Coaxial.
- RJ45 (Ethernet) Bağlantı Noktası: Kablolu internet bağlantısı için.
- PC(VGA) Port: Bilgisayarı bağlamak için.
- PC Ses Girişi: Audio input for VGA connection.
- AV In (Video, L/R Audio): Kompozit video ve stereo ses çıkışlarına sahip eski cihazları bağlamak için.
- Mini YPbPr: Bileşen video girişi.
- koaksiyel: Anten veya kablolu TV bağlantısı için.
- Kulaklık girişi: Kulaklık bağlamak için.
4.4. Uzaktan Kumanda

Image 5: The remote control for the ATA Smart TV. It features standard TV controls, navigation buttons, and dedicated function keys.
The remote control allows you to operate all functions of your TV. It includes buttons for power, input source selection, volume control, channel navigation, menu access, smart TV functions, and media playback controls.
- STANDBY (Red Button): Güç açık / kapalı.
- KAYNAK: Select input source (HDMI, AV, TV, etc.).
- Sayı Düğmeleri (0-9): Doğrudan kanal seçimi.
- SES +/-: Sesi ayarlayın.
- CH +/-: Kanalları değiştirmek.
- SESSİZ: Sesi kapat/aç.
- MENÜ: Ana menüye erişin.
- GİRİŞ: Seçimi onaylayın.
- Gezinme Düğmeleri (Yukarı/Aşağı/Sol/Sağ): Menüler arasında gezinin.
- ÇIKIŞ: Geçerli menüden veya işlevden çıkın.
- EV: Access the Smart TV home screen.
- P.MODU / S.MODU: Picture Mode / Sound Mode.
- SUBTITLE / AUDIO / REFRESH: Specific function buttons.
- PLAY/PAUSE, STOP, FF, FB, PREV, NEXT: Medya oynatma kontrolleri.
5. Kurulum
5.1. TV Sehpasının Takılması
- Ekranın hasar görmesini önlemek için televizyonu dikkatlice yumuşak ve temiz bir yüzeye yüzü aşağı bakacak şekilde yerleştirin.
- Stand parçalarını televizyonun alt kısmındaki ilgili yuvalara hizalayın.
- Birlikte verilen vidaları kullanarak ayak parçalarını sabitleyin. Vidaların iyice sıkıldığından emin olun.
- Televizyonu dikkatlice kaldırın ve sabit, düz bir yüzeye yerleştirin.
Alternatively, you can use a VESA-compatible wall mount (not included) to mount the TV on a wall. Refer to the wall mount's instructions for installation.
5.2. Gücü Bağlama
Güç kablosunu televizyonun güç girişine bağlayın ve diğer ucunu duvardaki prize takın. Televizyon bekleme moduna geçecektir.
5.3. İlk Kurulum Sihirbazı
The first time you power on the TV, an initial setup wizard will guide you through basic settings.
- Basın YANINDA OLMAK TV'yi açmak için uzaktan kumandadaki düğmesine basın.
- Follow the on-screen prompts to select your preferred language, country/region, and time zone.
- Ağ bağlantısı:
- Wifi: Listeden Wi-Fi ağınızı seçin ve şifreyi girin.
- Ethernet: If you connected an Ethernet cable to the RJ45 port, the TV should automatically detect the wired connection.
- Complete any remaining steps in the setup wizard, such as channel scanning (if connecting an antenna/cable).
6. Kullanım Talimatları
6.1. Güç Açma/Kapatma
- To turn on the TV from standby, press the YANINDA OLMAK Uzaktan kumandadaki düğmeye basın.
- TV'yi bekleme moduna almak için YANINDA OLMAK Tekrar düğmeye basın.
6.2. Giriş Kaynağı Seçimi
To switch between connected devices (e.g., HDMI, AV, TV tuner):
- Basın KAYNAK Uzaktan kumandadaki düğmeye basın.
- Use the Navigation buttons (Yukarı/Aşağı) to highlight the desired input source.
- Basmak GİRMEK Seçiminizi onaylamak için.
6.3. Ses ve Kanal Kontrolü
- Basmak SES + hacmi artırmak için CİLT - Sesi azaltmak için.
- Basmak CH + Sonraki kanala geçmek için, Ç - Önceki kanala gitmek için.
- Use the Number buttons to directly enter a channel number.
- Basmak SESSİZ to temporarily turn off the sound. Press again to restore.
6.4. Akıllı TV Özellikleri (Android 4.4.2)
Your TV runs on Android 4.4.2, providing access to various smart features and applications.
- Basın EV button on the remote to access the Smart TV home screen.
- From the home screen, you can navigate to pre-installed applications or access settings.
- Ensure your TV is connected to the internet via Wi-Fi or Ethernet to utilize online features.
- Use the Navigation buttons and GİRMEK to select and launch applications.
7. Bakım
- Ekranın Temizlenmesi: Ekranı yumuşak, tiftiksiz bir bezle nazikçe silin. İnatçı lekeler için hafifçe silin.ampBezi su veya özel bir ekran temizleyicisi ile silin (doğrudan ekrana sıkmayın).
- Kabinin Temizlenmesi: Televizyon sehpasını silmek için yumuşak, kuru bir bez kullanın. Aşındırıcı temizleyiciler veya çözücüler kullanmayın.
- Toz alma: Aşırı ısınmayı önlemek için televizyonun arkasındaki havalandırma deliklerini düzenli olarak tozdan temizleyin.
- Güç Kablosu: Periodically check the power cord for any damage. If damaged, contact service personnel for replacement.
8. Sorun Giderme
| Sorun | Olası Neden | Çözüm |
|---|---|---|
| Güç yok | Güç kablosu bağlı değil; Elektrik prizi çalışmıyor. | Güç kablosunun prize sağlam bir şekilde takılı olduğundan emin olun. Prizin çalışır durumda olduğunu başka bir cihazla test edin. |
| Görüntü yok, ancak ses mevcut | Yanlış giriş kaynağı seçildi; Arka ışık sorunu. | Basın KAYNAK button to select the correct input. Check picture settings. |
| Ses yok ama görüntü var | Volume is muted or too low; Audio cables not connected properly. | Basmak SESSİZ or increase volume. Check audio cable connections. |
| Uzaktan kumanda çalışmıyor | Piller bitmiş veya yanlış takılmış; Kumanda ile televizyon arasında engel var. | Replace batteries. Ensure line of sight to the TV's IR receiver. |
| Wi-Fi'ye bağlanılamıyor | Yanlış şifre; Yönlendirici sorunu; TV yönlendiriciden çok uzakta. | Verify Wi-Fi password. Restart router. Move TV closer or use Ethernet. |
9. Özellikler
| Özellik | Detay |
|---|---|
| Marka | ATA |
| Model Numarası | 43S1 (ATA43FOS) |
| Ekran Boyutu | 43 inç |
| Görüntü Türü | LED FHD |
| Çözünürlük | 1920x1080 (Tam HD) |
| Yenileme Hızı | 60 Hz |
| İşletim Sistemi | Android 4.4.2 |
| Bağlantı Teknolojisi | HDMI (x3), USB (x2), VGA, Ethernet (RJ45) |
| Özel Özellikler | Smart TV functionality, Flat Screen |
| Ürün Boyutları (D x G x Y) | 9x96.5x56 cm |
| Ürün Ağırlığı | 6.01 kilo |
| Dahil Bileşenler | TV, Stand |
10. Garanti ve Destek
For warranty information, please refer to the warranty card included with your product or contact your local ATA authorized dealer or service center. Keep your purchase receipt as proof of purchase for warranty claims.
For technical support or service inquiries, please contact ATA customer service through their official website veya ürün dokümantasyonunuzda sağlanan iletişim bilgileri.