
1. Giriş
The Aokin ESP8266 D1 Mini is a compact Wi-Fi development board based on the ESP8266EX chip, featuring 4MB of flash memory. It is designed for Internet of Things (IoT) applications and is compatible with popular development environments like Arduino, MicroPython, and NodeMcu. Its small form factor allows for easy integration into various projects, including those requiring breadboard compatibility.
2. Temel Özellikler
- Entegre Wi-Fi: Built-in WLAN (802.11a/b/g/n/ac) for wireless connectivity.
- Hafıza: Equipped with 4MB of flash memory.
- Input/Output Pins: 11 digital input/output pins, supporting interrupt, PWM, I2C, and one-wire protocols (except D0).
- Analog giriş: One analog input pin with a maximum input of 3.2V.
- Güç Girişi: Can be powered via the 5V pin or the 5V Micro USB port. The board's operating voltage is 3.3V, with internal conversion for 5V input. It is not advised to use more than a 5V power supply.
- Uyumluluk: Compatible with Arduino IDE, MicroPython, and NodeMcu for flexible programming.
- OTA Support: Supports Over-The-Air (OTA) updates.
3. Paket İçeriği
Paket genellikle aşağıdaki bileşenleri içerir:
- 5 x ESP8266 D1 Mini Wi-Fi Boards
- 10 x Normal Pins (2 for each board)
- 10 x Long Female Pins (2 for each board)
- 10 x Short Female Pins (2 for each board)

Image: Contents of the Aokin ESP8266 D1 Mini development board package, showing five boards and sets of header pins.

Image: A single Aokin ESP8266 D1 Mini board displayed with its accompanying normal, long female, and short female header pins.
4. Kurulum Kılavuzu
To begin using your Aokin ESP8266 D1 Mini development board, follow these steps:
- Install CH340G Driver: Before connecting the development board to your computer, you must install the CH340G USB-to-Serial driver. This driver enables your computer to communicate with the board via the Micro USB port. Search online for "CH340G driver" and download the appropriate version for your operating system.
- Install Python (Windows Users): If you are using Windows, Python 2.7.10 or a later compatible version is required for certain development tools. Linux and macOS typically have Python pre-installed.
- Install ESP8266 Board Package:
- Arduino IDE'si: Open the Arduino IDE, go to File > Tercihler, and add
http://arduino.esp8266.com/stable/package_esp8266com_index.jsonto the "Additional Board Manager URLs." Then, go to Araçlar > Pano > Pano Yöneticisi, search for "ESP8266," and install the package. - GIT (Recommended): For the latest versions and development features, it is recommended to install the hardware package via GIT. Refer to the official ESP8266 Arduino core documentation for detailed instructions on using GIT.
- Arduino IDE'si: Open the Arduino IDE, go to File > Tercihler, and add

Görüntü: Üst ve alt views of the Aokin ESP8266 D1 Mini development board, showing component layout and pin headers.
5. Kullanım Talimatları
The Aokin ESP8266 D1 Mini is a versatile board for various projects. Here's how to get started:
5.1 Kartın Güçlendirilmesi
The board can be powered through its Micro USB port or by supplying 5V to the dedicated 5V pin. The internal regulator converts 5V input to the board's operating voltage of 3.3V. Ensure that the input voltage does not exceed 5V to avoid damaging the board.
5.2 Arduino IDE ile Programlama
Once the ESP8266 board package is installed in your Arduino IDE, you can select "WeMos D1 R1" or "LOLIN(WEMOS) D1 mini (ESP-12E Module)" from Araçlar > Pano. You can then write and upload sketches (programs) to the board using the Micro USB connection. The board's 11 digital I/O pins (D0-D8, RX, TX) and one analog input (A0) can be accessed in your code.
5.3 Using Digital and Analog Pins
- Digital Pins (D0-D8, RX, TX): These pins support various functions including interrupts, Pulse Width Modulation (PWM), I2C communication, and one-wire protocols. Note that D0 has limited functionality compared to other digital pins.
- Analog Input (A0): This pin can read analog sensor values. The maximum input voltage for A0 is 3.2V.
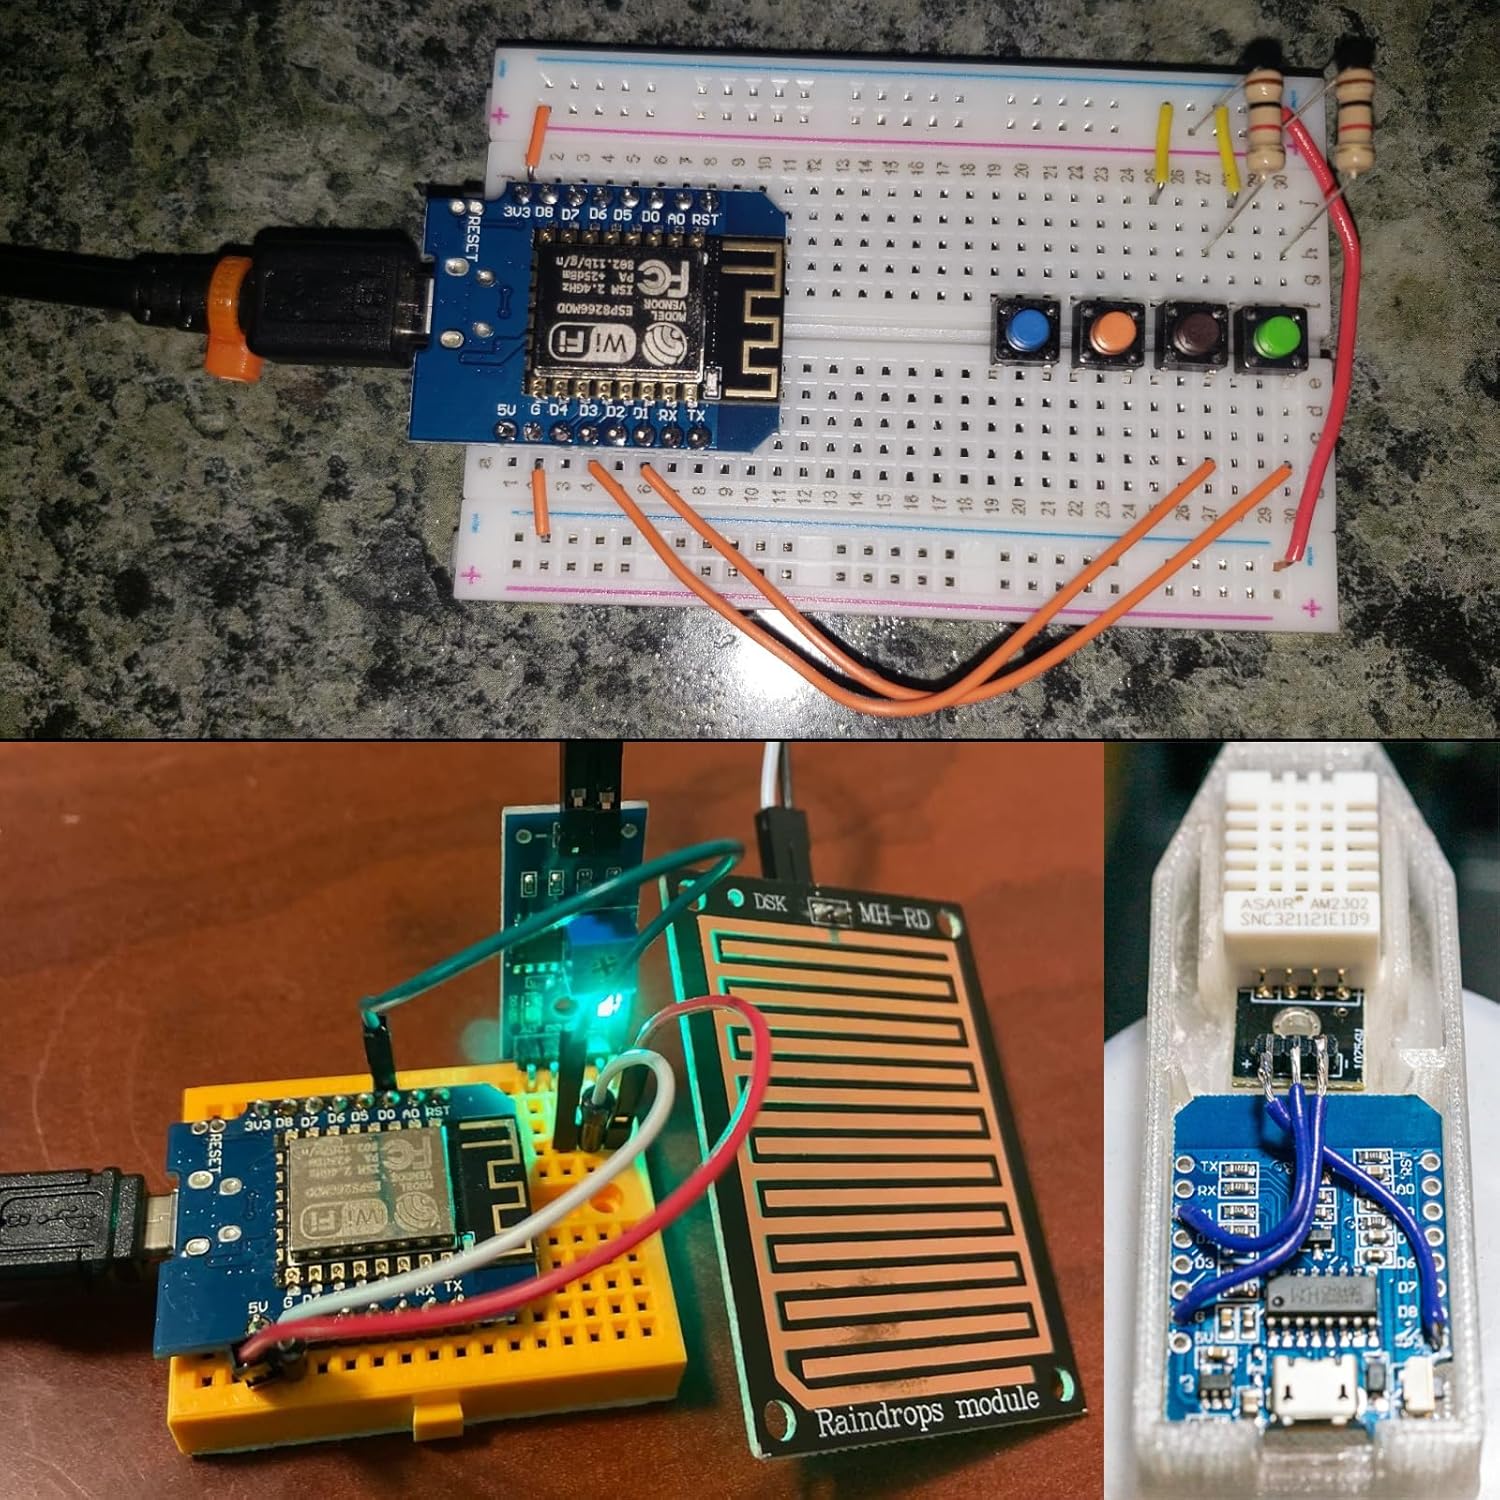
Image: Various example projects demonstrating the Aokin ESP8266 D1 Mini board integrated into breadboard circuits, including a clock display and sensor connections.
Video: Bir fazlaview of the ESP8266 D1 Mini NodeMcu Module, showcasing its features and potential applications. This video is provided by a seller.
Video: A detailed look at the ESP8266 ESP-12 ESP-12F NodeMcu Mini D1 Module, highlighting its components and functionality. This video is provided by a seller.
Video: An introduction to the Hosyond ESP8266 ESP-12E CP2102 NodeMCU Wireless Module, demonstrating its use in a basic setup. This video is provided by a seller.
6. Teknik Özellikler

Image: Dimensional diagram of the Aokin ESP8266 D1 Mini board, indicating its length and width.
| Özellik | Detay |
|---|---|
| Ana Çip | ESP8266EX (ESP-12F module) |
| Flaş Bellek | 4 MB |
| Kablosuz Tip | 802.11a/b/g/n/ac (WLAN, Wi-Fi) |
| Dijital I / O iğneler | 11 (Interrupt, PWM, I2C, One-wire supported, except D0) |
| Analog Giriş Pins | 1 (Max 3.2V input) |
| Çalışma Hacmitage | 3.3V |
| Input Power Options | 5V via Micro USB or 5V pin (internal conversion to 3.3V) |
| USB-to-Serial Chip | Ç340G |
| Boyutlar | Yaklaşık 34.2 mm x 25.6 mm |
| Ağırlık | Approximately 1.76 ounces (per board) |
| Model Numarası | 80-3 |
7. Sorun Giderme
- Board Not Connecting/Uploading:
Ensure the CH340G driver is correctly installed. Verify that the correct board and COM port are selected in the Arduino IDE. Try a different USB cable or port. Sometimes, pressing the "Flash" or "Reset" button on the board during upload can help establish a connection.
- Güç Kaynağı Sorunları:
The board operates at 3.3V internally, even when supplied with 5V. Do not exceed a 5V input power supply to avoid damaging the board. If using an external power source, ensure it provides a stable 5V. Some boards may have linear regulators that are sensitive to higher input voltages, despite some descriptions. Always verify the specific regulator on your board if using non-standard power.
- Wi-Fi Bağlantı Sorunları:
Check your Wi-Fi credentials (SSID and password) in your code. Ensure the board is within range of your Wi-Fi network. Verify that your router is operating on a 2.4GHz band, as ESP8266 modules typically support this frequency.
8. Garanti ve Destek
For specific warranty information and technical support, please refer to the official Aokin store or contact the seller directly. Product documentation and community forums for ESP8266 and NodeMcu are also valuable resources for project development and troubleshooting.
Ziyaret edin Aokin Store Daha fazla ürün ve bilgi için.