
Everycom X10
Everycom X10 Projector User Manual
Model: X10
1. Giriş
Satın aldığınız için teşekkür ederizasing the Everycom X10 Home & Business Native Full HD 1080p LED Projector. This projector is designed to provide a superior viewing experience with its impressive native resolution of 1920 x 1080, 5500 Lumens of brightness, and a high contrast ratio of 5000:1. This manual provides detailed instructions for setting up, operating, and maintaining your projector to ensure optimal performance and longevity. Please read this manual thoroughly before using the product and keep it for future reference.
2. Güvenlik Bilgileri
Yangın veya elektrik çarpmasını önlemek için bu cihazı yağmur veya neme maruz bırakmayın. Elektrik çarpmasını önlemek için cihazın kapağını açmayın. Servis işlemlerini yalnızca yetkili personele yaptırın.
- Havalandırma açıklıklarını kapatmayın.
- Yalnızca üretici tarafından belirtilen aparatları/aksesuarları kullanın.
- Yıldırımlı havalarda veya uzun süre kullanılmayacaksa bu cihazın fişini çekin.
- Güç kablosunun, özellikle fişlerde, prizlerde ve cihazdan çıktığı noktalarda üzerine basılmasını veya sıkışmasını önleyin.
- Projektör lensine doğrudan bakmayın.amp Açık.
- Projektörün sabit ve düz bir yüzeye yerleştirildiğinden emin olun.
3. Kutuda Neler Var?
Lütfen paketinizde aşağıdaki tüm öğelerin bulunduğundan emin olun:
- Everycom X10 Projector
- Uzaktan kumanda
- Kullanıcı Kılavuzu
- AV Kablosu
- HDMI Kablosu
- Güç Kablosu
4. Ürün Bittiview
4.1 Ön View
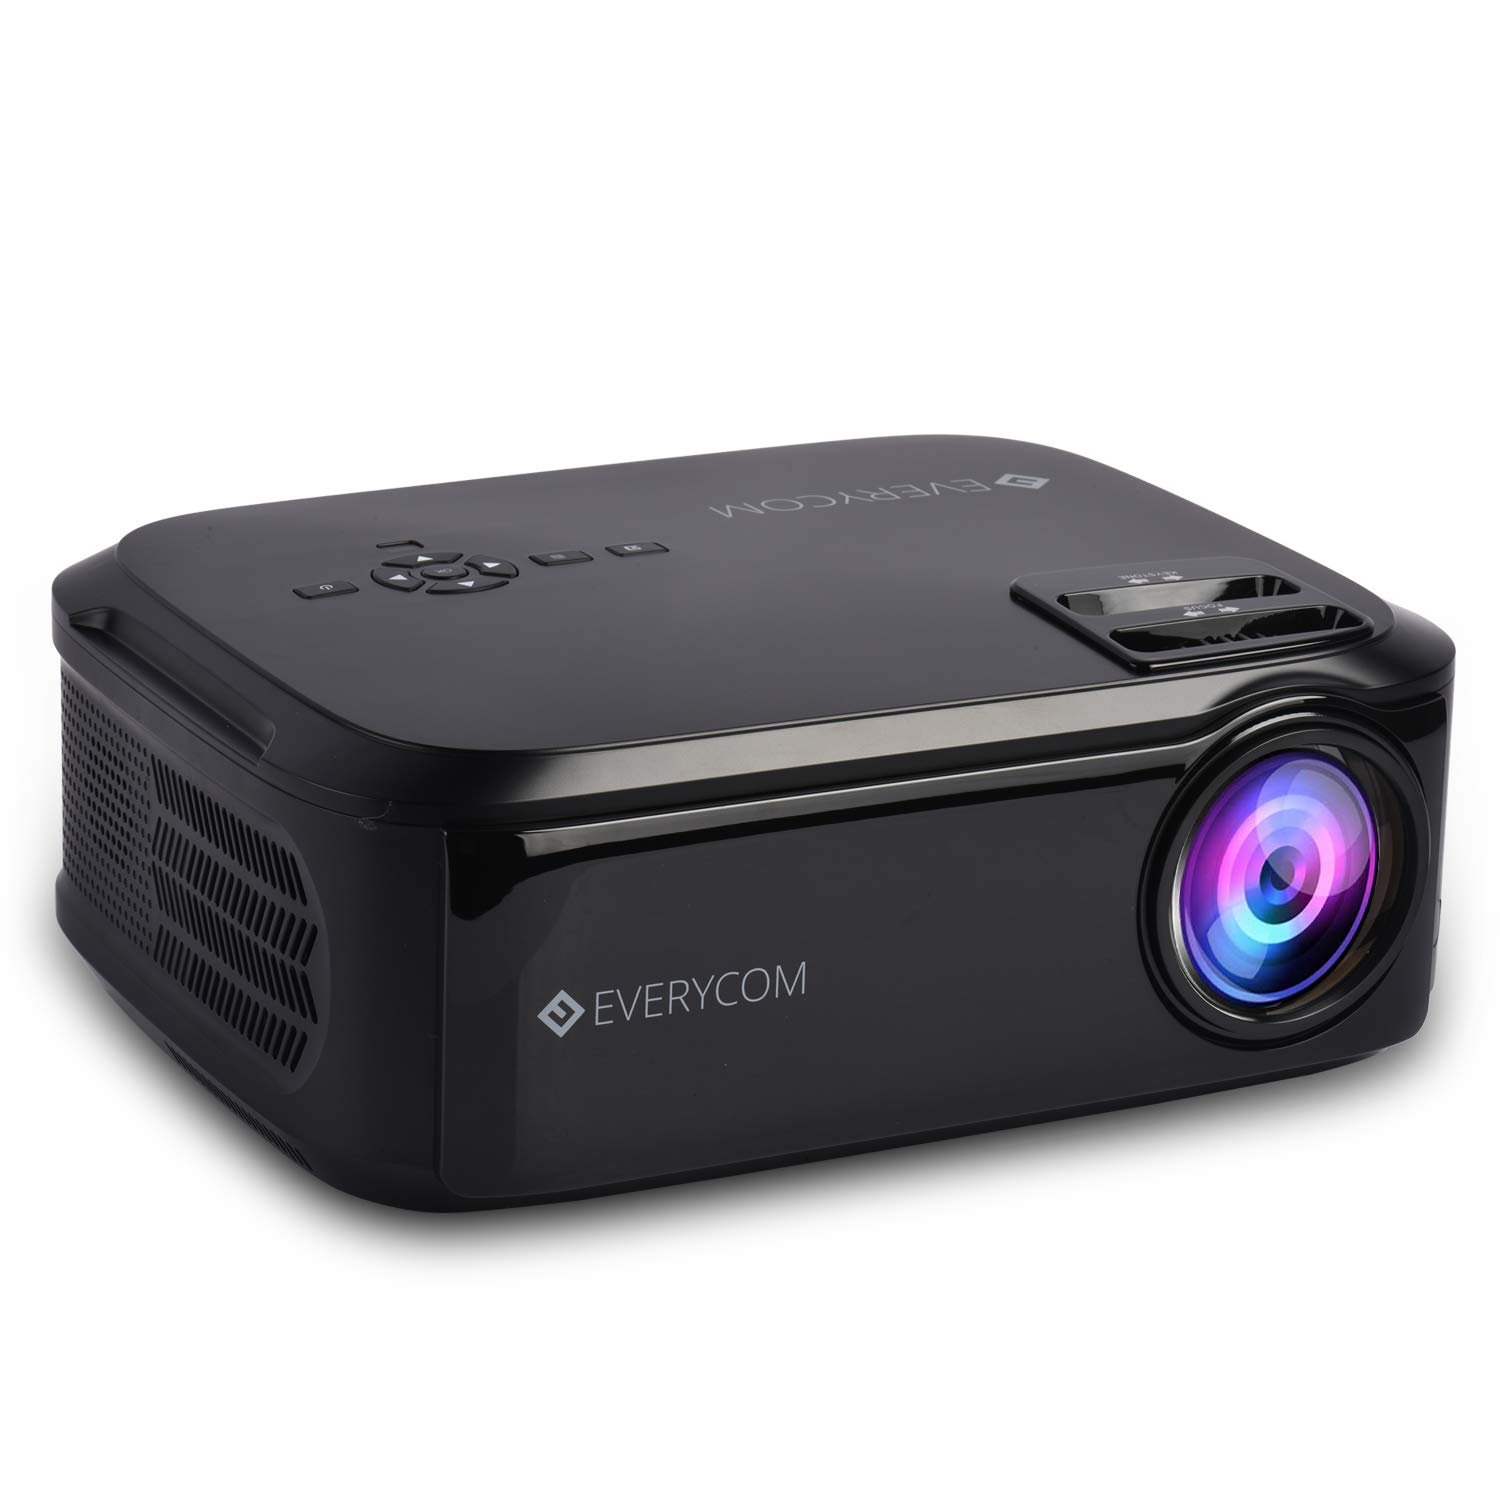
This image displays the front of the Everycom X10 projector, highlighting the main lens and the sleek black casing. The lens is the primary component for projecting images onto a screen or wall.
4.2 Taraf View (Limanlar)

This image shows the side of the Everycom X10 projector, featuring the various input and output ports. These include two HDMI inputs, two USB inputs, and a VGA port, allowing for versatile connectivity with different devices.
4.3 Üst View (Kontroller)

En üst view of the Everycom X10 projector displays the integrated control panel and the focus and keystone adjustment dials. The control panel allows for basic navigation and settings adjustments directly on the unit, while the dials are used to fine-tune image clarity and shape.
4.4 Alt View

This image shows the bottom of the Everycom X10 projector, revealing the product label with model information, serial number, and certification marks. It also shows the adjustable feet for leveling and mounting points.
5. Kurulum
5.1 Yerleştirme
Place the projector on a stable, flat surface. Ensure there is adequate ventilation around the projector to prevent overheating. The projection distance can range from 1.6m to 7.1m to achieve a screen size of 45" to 200".
5.2 Güç Bağlantısı
- Güç kablosunu projektörün güç giriş portuna bağlayın.
- Güç kablosunun diğer ucunu elektrik prizine takın.
5.3 Giriş Aygıtlarının Bağlanması
The Everycom X10 supports multiple input sources:
- HDMI: Connect your PC, laptop, gaming console, Amazon Fire TV, or Chromecast using an HDMI cable to one of the two HDMI ports.
- USB BAĞLANTI: Insert a USB stick or connect a media player to one of the two USB ports.
- VGA: Connect older PCs or laptops using a VGA cable.
- AV: Use the provided AV cable to connect DVD players or other devices with AV output.
5.4 Odak ve Trapez Düzeltme
- Odak: Rotate the focus ring on the top of the projector until the projected image is clear and sharp.
- Kilit taşı: Use the keystone correction dial (vertical ±15 degrees) to adjust the image shape if it appears trapezoidal. This ensures the projected image is rectangular.
6. Kullanım Talimatları
6.1 Açma/Kapatma
- Güç Açık: Projeksiyon cihazındaki veya uzaktan kumandadaki güç düğmesine basın. Gösterge ışığı yanacaktır.
- Kapat: Güç düğmesine tekrar basın. Projektör kapanacaktır. Projektörü fişten çekmeden önce her zaman tamamen soğumasını bekleyin.
6.2 Kaynak Seçimi
Cihazı açtıktan sonra, istediğiniz giriş kaynağını seçin:
- Uzaktan kumandadaki veya projektörün kontrol panelindeki 'Kaynak' düğmesine basın.
- Use the arrow keys to navigate through the input options (HDMI1, HDMI2, USB1, USB2, VGA, AV).
- Seçiminizi onaylamak için 'Tamam' düğmesine basın.
6.3 Menü Navigasyonu
Use the 'Menu' button on the remote or projector to access settings:
- Resim Ayarları: Adjust brightness, contrast, color, and aspect ratio (16:9/4:3).
- Ses Ayarları: Control volume and audio modes for the built-in dual stereo speakers.
- Zaman Ayarları: Set sleep timer or adjust time-related functions.
- Seçenek Ayarları: General settings like language, factory reset, etc.
7. Bakım
7.1 Lensin Temizlenmesi
Use a soft, lint-free cloth or lens cleaning paper to gently wipe the lens. Do not use abrasive cleaners or solvents.
7.2 Projektör Gövdesinin Temizlenmesi
Wipe the projector's exterior with a soft, dry cloth. For stubborn dirt, dampBezi su ve hafif bir deterjanla hafifçe nemlendirin, ardından kurulayın.
7.3 Fan Bakımı
The projector features an innovative cooling system with heat dispersion and noise suppression. Ensure the ventilation vents are clear of dust and obstructions to maintain efficient cooling.
8. Sorun Giderme
| Sorun | Olası Neden | Çözüm |
|---|---|---|
| Resim görüntülenmiyor | Power cord loose; Incorrect input source; Device not connected properly. | Güç bağlantısını kontrol edin; Doğru giriş kaynağını seçin; Giriş aygıtını yeniden bağlayın. |
| Görüntü bulanık | Odak ayarı yapılmamış; Projeksiyon cihazı çok uzak/yakın. | Adjust focus ring; Adjust projection distance. |
| Görüntü yamuk şeklindedir. | Keystone ayarlanmadı. | Trapez düzeltme kadranını ayarlayın. |
| Ses yok | Volume too low; Audio cable not connected; Source device audio settings. | Increase volume; Check audio connections; Adjust audio output on source device. |
| Projektör aşırı ısınıyor | Ventilation blocked; Prolonged use in hot environment. | Havalandırma deliklerinin açık olduğundan emin olun; İyi havalandırılan bir alanda çalıştırın; Soğuma sürelerine izin verin. |
9. Özellikler
| Özellik | Şartname |
|---|---|
| Marka | herkes |
| Örnek | X10 |
| Yerel Çözünürlük | 1920x1080 (Tam HD) |
| Parlaklık | 5500 Lümen |
| Kontrast Oranı | 5000:1 |
| En Boy Oranı | 16:9 / 4:3 |
| Projeksiyon Boyutu | 45" ila 200" |
| Projeksiyon Mesafesi | 1.6m ila 7.1m |
| Anahtar Ebatı Düzeltme | ±15° Dikey |
| Giriş Portları | 2 x HDMI, 2 x USB, 1 x VGA, 1 x AV |
| Ses | Built-in Dual Stereo Speakers |
| Ürün Boyutları | 32x26x12 cm |
| Ürün Ağırlığı | 2.6 kilo |
10. Garanti ve Destek
10.1 Garanti Bilgileri

The Everycom X10 Projector comes with a Nationwide 1 Year Indian Warranty. This product is also Bureau of Indian Standards (BIS) certified.
10.2 Müşteri Desteği

For any assistance, queries, or support regarding your Everycom X10 Projector, please contact our customer service team:
- Ücretsiz Numara: 1800 121 4480
- Müşteri Destek Çalışma Saatleri: Pazartesi - Cumartesi, 10:00 - 6:30 (Resmi tatiller hariç)
Ask a question about this manual
Ask about setup, troubleshooting, compatibility, parts, safety, or missing instructions. Manuals+ will review the question and use this page’s manual context to help answer it.