
1. Giriş
Thank you for choosing the Clatronic MS 3089 Milk Frother. This battery-operated device is designed for quickly creating milk foam and mixing various ingredients. Its compact design and stainless steel whisk ensure ease of use and cleaning. Please read this manual carefully before first use to ensure safe and optimal operation.
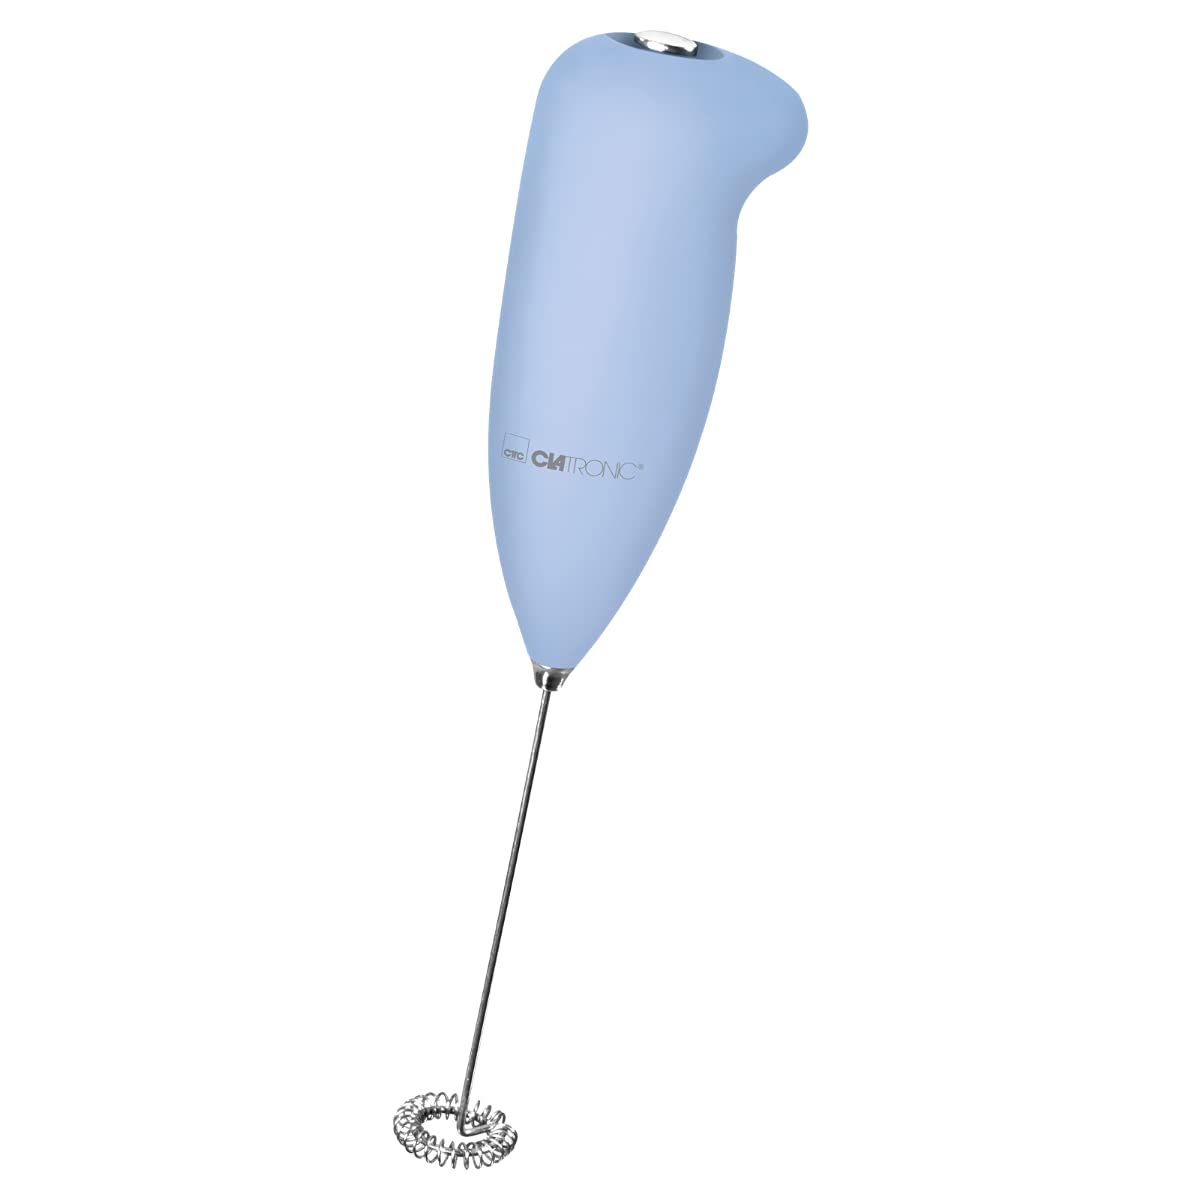
Image 1: Clatronic MS 3089 Milk Frother. This image shows the main unit of the frother, highlighting its blue plastic body and stainless steel whisk.

Image 2: Product Packaging. This image displays the retail packaging of the Clatronic MS 3089 Milk Frother, showing the product and key features.
2. Güvenlik Talimatları
- Cihazı kullanmadan önce tüm talimatları okuyun.
- Cihazı çocukların erişemeyeceği yerlerde saklayınız.
- Do not immerse the main body of the frother in water or other liquids. Only the whisk should come into contact with liquids.
- Pillerin kutup işaretlerine uygun şekilde takıldığından emin olun.
- Remove batteries if the appliance will not be used for an extended period.
- Eski ve yeni pilleri veya farklı pil türlerini karıştırmayın.
- Cihazı bu kılavuzda açıklanan amaçlar dışında kullanmayın.
- Hareketli parçalara temas etmekten kaçının.
- Bu cihaz yalnızca evlerde kullanıma yöneliktir.
3. Ürün Bittiview
The Clatronic MS 3089 Milk Frother consists of a main body with a soft-touch finish and a durable stainless steel whisk. It is designed for comfortable handling and efficient performance.
- Ana Gövde: Houses the motor and battery compartment, featuring a soft-touch surface for a secure grip.
- Çalıştırma Düğmesi: Located on the top of the main body for easy activation.
- Paslanmaz Çelik Çırpma Teli: Detachable for easy cleaning and effective frothing/mixing.

Image 3: Product Dimensions. This image illustrates the dimensions of the frother, showing a length of 225 mm, whisk diameter of 47 mm, and body width of 32 mm.
4. Kurulum
4.1 Pil Kurulumu
- Twist and pull off the bottom part of the frother's main body to access the battery compartment.
- Insert two (2) 1.5V AA/UM3 batteries, ensuring correct polarity (+/-) as indicated inside the compartment.
- Replace the bottom part of the frother, twisting it securely until it clicks into place.
Not: Piller ürünle birlikte verilmemektedir ve ayrıca satın alınmalıdır.
5. Kullanım Talimatları
5.1 Süt Köpürtme
- Pour cold or warm milk into a suitable container. For best results, use milk that is at least half-full in the container to allow for foam expansion.
- Immerse the stainless steel whisk into the milk, ensuring the whisk head is fully submerged but not touching the bottom of the container.
- Press and hold the operating button on top of the frother to start the whisk.
- Move the frother up and down gently in the milk for approximately 15-30 seconds, or until desired foam consistency is achieved.
- Release the operating button to stop the whisk.
- Carefully remove the frother from the milk.

Image 4: Frother in Use with Coffee. This image shows the Clatronic MS 3089 Milk Frother positioned next to a glass of frothed coffee, illustrating its primary function.

Image 5: Serving Frothed Milk. This image shows frothed milk being poured from a pitcher into a mug, demonstrating a typical use case after frothing.
5.2 Mixing Other Ingredients
The Clatronic MS 3089 can also be used to mix various other ingredients, such as:
- Cappuccinos and lattes (beyond just frothing milk)
- Cocktails and long drinks
- Sauces and dips
- Omelette mixtures
- Milkshakes and smoothies
To mix, simply immerse the whisk into the ingredients and press the operating button until thoroughly combined.

Image 6: Versatile Applications. This image displays the frother in the center, surrounded by examples of its use for cappuccino, cocktails, long drinks, milkshakes, smoothies, omelettes, sauces, and dips.
6. Bakım ve Temizlik
Proper maintenance ensures the longevity and hygiene of your frother.
- After each use, immediately rinse the stainless steel whisk under running water.
- For thorough cleaning, the whisk can be gently wiped with a damp bez ve yumuşak deterjanla temizleyin.
- Önemli: The main body of the frother is Olumsuz waterproof. Do not immerse it in water or place it in a dishwasher. Clean the main body with a slightly damp cloth only, then wipe dry.
- Saklamadan önce tüm parçaların tamamen kuru olduğundan emin olun.
Ürün Bakım Talimatları: Sadece Elde Yıkayın.
7. Sorun Giderme
| Sorun | Olası Neden | Çözüm |
|---|---|---|
| Köpürtücü açılmıyor. | Piller bitmiş veya yanlış takılmış. | Check battery polarity. Replace with fresh 1.5V AA/UM3 batteries. |
| Poor frothing results. | Milk type or temperature not ideal; whisk not fully submerged. | Use fresh, cold milk for best foam. Ensure whisk is fully submerged and moved gently. |
| Whisk rotates slowly. | Pil gücü düşük. | Pilleri değiştirin. |
8. Özellikler
- Modeli: MS 3089 (263917)
- Marka: Klatronik
- Güç Kaynağı: Pil ile çalışır
- Gerekli Piller: 2 x 1.5V AA/UM3 (not included)
- Malzeme: Plastic (body), Stainless Steel (whisk)
- Renk: Mavi (bu varyant için)
- Product Dimensions (W x H): Approximately 1.85" x 8.86" (47mm x 225mm)
- Ürün Ağırlığı: Yaklaşık 100 gram
- Özellik: Soft touch housing, easy to clean
- Önerilen Kullanımlar: Foam, mixing
9. Garanti ve Destek
Clatronic products are manufactured with quality and care. For information regarding warranty terms and conditions, please refer to the documentation provided with your purchase or visit the official Clatronic webalan.
For technical support or inquiries, please contact Clatronic customer service. You may also find additional information and support resources on the manufacturer's webalan.
Çevrimiçi Kaynaklar: Clatronic QR Code Link