
1. Giriş
This manual provides detailed instructions for the setup, operation, and maintenance of your BNT Dummy Fake Security Camera. This device is designed to provide a visual deterrent against potential intruders by simulating the appearance and function of a real security camera. It is suitable for both indoor and outdoor use in various environments.
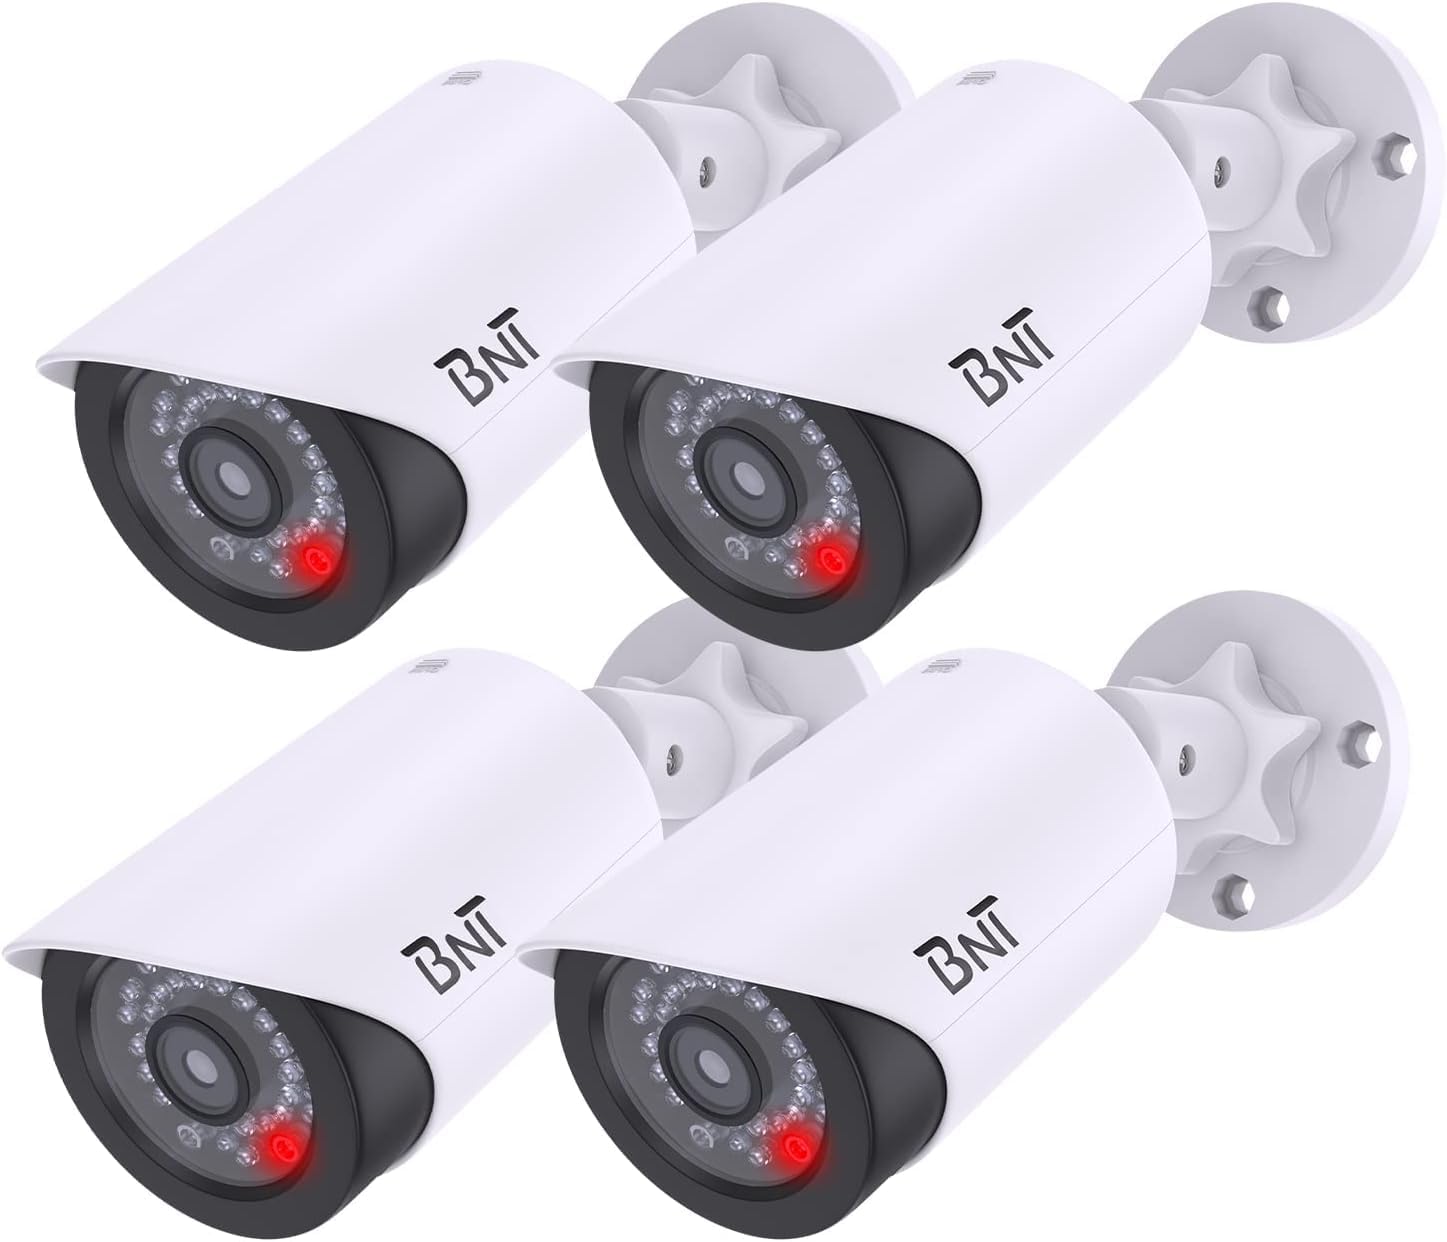
Image: Four BNT Dummy Fake Security Cameras, illustrating the product's appearance.
2. Ürün Özellikleri
- Gerçekçi Tasarım: Mimics the appearance of a functional security camera to deter unauthorized access.
- Nighttime LED: Equipped with a built-in photoelectric sensor, the red LED light illuminates automatically at night, enhancing realism.
- Kolay Kurulum: No wiring required. Mounts quickly and easily to ceilings, walls, or other surfaces using included screws.
- Ayarlanabilir Açı: Features 2-axis rotation (360 degrees horizontally, 90 degrees vertically) for flexible positioning.
- Dayanıklı Yapı: Made from Acrylonitrile Butadiene Styrene (ABS) plastic, suitable for indoor and outdoor environments.
- Pil ile Çalışır: Requires 2 AA batteries (not included) for LED function.
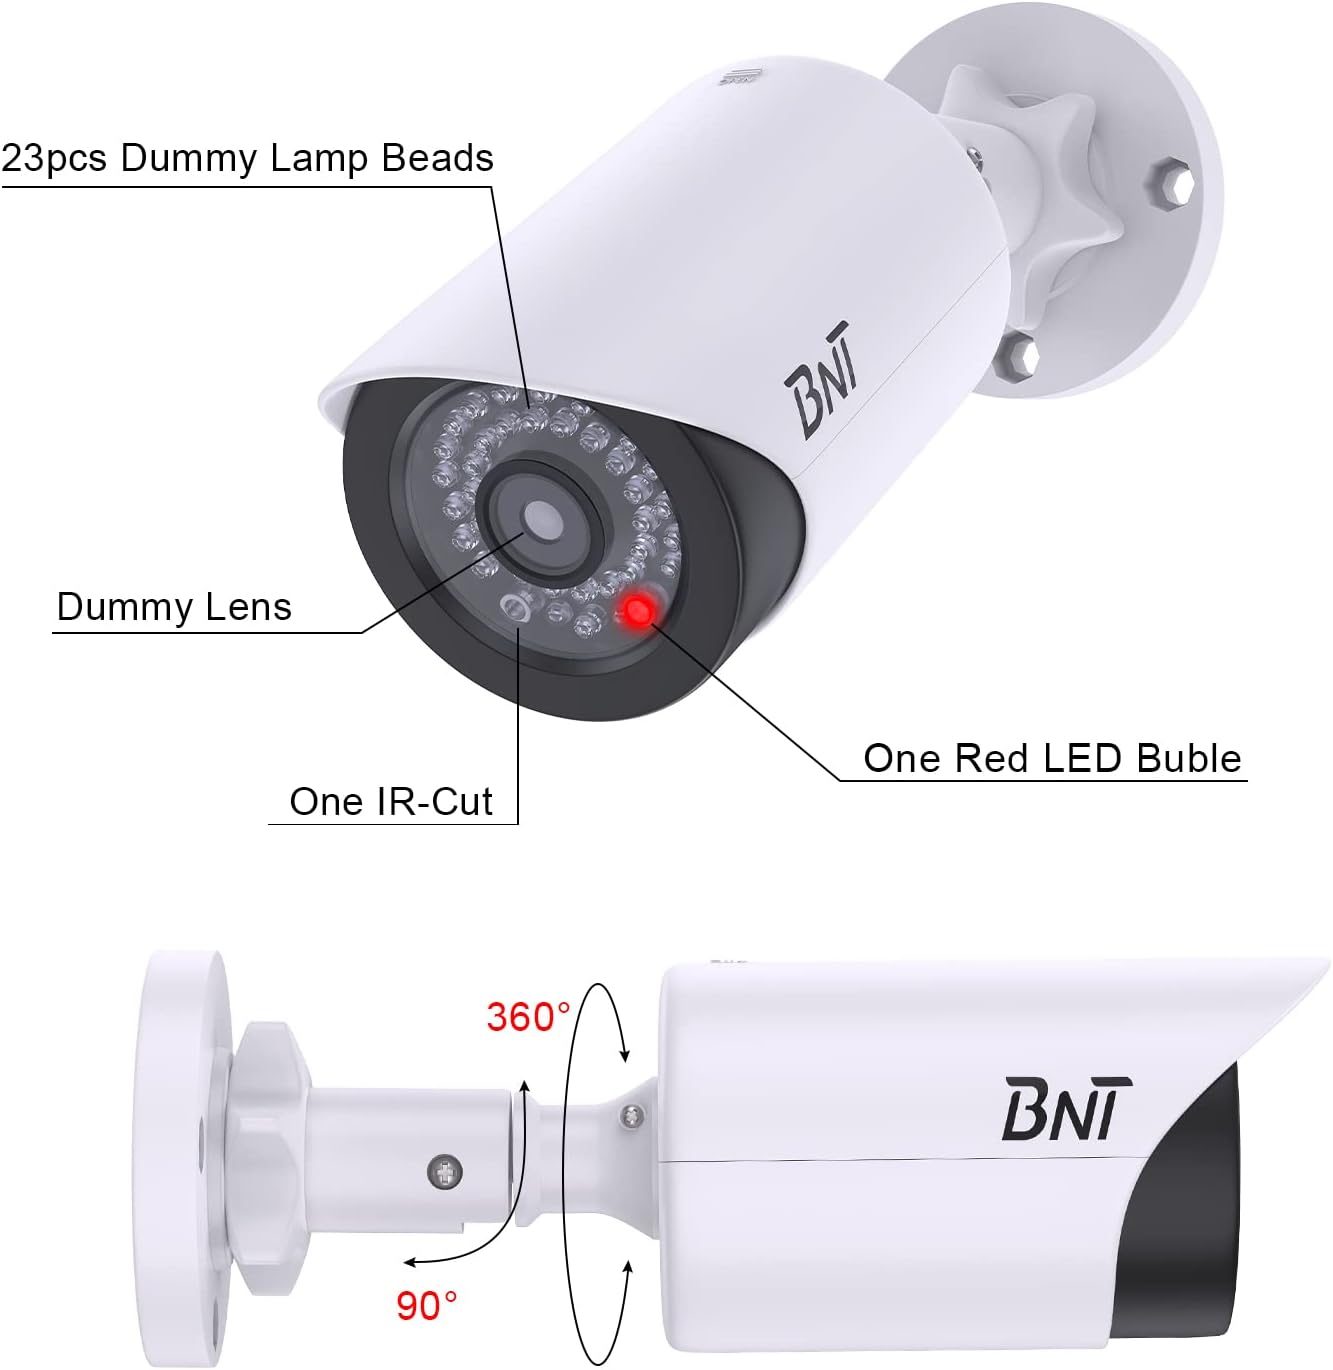
Image: A diagram highlighting the dummy lamp beads, dummy lens, IR-cut, red LED bubble, and showing 360-degree horizontal and 90-degree vertical rotation capabilities.
3. Paket İçeriği
- BNT Dummy Fake Security Camera(s)
- Montaj Vidaları ve Duvar Dübelleri
- Warning Stickers (may vary by package)
- Kullanım Kılavuzu

Image: An illustration of the package contents, showing four dummy cameras, several warning stickers, and bags containing screws and wall plugs.
4. Kurulum ve Kurulum
- Bir konum seçin: Choose a prominent location where a real camera would typically be installed, such as near an entrance, garage, or high-traffic area. Ensure the location is visible to maximize its deterrent effect.
- Pilleri Takın: Slide open the back cover of the camera unit. Insert 2 AA batteries (not included) into the battery compartment, ensuring correct polarity. Close the cover securely.
- Kamerayı Monte Edin: Using the provided screws and wall plugs, securely attach the camera's mounting base to your chosen surface (ceiling, wall, etc.).
- Açıyı Ayarla: Loosen the adjustment knob on the camera's mount. Position the camera to the desired angle, then tighten the knob to secure it. The camera supports 360-degree horizontal and 90-degree vertical adjustment.
- Apply Warning Stickers: Place the included warning stickers in visible locations to further enhance the illusion of active surveillance.

Image: A visual guide showing how to slide the back cover, insert 2x1.5V AA batteries, and how the built-in light sensor activates the red LED at night.
Video: An official BNT video demonstrating the installation process and features of the dummy camera, including its realistic appearance and night LED function.
5. Kullanım Talimatları
The BNT Dummy Fake Security Camera operates automatically. During daylight hours, the camera appears as a standard surveillance device. At night, its built-in photoelectric sensor detects low light conditions and automatically activates the flashing red LED light, simulating active recording and enhancing its deterrent effect.

Image: A BNT Dummy Camera mounted on a wall at night, with its red LED light clearly illuminated, demonstrating the photoelectric sensor's function.

Resim: Yakın çekim view of the BNT Dummy Camera at night, showing the red LED light active, indicating its operation in low-light conditions.
6. Bakım
- Pil Değişimi: When the red LED light dims or stops flashing, replace the 2 AA batteries. Ensure to use high-quality AA batteries to prevent leakage and damage to the battery case.
- Çevre Koruma: When replacing batteries, take care to avoid exposing the internal components to rain or moisture to prolong the life of the battery case.
- İmha etmek: Dispose of used batteries properly according to local regulations to protect the environment.
- Temizlik: Periyodik olarak kameranın dış yüzeyini yumuşak bir bezle silin.amp Toz ve kalıntıları temizlemek için bir bez kullanın. Sert kimyasallar veya aşındırıcı temizleyiciler kullanmaktan kaçının.
7. Sorun Giderme
- LED Işık Çalışmıyor:
- Pillerin doğru kutuplara sahip olacak şekilde doğru şekilde takıldığından emin olun.
- Eski veya bitmiş pilleri yenileriyle değiştirin.
- Test the photoelectric sensor: Cover the LED light with your hand in a dark environment. If the red LED light turns on, the product is functioning correctly.
- Camera Appears Unrealistic:
- Verify the camera is positioned in a location where a real camera would typically be found.
- Ensure the red LED is functioning at night to enhance realism.
8. Özellikler
| Marka | BNT |
| Model Numarası | BNT-K8FaCam-4PW |
| İç/Dış Mekan Kullanımı | İç mekan, dış mekan |
| Güç Kaynağı | 2 x AA Pil (Dahil Değildir) |
| Malzeme | Akrilonitril Bütadien Stiren (ABS) |
| Ürün Boyutları (U x G x Y) | 7.4 x 2.8 x 2.8 inç |
| Ürün Ağırlığı | 1.54 pound (4'li paket için) |
| Montaj Tipi | Tavana Montaj, Yüzeye Montaj |
| ViewAçı | 150 Degrees (simulated) |
| Işık Kaynağı Türü | LED (Red, flashing at night) |
| Uluslararası Koruma Derecelendirmesi | IP65 (Su geçirmez) |
9. Garanti ve Destek
BNT provides a reliable 24-month after-sales service for this product. If you encounter any questions or issues regarding your BNT Dummy Fake Security Camera, please contact our dedicated customer service team for assistance. For further information or support, you may visit the official BNT Store: Amazon'da BNT Mağazası.
Video: An official BNT video highlighting the features and benefits of the BNT Fake Security Camera, emphasizing its role in property protection.