
1. Giriş
The GameMax Expedition is a compact Micro ATX PC gaming case designed for efficient cooling and component compatibility. This manual provides instructions for the proper installation, operation, and maintenance of your PC case.

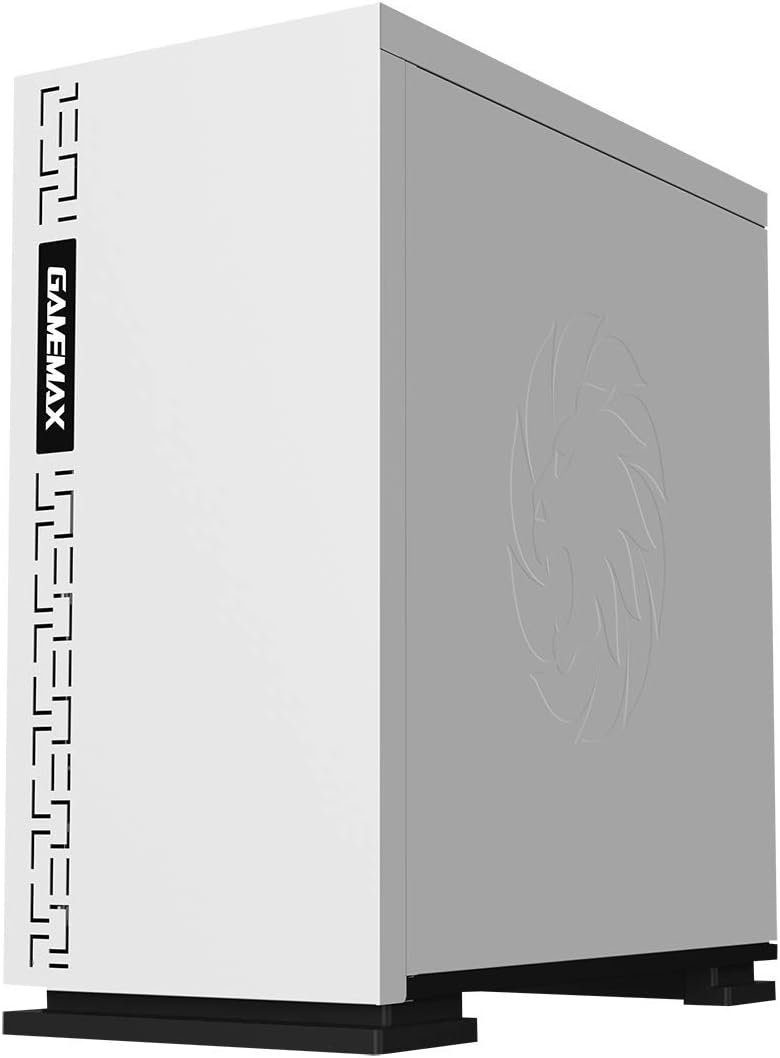
Figure 1.1: GameMax Expedition MATX PC Gaming Case, White.
2. Güvenlik Bilgileri
- Kurulum veya bakım işlemlerinden önce daima tüm bileşenlerin güç bağlantısını kesin.
- Bileşenlerde elektrostatik deşarj (ESD) hasarını önlemek için antistatik bileklik takın.
- Be cautious of sharp edges inside the chassis.
- Küçük parçaları ve vidaları çocuklardan uzak tutun.
- Ensure proper ventilation around the case during operation.
3. Paket İçeriği
Paketin içinde tüm öğelerin mevcut olduğundan emin olun:
- GameMax Expedition MATX PC Gaming Case
- Accessory box (screws, standoffs, cable ties)
- 1 x 120mm Blue LED Fan (pre-installed at rear)
- Kullanım Kılavuzu (bu belge)
4. Ürün Özellikleri
- Micro Gaming Chassis: Compact design optimized for gaming components.
- G/Ç Bağlantı Noktaları: 1 x USB 3.0, 2 x USB 2.0, and HD Audio ports located on the top panel.
- Soğutma: Includes 1 x 120mm Blue LED fan. Supports additional fans for enhanced airflow.
- Side Window: Full side window panel allows visibility of internal components.
- Magnetic Dust Filter: Removable dust filter on the top panel for easy cleaning and improved system longevity.
- GPU Bracket: Integrated bracket provides support for graphics cards, preventing sag and accommodating larger cards.
5. Bileşen Üstüview
5.1 Harici Views

Figure 5.1: Front panel design with air intake and included 120mm fan illustration.

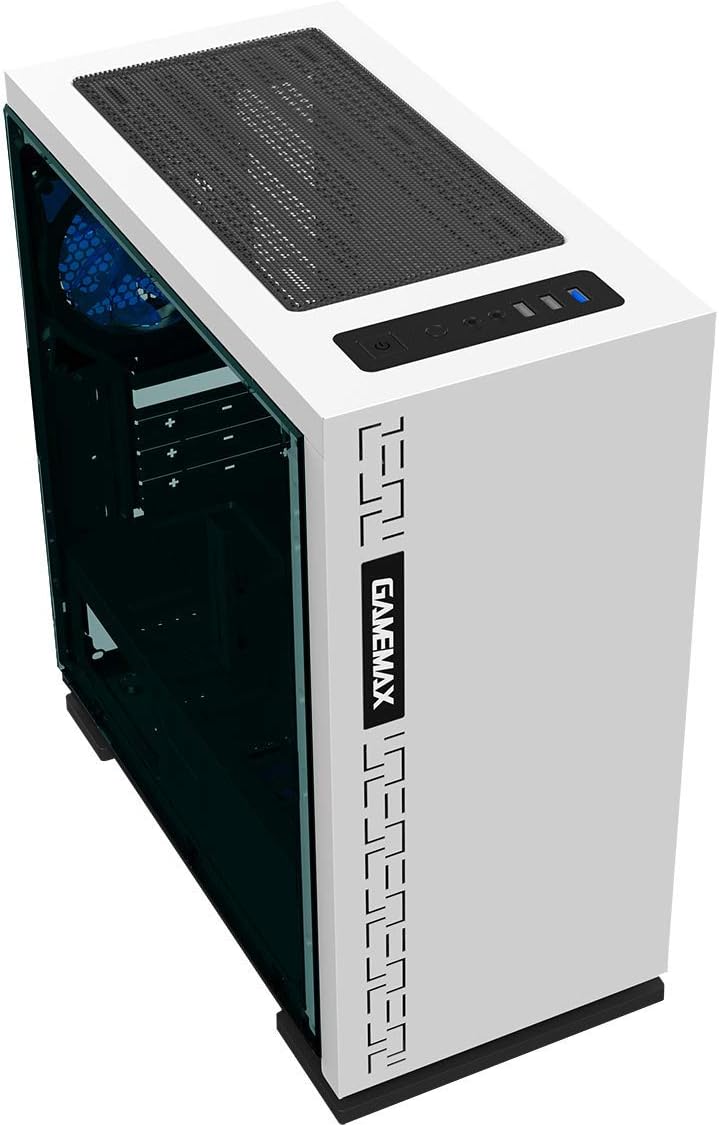
Figure 5.2: Top I/O panel featuring USB 3.0, USB 2.0, and audio ports.
Şekil 5.3: Üst view showing the magnetic dust filter for fan ventilation.
Şekil 5.4: Arka view displaying expansion slots and the pre-installed 120mm fan.
5.2 İç Yerleşim Planı

Şekil 5.5: Dahili view with the side panel removed, showing the motherboard tray and cable routing options.

Figure 5.6: Illustration of fan and radiator mounting points within the chassis.
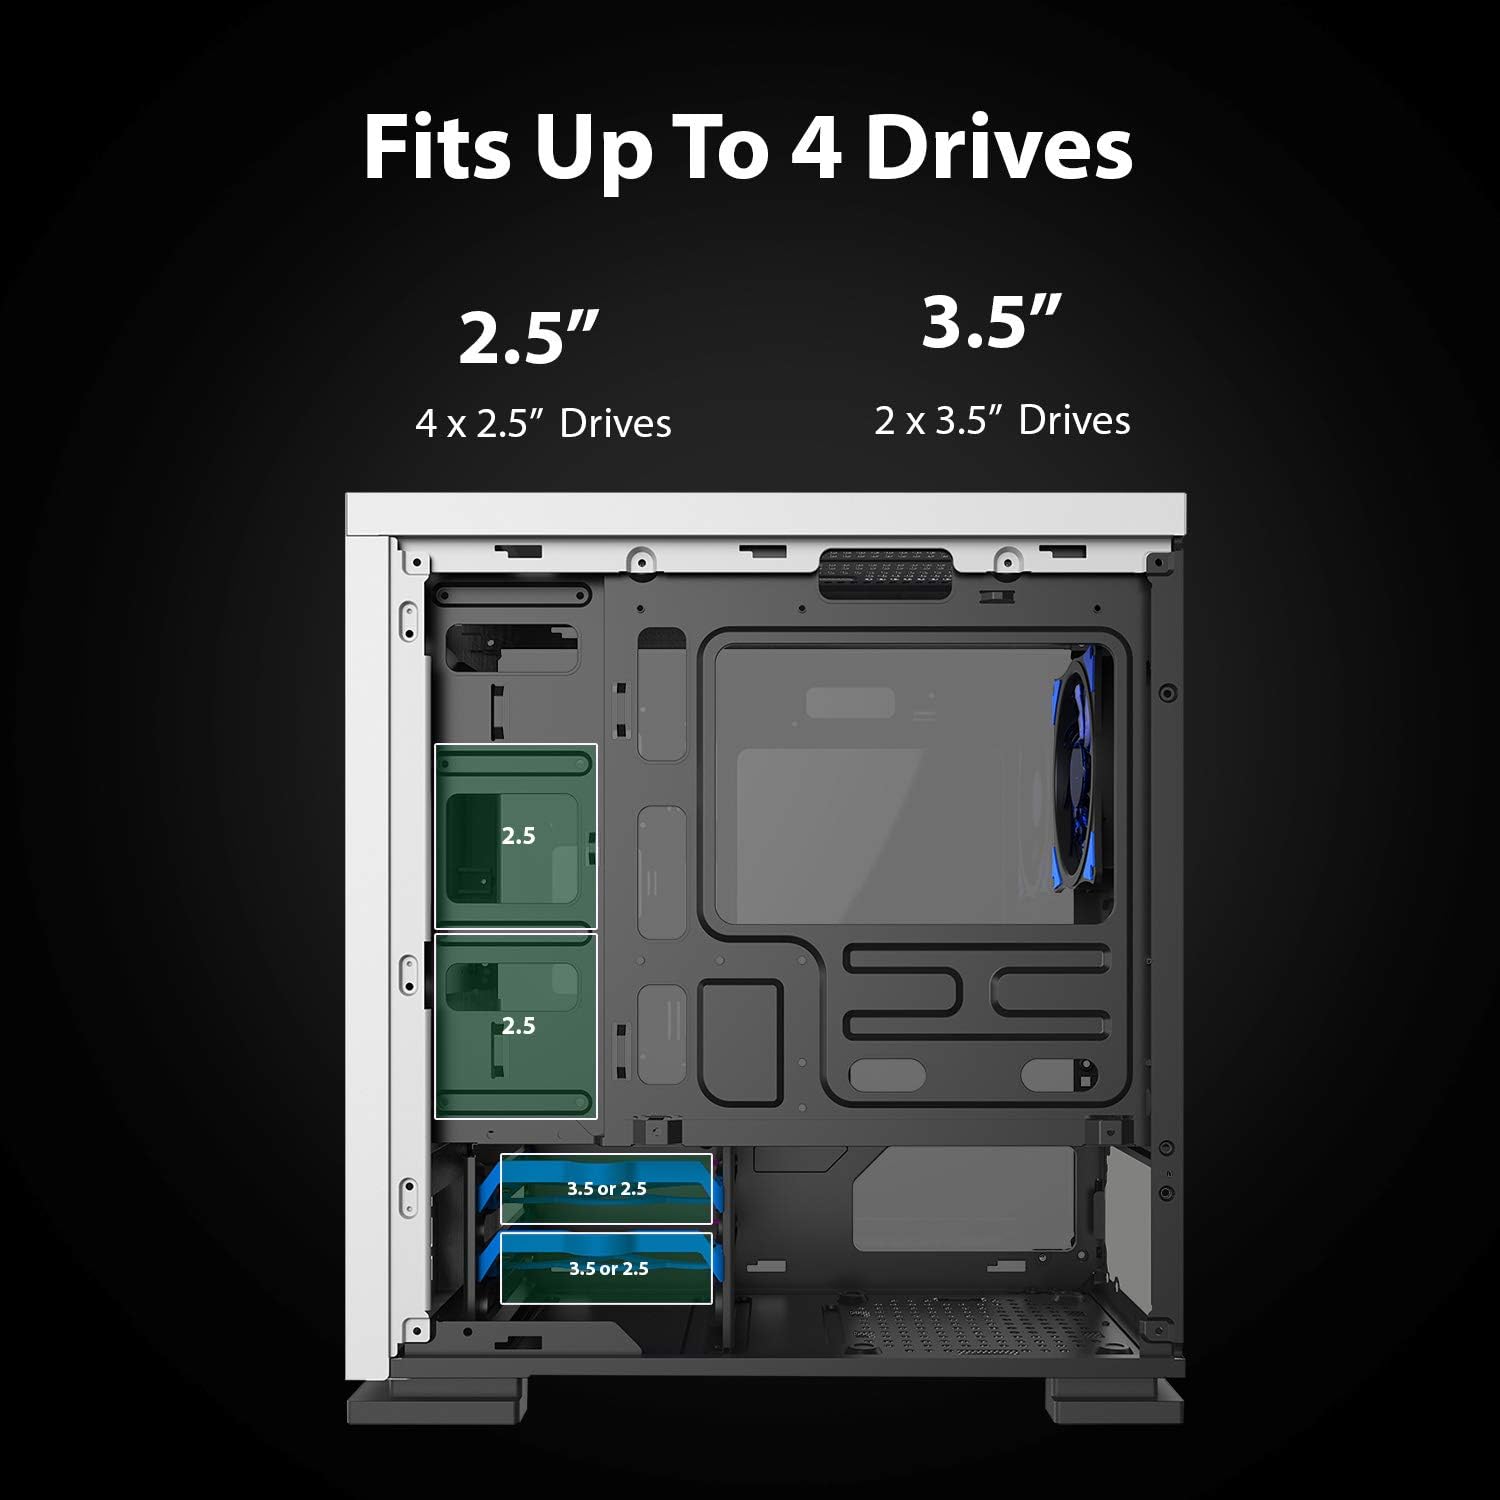
Figure 5.7: Drive bay locations supporting 2.5" and 3.5" storage devices.
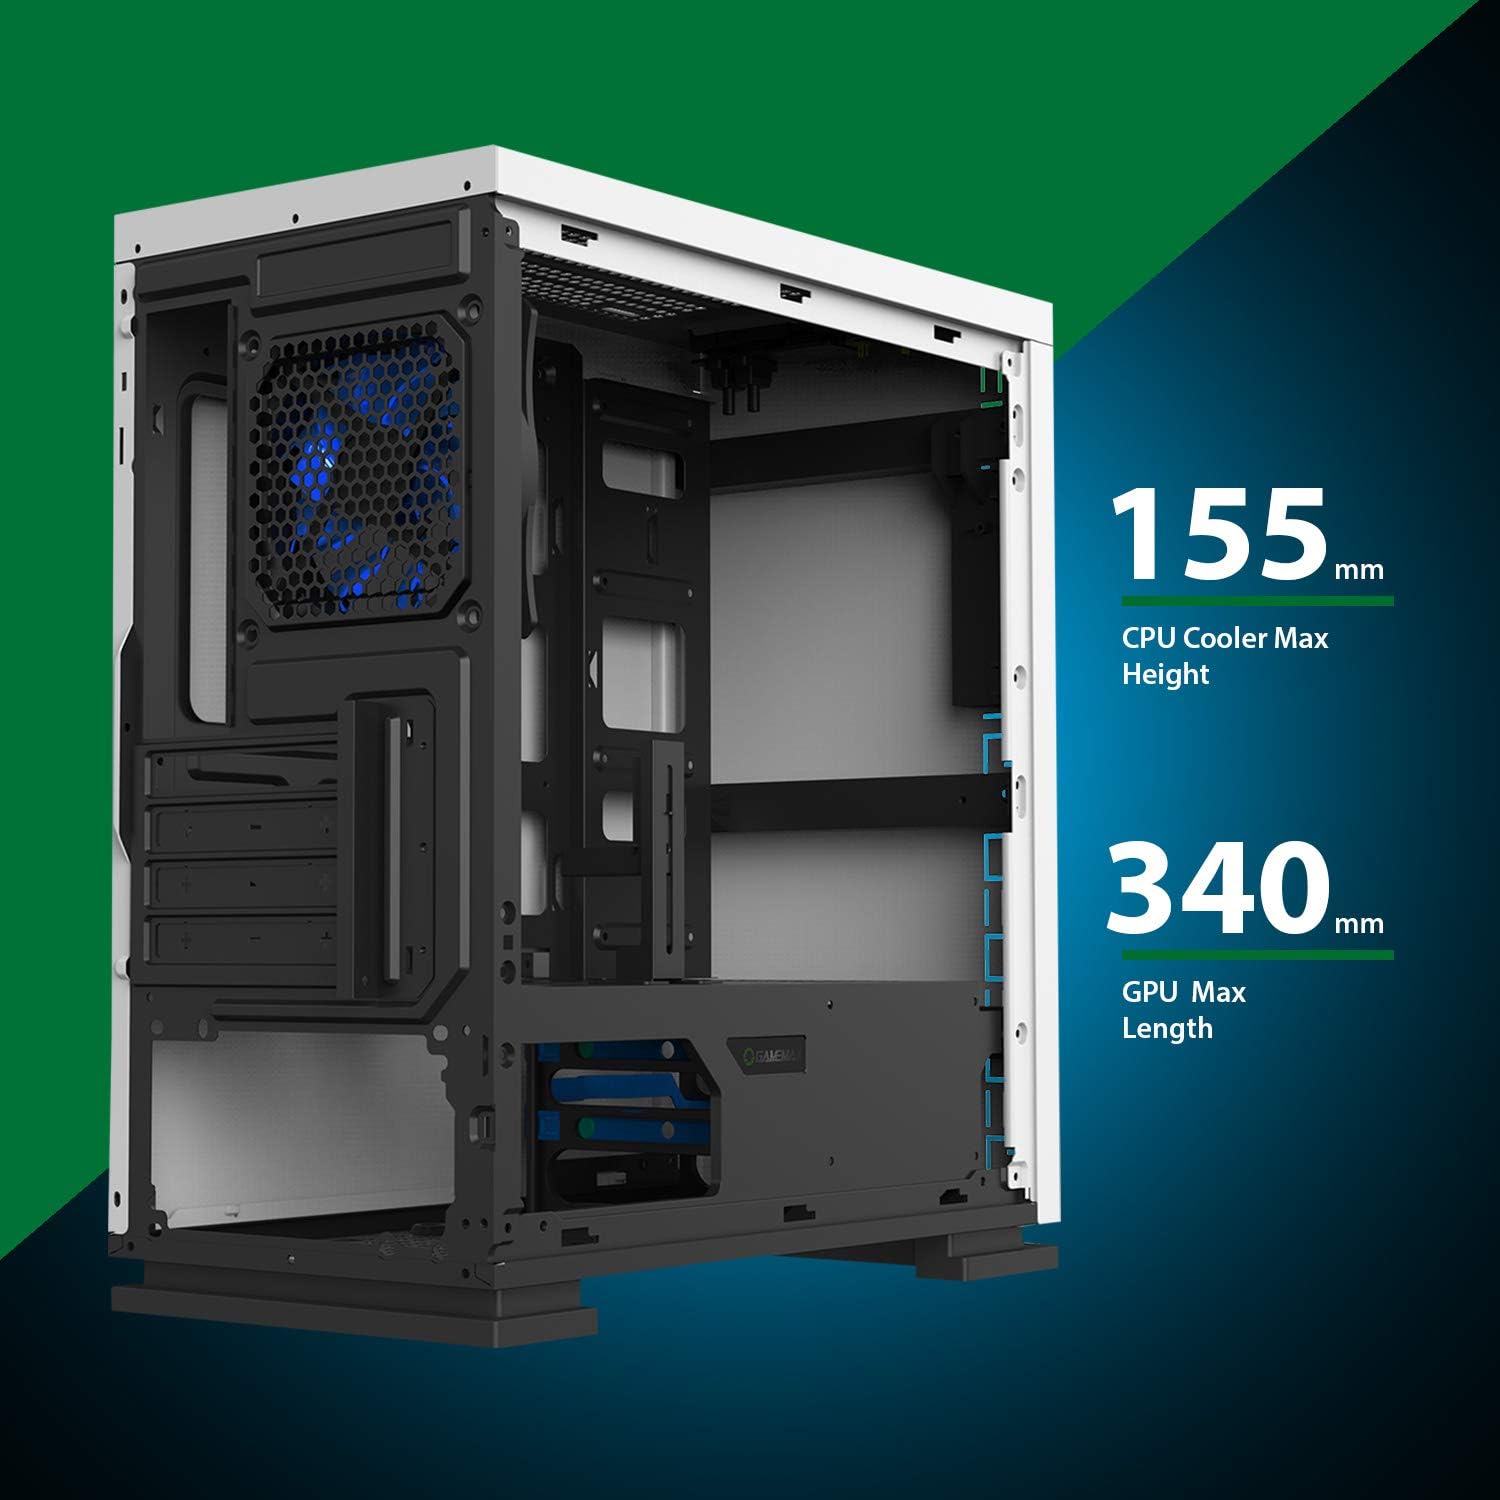
Figure 5.8: Maximum clearance for CPU coolers (155mm) and GPUs (340mm).
6. Kurulum ve Kurulum
6.1 Hazırlık
- Unpack the chassis and remove all packaging materials.
- Remove the side panels by unscrewing the thumbscrews at the rear.
- Gather necessary tools: Phillips head screwdriver, cable ties.
6.2 Anakart Kurulumu
- Install the I/O shield into the rear opening of the chassis.
- Align the motherboard with the pre-installed standoffs. Ensure the standoffs match your Micro ATX motherboard's mounting holes.
- Anakartı verilen vidalarla sabitleyin.
6.3 Güç Kaynağı Kurulumu
- Place the power supply unit (PSU) into the dedicated compartment at the bottom rear of the case.
- Align the PSU with the screw holes on the rear of the chassis.
- Verilen vidalarla güç kaynağını sabitleyin.
6.4 Depolama Sürücüsü Kurulumu
- 2.5" Drives: Mount 2.5" SSDs/HDDs to the dedicated mounting points on the motherboard tray or within the drive cage using the provided screws.
- 3.5" Drives: Install 3.5" HDDs into the drive cage located beneath the PSU shroud. Slide the drive into the tray and secure it.
6.5 Expansion Card (GPU) Installation
- Kasanın arka tarafındaki gerekli genleşme yuvası kapaklarını çıkarın.
- Ekran kartınızı veya diğer genişletme kartınızı anakart üzerindeki uygun PCIe yuvasına takın.
- Kartı bir vida ile sabitleyin.
- Utilize the adjustable GPU bracket to provide additional support for heavier graphics cards.
6.6 Fan ve Soğutma Sistemi Kurulumu
- The case comes with one 120mm Blue LED fan pre-installed at the rear.
- Additional 120mm fans can be installed at the top and front positions as needed.
- Optimum hava akışı (giriş veya çıkış) için fanların doğru şekilde yönlendirildiğinden emin olun.
6.7 Front Panel Connector Installation
Connect the front panel cables (USB 3.0, USB 2.0, HD Audio, Power SW, Reset SW, Power LED, HDD LED) to their corresponding headers on your motherboard. Refer to your motherboard manual for exact pin layouts.
7. Çalıştırma
Once all components are installed and cables are connected, replace the side panels. Connect your monitor, keyboard, mouse, and power cable. Press the power button on the top panel to start your system. The pre-installed LED fan will illuminate upon power-on.
8. Bakım
- Toz Filtresi Temizliği: Regularly remove and clean the magnetic dust filter located on the top panel to maintain optimal airflow and prevent dust buildup inside the case.
- Genel Temizlik: Yumuşak bir d kullanınamp cloth to clean the exterior surfaces of the case. Avoid abrasive cleaners.
- İç Toz Giderme: Periodically use compressed air to clear dust from internal components and fans. Ensure the system is powered off and unplugged before performing internal cleaning.
9. Sorun Giderme
- Sistem Açılmıyor: Check all power connections, including the PSU to the wall outlet, PSU to motherboard, and front panel power switch cable to the motherboard.
- Fanlar Dönmüyor: Verify fan cables are securely connected to the motherboard or fan controller.
- USB Bağlantı Noktaları Çalışmıyor: Ensure the front panel USB cables are correctly connected to the motherboard's USB headers.
- Görüntü Çıkışı Yok: Confirm the graphics card is properly seated and connected to power, and the monitor cable is connected to the graphics card, not the motherboard's integrated graphics port (unless using integrated graphics).
10. Özellikler
| Özellik | Şartname |
|---|---|
| Model Adı | GMX EXPEDITION |
| Marka | OYUNMAKS |
| Dava Türü | Micro Tower (MATX) |
| Anakart Uyumluluğu | Mikro ATX |
| Renk | Expedition White |
| Malzeme | Polikarbonat (PC) |
| Ürün Boyutları (UxGxY) | 14.96 x 7.4 x 13.78 inç (380 x 188 x 350 mm) |
| Ürün Ağırlığı | 8.58 pound (3.9 kg) |
| USB 3.0 Bağlantı Noktaları | 1 |
| USB 2.0 Bağlantı Noktaları | 2 |
| Soğutma Yöntemi | Hava, Su |
| Dahil Fan | 1 x 120mm Blue LED (Rear) |
| Maksimum CPU Soğutucu Yüksekliği | 155mm |
| Maksimum GPU Uzunluğu | 340mm |
11. Garanti ve Destek
For warranty information and technical support, please visit the official GameMax websiteyi ziyaret edin veya yerel perakendecinizle iletişime geçin.
Resmi Webalan: gamemaxpc.com