
1. Giriş
Satın aldığınız için teşekkür ederizasing the Cheerlux C6 Mini Portable LED Home Cinema Projector. This manual provides essential information for the safe and efficient operation of your projector. Please read it thoroughly before use and retain it for future reference.
2. Ürün Bittiview
The Cheerlux C6 is a compact and portable LED projector designed for home cinema use. It features an integrated speaker and multiple connectivity options.
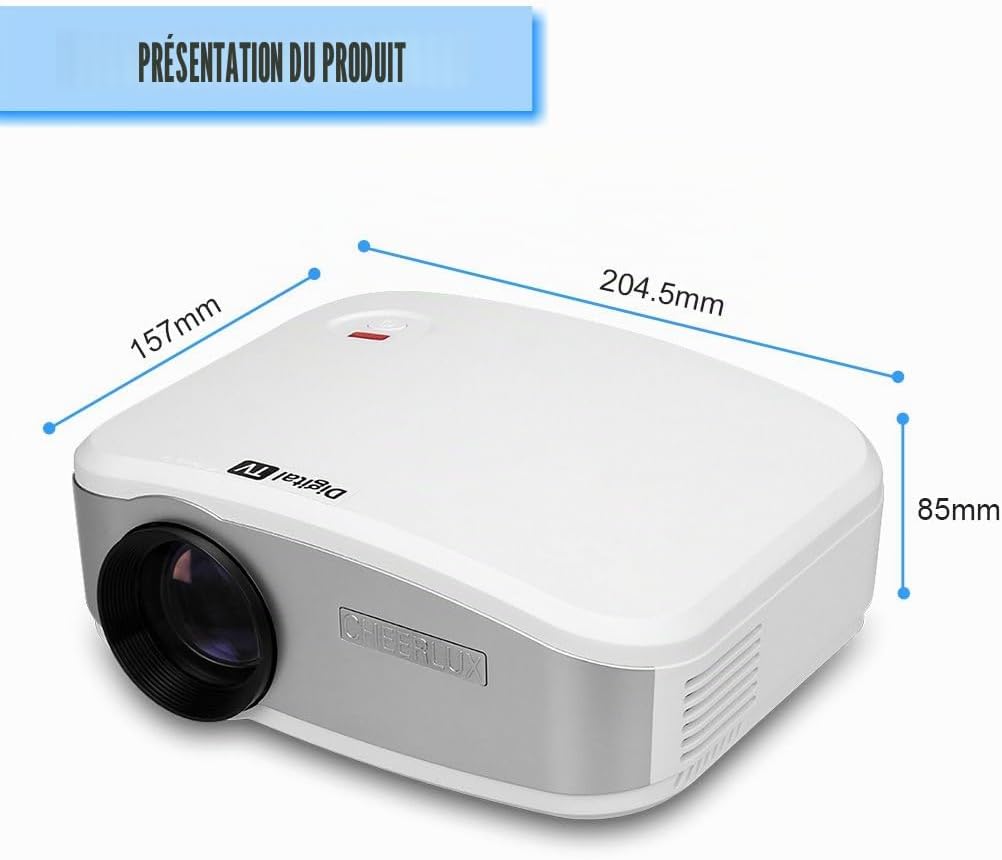
Şekil 2.1: Ön view of the Cheerlux C6 projector with its dimensions (204.5mm x 157mm x 85mm).
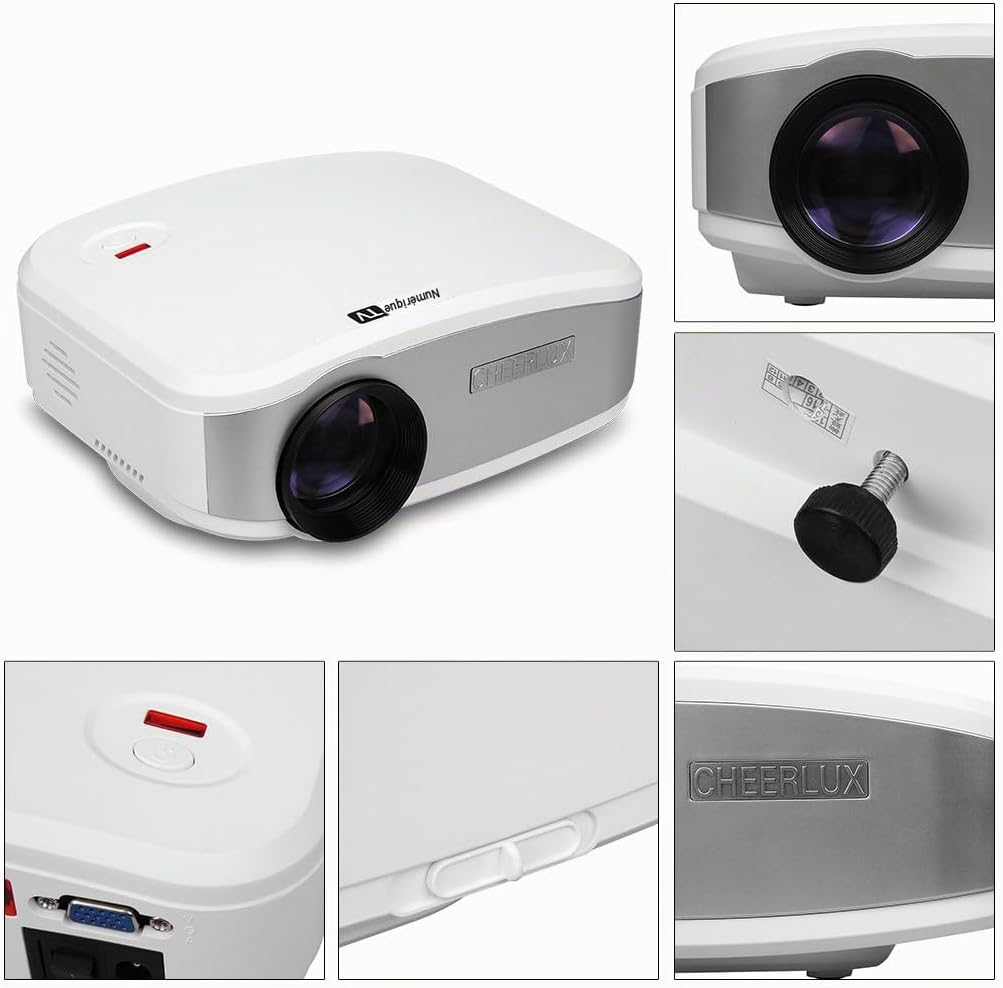
Şekil 2.2: Ayrıntılı views highlighting the projector's design, lens, power button, and branding.
2.1 Paket İçeriği
Paketin içinde tüm öğelerin mevcut olduğundan emin olun:
- Cheerlux C6 Projektör
- Güç Adaptörü
- Video Cable (AV cable)
- Uzaktan kumanda
- Kullanım Kılavuzu (bu belge)

Şekil 2.3: Standard accessories included with the Cheerlux C6 projector.
2.2 Projector Ports and Controls

Şekil 2.4: Rear panel connections and controls.
- Televizyon Girişi: For connecting to an antenna or cable TV source.
- USB Bağlantı Noktası: USB depolama aygıtlarını (örneğin, flash bellekleri) bağlayarak medya oynatmak için kullanılır. files.
- HDMI Bağlantı Noktası: For connecting high-definition devices such as laptops, game consoles, or Blu-ray players.
- 3.5mm Ses Çıkışı: Harici hoparlör veya kulaklık bağlamak için.
- IR Alıcı: Uzaktan kumanda için kızılötesi alıcı.
- AV Girişi: For connecting devices using a composite video and stereo audio cable.
- VGA Bağlantı Noktası: VGA çıkışı olan bilgisayarları veya dizüstü bilgisayarları bağlamak için.
- Güç düğmesi: Ana güç açma/kapama düğmesi.
- Keystone Düzeltmesi: Manual adjustment for image distortion.
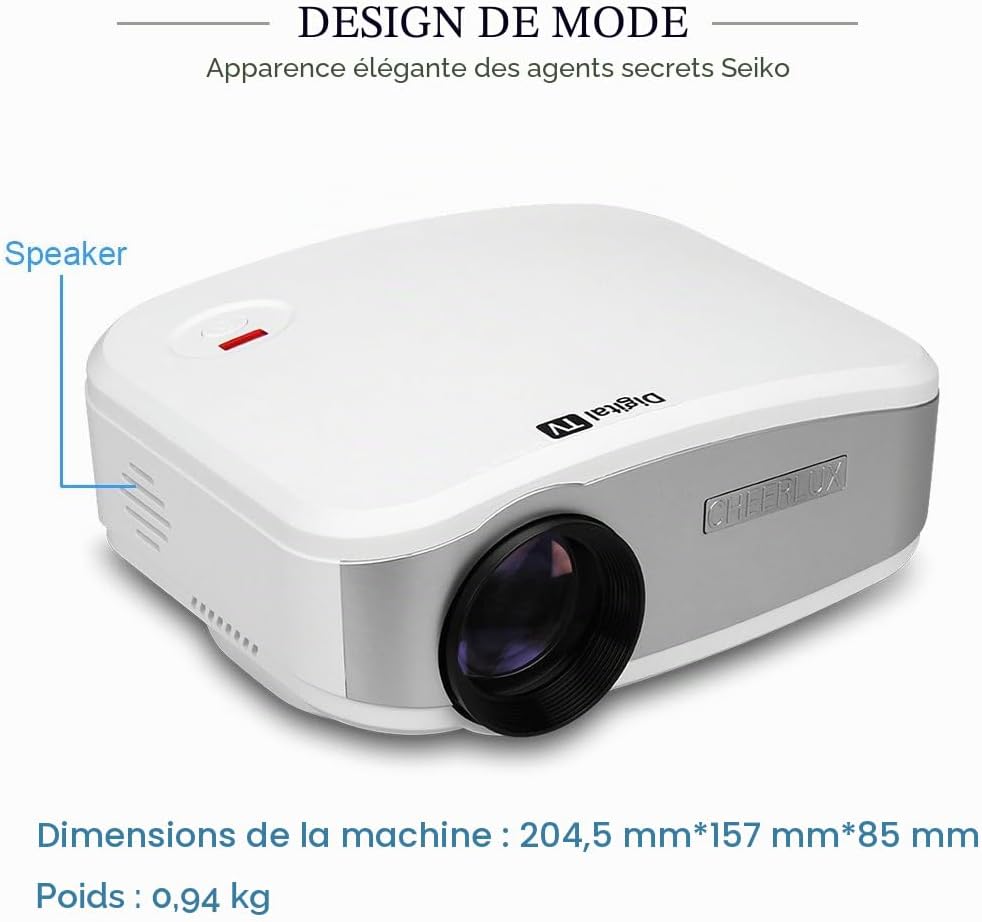
Şekil 2.5: Taraf view indicating the location of the integrated speaker.
3. Kurulum
3.1 Yerleştirme
Place the projector on a stable, flat surface. Ensure there is adequate ventilation around the projector to prevent overheating. The projection distance will determine the image size. Adjust the distance to achieve your desired screen size.
3.2 Güç Bağlantısı
- Connect the power adapter to the projector's power input.
- Güç adaptörünü uygun bir elektrik prizine takın.
- Flip the main power switch (located on the rear panel) to the "ON" position. The power indicator light should illuminate.
3.3 İlk Çalıştırma ve Odak Ayarı
- Projeksiyon cihazındaki veya uzaktan kumandadaki güç düğmesine basarak cihazı açın.
- Project an image onto a screen or wall.
- Görüntü net ve berrak görünene kadar projektör merceğindeki odak halkasını çevirin.
- If the image appears trapezoidal, use the keystone correction knob (located on the rear panel) to adjust the image geometry until it is rectangular.
4. Kullanım Talimatları
4.1 Uzaktan Kumanda İşlemi
The included remote control allows for convenient operation of the projector from a distance. Ensure the remote is pointed towards the IR receiver on the projector's rear panel.
Şekil 4.1: The remote control for navigating menus and functions.
- Güç Düğmesi: Projektörü açar veya kapatır.
- Kaynak Düğmesi: Selects the input source (HDMI, VGA, USB, AV, TV).
- Ok tuşları: Menüler ve seçenekler arasında gezinin.
- Tamam/Giriş Düğmesi: Seçimleri onaylar.
- Menü Düğmesi: Ana ayarlar menüsüne erişim sağlar.
- Ses Düğmeleri: Ses seviyesini ayarlar.
- Sessiz tuşu: Sesi kapatır veya açar.
4.2 Giriş Kaynağı Seçimi
After connecting your desired device, press the "Source" button on the remote control or the projector's control panel to cycle through available input sources (HDMI, VGA, USB, AV, TV) until your device's signal is displayed.
4.3 Menü Gezintisi ve Ayarlar
Press the "Menu" button to access the projector's settings. Use the arrow keys to navigate and the "OK" button to select. Common settings include:
- Resim Ayarları: Adjust brightness, contrast, color, sharpness, and aspect ratio.
- Ses Ayarları: Adjust volume, sound mode, and balance.
- Zaman Ayarları: Set sleep timer or clock.
- Seçenek Ayarları: Dil, fabrika ayarlarına sıfırlama, yazılım güncellemesi.
5. Bağlantı
The Cheerlux C6 projector offers various connection options to suit different devices.

Şekil 5.1: Examples of compatible devices for the Cheerlux C6 projector.
- HDMI: Connect to laptops, desktop computers, game consoles (e.g., PS3), Blu-ray players, and TV decoders for high-quality digital video and audio.
- VGA: Connect to older desktop computers or laptops for analog video signals.
- USB BAĞLANTI: Insert a USB flash drive to play supported media files (videos, photos, music, text documents) directly from the drive.
- AV (Composite Video): Connect to DVD players, VCRs, older game consoles, or cameras using the included AV cable for standard definition video and stereo audio.
- TV: Connect an antenna or cable TV source to watch broadcast television channels.
- 3.5 mm Ses Çıkışı: Connect external speakers or headphones for enhanced audio experience. The projector has an integrated speaker, but external audio devices can be used for louder or higher quality sound.
6. Bakım
6.1 Lensin Temizlenmesi
Projektör lensini nazikçe silmek için optik lensler için özel olarak tasarlanmış yumuşak, tiftiksiz bir bez kullanın. Aşındırıcı temizleyiciler kullanmayın veya aşırı güç uygulamayın, çünkü bu lensi çizebilir.
6.2 Havalandırma
Ensure the projector's ventilation vents are clear and unobstructed. Blocked vents can lead to overheating and damage the projector. Periodically clean dust from the vents using a soft brush or compressed air.
6.3 Depolama
Projeksiyon cihazını uzun süre kullanılmadığı zamanlarda serin, kuru bir yerde, doğrudan güneş ışığından ve aşırı sıcaklıklardan uzakta saklayın. Tozdan korumak için lensi kapağıyla örtün.
7. Sorun Giderme
Projeksiyon cihazınızla ilgili sorunlarla karşılaşırsanız, aşağıdaki yaygın sorunlar ve çözümlerine göz atın:
| Sorun | Olası Neden / Çözüm |
|---|---|
| Resim görüntülenmiyor |
|
| Görüntü bulanık |
|
| Image is distorted (trapezoidal) |
|
| Ses yok |
|
| Uzaktan kumanda çalışmıyor |
|
8. Özellikler
| Özellik | Detay |
|---|---|
| Marka | Cheerlux |
| Model Numarası | C6 |
| Önerilen Kullanım | Ev Sineması |
| Özel Özellik | Portable, Integrated Speaker |
| Bağlantı Teknolojisi | USB, VGA, HDMI, AV, TV |
| Ekran Çözünürlüğü | 800 x 480 piksel |
| Maksimum Ekran Çözünürlüğü | 800 x 480 piksel |
| Görüntü Türü | NEDEN OLMUŞ |
| Form Faktörü | Taşınabilir |
| Parlaklık | 3000 Lümen |
| Kontrast Oranı | 1000:1 |
| Uyumlu Cihazlar | Laptop, Tablet, Game Console, Smartphone, Speaker, Television |
| Kontrol Yöntemi | Uzaktan kumanda |
| Video Kodlama | H.264, H.265 |
| Ürün Ağırlığı | 2.07 Pound (yaklaşık 0.94 kg) |
| Renk | Beyaz |
9. Garanti ve Destek
For warranty information or technical support, please refer to the documentation provided at the time of purchase or contact Cheerlux customer service. Keep your purchase receipt as proof of purchase.