
1. Giriş
This manual provides detailed instructions for the safe and proper installation and operation of your Techly Tilting Wall Mount, Model B00DEBVVHS. This wall mount is designed to securely hold LED/LCD TVs ranging from 13 to 30 inches, with a maximum weight capacity of 23 kg (51 lbs). It features adjustable mounting holes compatible with VESA standards 75x75 mm and 100x100 mm, and offers a tilt range of +/- 15 degrees for optimal viewing angles. The mount maintains a distance of 98 mm from the wall.
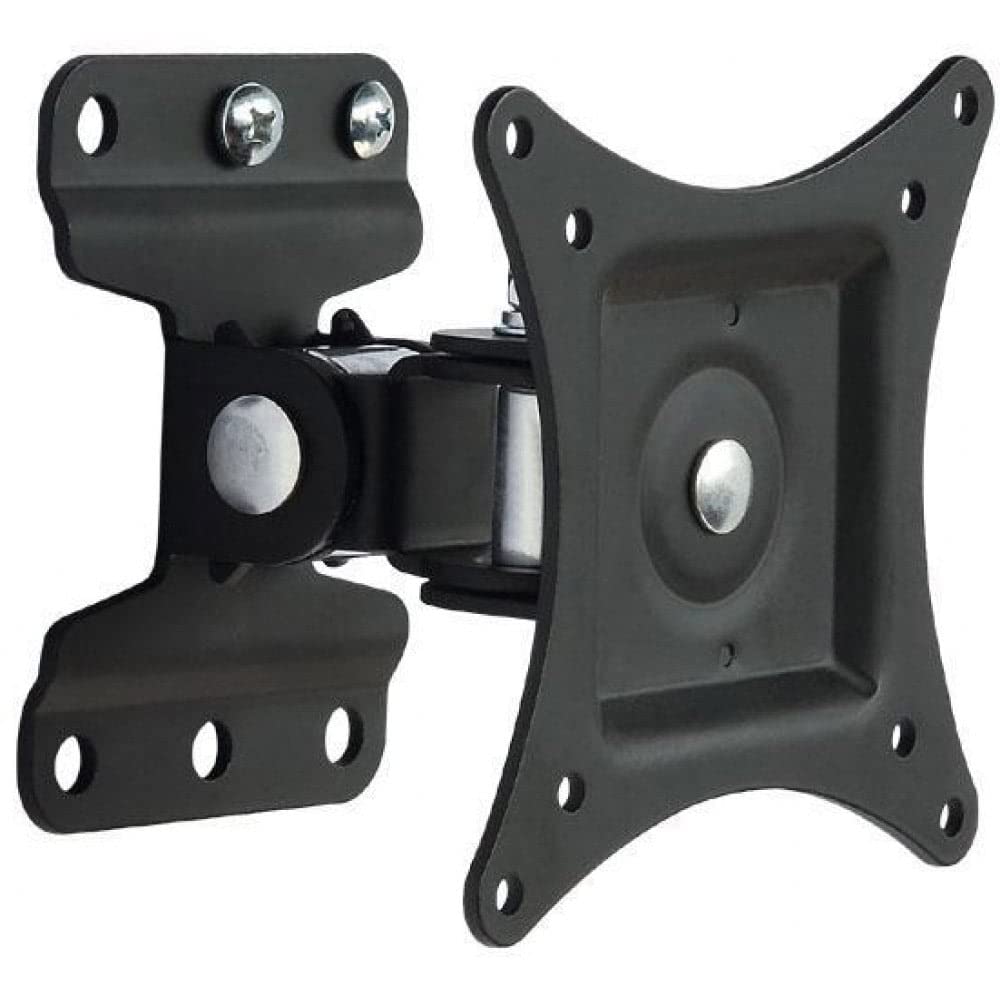
Resim 1.1: Ön view of the Techly Tilting Wall Mount.
2. Güvenlik Bilgileri
- Tüm talimatları dikkatlice okuyun: Before installation, ensure you understand all instructions. If you have any doubts, consult a qualified professional.
- Ağırlık Kapasitesi: Do not exceed the maximum weight capacity of 23 kg (51 lbs). Overloading can result in serious injury or property damage.
- Ekran Boyutu: This mount is designed for TVs between 13 and 30 inches. Using it with TVs outside this range may compromise stability.
- Duvar Tipi: Ensure the mounting surface can safely support the combined weight of the mount and your TV. This mount is intended for installation on solid concrete walls, brick walls, or wood stud walls. Do not install on drywall alone.
- Aletler: Use appropriate tools for installation. Wear safety glasses and other protective gear as needed.
- Çocuklar: Çocukları kurulum alanından uzak tutun.
- Bakım: Montajın sağlam olduğundan ve tüm bağlantı elemanlarının sıkı olduğundan periyodik olarak kontrol edin.
3. Paket İçeriği
Kurulum işlemine başlamadan önce tüm bileşenlerin eksiksiz olduğundan emin olun. Herhangi bir parça eksik veya hasarlıysa, kurulum işlemine devam etmeyin ve müşteri desteğiyle iletişime geçin.
- Wall Mount Assembly (1 unit)
- Mounting Hardware (screws, anchors, washers, spacers)
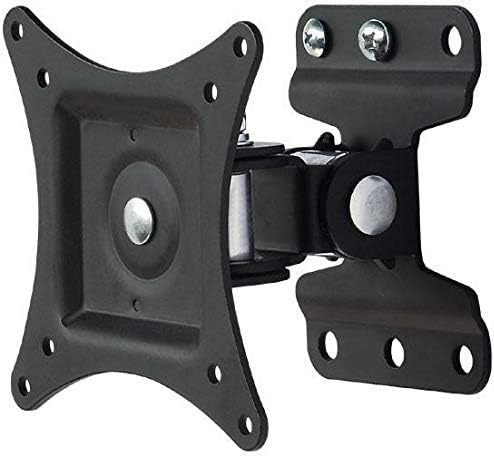
Resim 3.1: View of the wall mount components, including the main bracket and articulating arm.
4. Özellikler
| Örnek | B00DEBVVHS |
| Marka | Teknolojik |
| Montaj Tipi | Duvara Montaj |
| Hareket Türü | Articulating, Tilt |
| Uyumlu Ekran Boyutları | 13 - 30 inç |
| Maksimum Televizyon Ağırlığı | 23 kg (51 lbs) |
| VESA Uyumluluğu | 75x75 mm, 100x100 mm |
| Eğim Açısı | +/- 15 derece |
| Duvardan Uzaklık | 98 mm (3.9 inç) |
| Malzeme | Alüminyum |
| Renk | Siyah |
Image 4.1: Technical drawing showing key dimensions and VESA mounting points.
5. Kurulum ve Kurulum
Gerekli Aletler (dahil değildir): Pencil, Stud Finder (for wood studs), Drill, Drill Bits (appropriate for wall type), Level, Phillips Head Screwdriver, Socket Wrench.
Adım 1: TV Askı Aparatlarını TV'nize Takın
- Ekran hasarını önlemek için televizyonunuzu dikkatlice, yüzü aşağıya gelecek şekilde yumuşak ve temiz bir yüzeye yerleştirin.
- Televizyonunuzun arkasındaki VESA montaj deliklerini bulun.
- Select the appropriate screws, washers, and spacers from the provided hardware kit that fit your TV's mounting holes. Ensure the screws are not too long, which could damage internal components, or too short, which would not provide a secure fit.
- Attach the VESA plate of the wall mount to the back of your TV using the selected hardware. Tighten securely, but do not overtighten.

Image 5.1: The VESA plate of the mount, which attaches to the TV.
Step 2: Mark Drilling Holes on the Wall
- Determine the desired height for your TV. Consider viewing angles and furniture placement.
- Hold the wall plate portion of the mount against the wall at the desired height. Use a level to ensure it is perfectly horizontal.
- Mark the drilling locations through the holes on the wall plate using a pencil.
- For wood stud installation, use a stud finder to locate the center of a wood stud and ensure at least two mounting holes align with the stud.
Step 3: Drill Holes and Install Wall Plate
- Drill pilot holes at the marked locations. The drill bit size will depend on your wall type and the anchors/screws provided.
- For concrete/brick walls, insert the plastic wall anchors into the drilled holes. Tap gently with a hammer until flush with the wall surface.
- Position the wall plate over the drilled holes and secure it to the wall using the provided screws and washers. Tighten all screws firmly to ensure the wall plate is securely fastened.
Step 4: Mount TV to Wall Plate
- With assistance, carefully lift the TV (with the VESA plate attached) and align the VESA plate with the arm extending from the wall plate.
- Slide the VESA plate onto the arm until it clicks into place or can be secured with the provided locking mechanism (if applicable).
- Televizyonu duvara monte edilmiş aparata sağlam bir şekilde takılı olduğundan emin olduktan sonra çıkarın.asing o.
6. Montajın Çalıştırılması
This wall mount allows for tilting adjustments to achieve your preferred viewaçı.
- devirme: The mount allows for a tilt range of +/- 15 degrees. To adjust the tilt, gently push or pull the top or bottom of your TV to the desired angle. The friction mechanism will hold the TV in place.
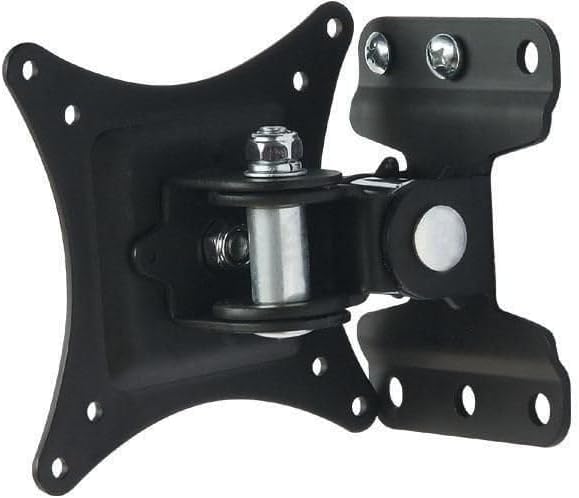
Image 6.1: Diagram illustrating the +/- 15 degree tilt capability of the mount.
7. Bakım
- Temizlik: Montaj yüzeyini yumuşak, kuru bir bezle silin. Aşındırıcı temizleyiciler veya çözücüler kullanmayın.
- Periyodik Kontroller: Regularly inspect the mount and all fasteners to ensure they remain tight and secure. If any components appear loose or damaged, tighten them or replace them immediately.
- Yağlama: The articulating joints are designed for smooth movement. No lubrication is typically required.
8. Sorun Giderme
- Televizyon düz durmuyor: Ensure the wall plate was installed level. If not, remove the TV, loosen the wall plate screws, adjust with a level, and re-tighten.
- Montaj gevşek gibi görünüyor: Check all screws securing the mount to the wall and the TV to the mount. Tighten any loose fasteners. Do not overtighten.
- Televizyonu eğmekte zorluk: Ensure no cables are obstructing the movement. The tilt mechanism is designed to hold position, so some resistance is normal. If it's excessively stiff, check for any debris in the joint.
- Mounting screws do not fit TV: Refer to your TV's manual for correct VESA screw sizes. The provided hardware kit includes common sizes, but some TVs may require specific screws.
9. Garanti Bilgileri
This Techly Tilting Wall Mount comes with a 2 yıllık garanti from the date of purchase. This warranty covers manufacturing defects and material flaws under normal use. It does not cover damage caused by improper installation, misuse, accidents, or unauthorized modifications. Please retain your proof of purchase for warranty claims.
10. Müşteri Desteği
For technical assistance, missing parts, or warranty inquiries, please contact Techly customer support. Refer to the product packaging or the official Techly webEn güncel iletişim bilgileri için sitemizi ziyaret edin.