
1. Giriş
Satın aldığınız için teşekkür ederizasing the Lexon LR98R1 Onoff LCD Alarm Clock. This manual provides detailed instructions for the proper setup, operation, and maintenance of your device. Please read this manual thoroughly before use and retain it for future reference.
The Lexon Onoff alarm clock features a unique design where flipping the clock activates or deactivates the alarm. It includes an LCD display with a blue electroluminescent backlight for clear visibility.
2. Güvenlik Bilgileri
- Cihazı aşırı sıcaklıklara, doğrudan güneş ışığına veya yüksek neme maruz bırakmayın.
- Cihazı düşürmekten veya güçlü darbelere maruz bırakmaktan kaçının.
- Do not attempt to disassemble or modify the alarm clock. This will void the warranty.
- Cihazınızı su ve diğer sıvılardan uzak tutunuz.
- Kullanılmış pilleri yerel düzenlemelere uygun şekilde sorumlu bir şekilde atın.
- Use only the specified battery type (2 x AAA).
3. Paket İçeriği
Paketin içerisinde tüm ürünlerin mevcut olduğundan emin olun:
- Lexon LR98R1 Onoff LCD Alarm Clock
- Kullanım Kılavuzu (bu belge)
Not: AAA piller ürüne dahil değildir ve ayrı olarak satın alınmalıdır.
4. Ürün Bittiview
Familiarize yourself with the components of your Lexon Onoff alarm clock.
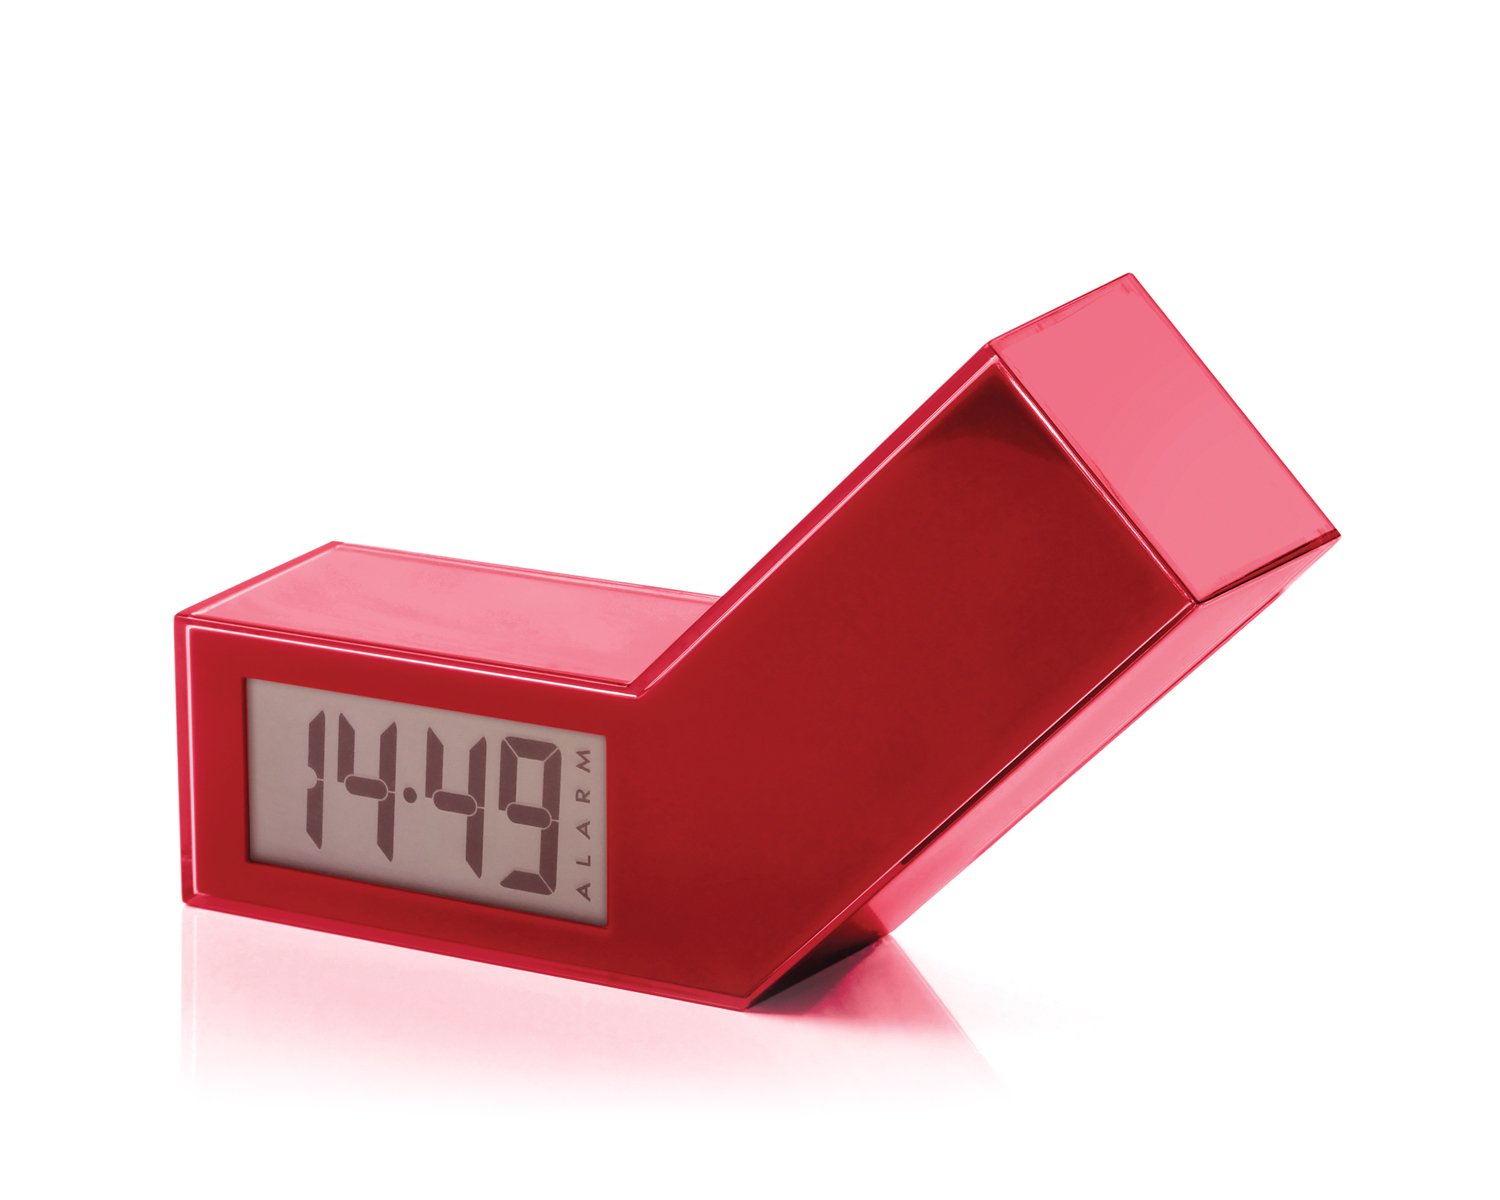
Şekil 1: Ön view of the Lexon LR98R1 Onoff LCD Alarm Clock. The image displays the alarm clock in its red casing, with the LCD screen visible. The side labeled 'ON' is facing upwards, indicating the alarm is active. The clock has a minimalist rectangular design.
While specific button labels are not visible in the provided image, typical alarm clock controls are usually located on the back or sides. These generally include:
- Zaman Ayarı Düğmesi: To adjust the current time.
- Alarm Ayar Düğmesi: To adjust the alarm time.
- Hour/Minute Adjustment Buttons: To change hour and minute values.
- Erteleme/Işık Düğmesi: To temporarily silence the alarm or activate the backlight.
- Pil Bölmesi: Located on the back or bottom.
5. Kurulum
5.1 Pil Kurulumu
- Çalar saatin arka veya alt tarafında bulunan pil bölmesi kapağını bulun.
- Bölmeyi açmak için kapağı kaydırın veya kaldırın.
- Bölmenin içinde belirtildiği gibi doğru kutuplara (+ ve -) dikkat ederek iki (2) adet AAA pil takın.
- Pil bölmesi kapağını güvenli bir şekilde yerine takın.
Note: Batteries are not included. Please use new AAA alkaline batteries for optimal performance.
5.2 İlk Güç Açma
Once batteries are installed, the LCD display should illuminate, and the clock will typically start at a default time (e.g., 12:00 AM). You will then need to set the current time and alarm.
6. Kullanım Talimatları
6.1 Geçerli Saati Ayarlama
- Basılı tutun SAAT AYARI button (or similar, refer to device markings) until the hour digits begin to flash.
- Kullanın SAAT Ve DAKİKA adjustment buttons to set the correct hour and minute.
- Basmak SAAT AYARI Tekrar onaylamak ve zaman ayarı modundan çıkmak için.
6.2 Alarm Saatini Ayarlama
- Basılı tutun ALARM KURULDU button (or similar) until the alarm hour digits begin to flash.
- Kullanın SAAT Ve DAKİKA adjustment buttons to set your desired alarm time.
- Basmak ALARM KURULDU Alarm ayar modundan çıkmak ve onaylamak için tekrar tıklayın.
6.3 Activating/Deactivating the Alarm (Onoff Feature)
The Lexon Onoff alarm clock features a unique flip mechanism:
- İle AKTİF HALE GETİR the alarm, place the clock with the side labeled "ON" facing upwards. An alarm icon should appear on the LCD display.
- İle DEVRE DIŞI BIRAKMAK the alarm, flip the clock so the side labeled "KAPALI" is facing upwards. The alarm icon should disappear from the display.
6.4 Silencing the Alarm / Snooze Function
- Alarm çaldığında, düğmesine basın. ERTELEME / IŞIK button (usually a large button on top) to temporarily silence the alarm. The alarm will sound again after a few minutes (typically 5-10 minutes).
- To completely turn off the alarm for the day, flip the clock to the "KAPALI" position.
6.5 Ekran Arka Işığı
Basın ERTELEME / IŞIK button to activate the blue electroluminescent backlight for a few seconds, allowing you to view the time in low-light conditions.
7. Bakım
7.1 Temizlik
Wipe the surface of the alarm clock with a soft, dry cloth. Do not use abrasive cleaners, solvents, or chemical sprays, as these may damage the finish or electronic components.
7.2 Pil Değişimi
When the display dims or the alarm function becomes unreliable, it is time to replace the batteries. Follow the battery installation steps in Section 5.1. Always replace both AAA batteries at the same time.
8. Sorun Giderme
| Sorun | Olası Neden | Çözüm |
|---|---|---|
| Ekran boş veya karanlık. | Piller bitmiş veya yanlış takılmış. | Pilleri yeni AAA pillerle değiştirin ve kutupların doğru olmasına dikkat edin. |
| Alarm çalmıyor. | Alarm is not activated (clock is in "OFF" position) or alarm time is not set. | Flip the clock to the "ON" position. Verify the alarm time is set correctly (Section 6.2). Ensure batteries are not low. |
| Zaman yanlış. | Time was not set correctly or batteries were removed/replaced. | Reset the current time (Section 6.1). |
| Backlight does not work. | Piller zayıf. | Pilleri değiştirin. |
9. Özellikler
| Model Numarası | LR98R1 |
| Marka | Lexon |
| Görüntü Türü | LCD with Blue Electroluminescent Backlight |
| Güç Kaynağı | 2 x AAA Piller (dahil değildir) |
| Malzeme | ABS / Injected Polycarbonate |
| Boyutlar (U x G x Y) | 13.5 x 3.5 x 8 cm (yaklaşık 5.3 x 1.4 x 3.1 inç) |
| Hareket Türü | Kuvars |
| Özel Özellikler | Onoff flip alarm activation/deactivation, Snooze function |
10. Garanti ve Destek
The Lexon LR98R1 Onoff LCD Alarm Clock comes with a 2 yıllık üretici garantisi satın alma tarihinden itibaren. Bu garanti, normal kullanımda malzeme ve işçilikteki kusurları kapsar.
Garanti şunları kapsamaz:
- Kaza, kötü kullanım, yanlış kullanım, sel, yangın, deprem veya diğer dış nedenlerden kaynaklanan hasarlar.
- Bu kılavuzda açıklanan izin verilen veya amaçlanan kullanımların dışında ürünün çalıştırılmasından kaynaklanan hasar.
- Damage caused by service performed by anyone who is not an authorized representative of Lexon.
- Products or parts that have been modified to alter functionality or capability without the written permission of Lexon.
For warranty claims or technical support, please contact Lexon customer service through their official website or your retailer. Please have your proof of purchase and model number (LR98R1) ready.