Vivitek D519
Vivitek D519 3000 Lumen XGA HDMI Portable DLP Projector User Manual
Model: D519
1. Giriş
The Vivitek D519 is a versatile and portable digital projector designed to deliver high-quality presentations and media experiences. Featuring 3000 lumens of brightness, XGA (1024x768) native resolution, and a 15,000:1 contrast ratio, it ensures clear and vibrant images. This manual will guide you through the setup, operation, and maintenance of your D519 projector.
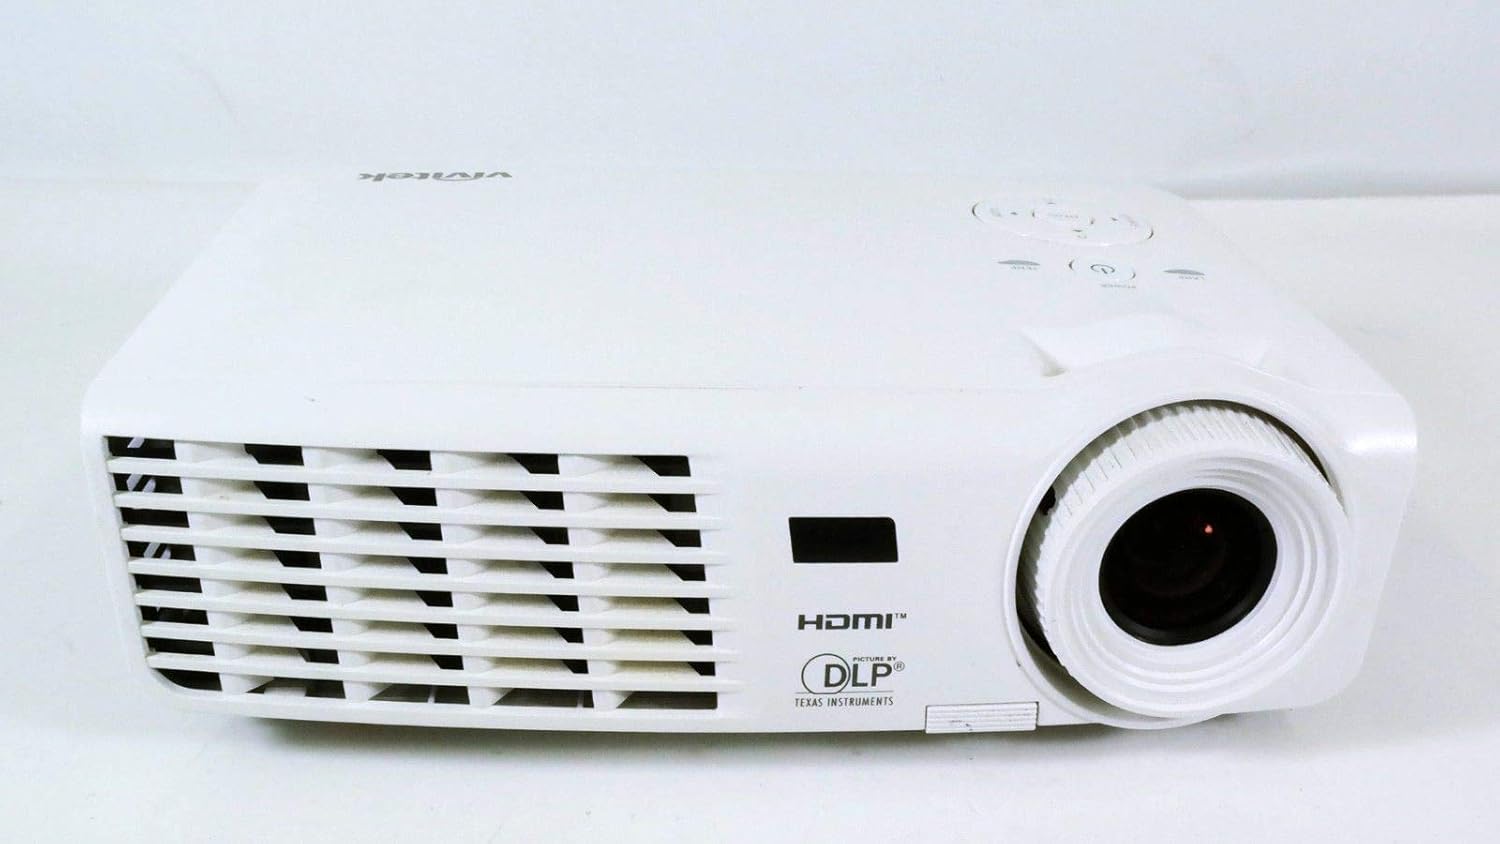
Şekil 1.1: Ön view of the Vivitek D519 Projector, showing the lens and ventilation.
2. Kurulum
2.1 Unpacking the Projector
Tüm bileşenleri ambalajından dikkatlice çıkarın. Aşağıda listelenen tüm öğelerin mevcut olduğundan emin olun:
- Vivitek D519 Projector
- AC Güç Kablosu
- VGA Kablosu
- Uzaktan Kumanda (pilli)
- Taşıma Çantası
- User's Manual (CD)
- Lens kapağı
- Garanti Kartı
2.2 Fiziksel Yerleştirme
Place the projector on a stable, flat surface or mount it securely. Ensure adequate ventilation around the projector to prevent overheating. Avoid placing it near heat sources or in direct sunlight.
2.3 Cihazları Bağlama
The D519 offers various connectivity options. Connect your source device (e.g., laptop, DVD player) to the appropriate input port on the projector.

Şekil 2.1: Arka view of the Vivitek D519 Projector, highlighting the HDMI, VGA, S-Video, and audio input ports.
- HDMI: For high-definition digital video and audio. Connect an HDMI cable from your source to the projector's HDMI port.
- VGA: For analog computer video. Connect a VGA cable from your computer to the projector's VGA port.
- Ses girişi: For analog audio input. Connect audio cables to the L-AUDIO-R or AUDIO IN ports as needed.
- S-Video: Standart çözünürlüklü videolar için.
- RS-232: For projector control via a computer or control system.
2.4 Açma
Connect the AC power cord to the projector's power inlet and then to a power outlet. Press the Güç button on the projector's control panel or the remote control to turn on the projector. The power indicator light will illuminate.
3. Projektörün Çalıştırılması
3.1 Kontrol Paneli Üstüview
Projektörün üst kısmında bulunan kontrol paneli, uzaktan kumandaya ihtiyaç duymadan temel işlemlerin yapılmasını sağlar.

Şekil 3.1: Üst view of the Vivitek D519 Projector, showing the control panel with power, menu, source, and navigation buttons.
- Güç Düğmesi: Projektörü açar veya kapatır.
- Kaynak Düğmesi: Cycles through available input sources (HDMI, VGA, S-Video, etc.).
- Menü Düğmesi: Accesses the on-screen display (OSD) menu for advanced settings.
- Gezinme Düğmeleri (Yukarı/Aşağı/Sol/Sağ): Menü seçenekleri arasında gezinmek ve ayarları değiştirmek için kullanılır.
- Otomatik Düğme: Automatically adjusts the image for optimal display.
3.2 Görüntüyü Ayarlama
Once the projector is powered on and an input source is selected, you may need to adjust the image for clarity and size.
- Odak Halkası: Rotate the focus ring around the lens to sharpen the image.
- Yakınlaştırma Halkası: Rotate the zoom ring to adjust the image size without moving the projector. The D519 has a 1.1:1 zoom ratio.
- Keystone Düzeltmesi: If the image appears trapezoidal, use the keystone correction feature (accessible via the OSD menu) to square the image.
3.3 Ekran Üzeri Menüyü (OSD) Kullanma
Basın Menü button on the projector or remote to access the OSD. Use the navigation buttons to browse categories such as Picture, Display, Setup, and Information. Press Girmek (or the center button on the navigation pad) to select an option and adjust settings.
4. Bakım
4.1 Lamp Yaşam ve Değiştirme
projektör lamp has a rated life of 4000 hours in Standard mode and up to 6000 hours in Economy mode. When the lamp ömrünün sonuna ulaşan lamp indicator light will illuminate, and a message may appear on screen. Refer to the detailed user manual (on CD) for lamp değiştirme talimatları.
4.2 Projektörün Temizlenmesi
- Mercek: Optik lensler için özel olarak tasarlanmış yumuşak, tiftiksiz bir bez kullanın. Aşındırıcı temizleyiciler kullanmayın.
- Casing: Projektörü silinasinyumuşak bir g ile, damp bez. Sert kimyasallar veya solventler kullanmaktan kaçının.
- Hava Menfezleri: Regularly check and clean the air vents to ensure proper airflow and prevent dust buildup, which can lead to overheating. Use a soft brush or compressed air.
5. Sorun Giderme
This section addresses common issues you might encounter with your Vivitek D519 projector.
| Sorun | Olası Neden | Çözüm |
|---|---|---|
| Ekranda görüntü yok | Power cable disconnected; Incorrect input source; Source device off. | Check power connection; Press 'Source' button to select correct input; Ensure source device is on. |
| Görüntü bulanık | Objektif odak dışında; Projektör ekrana çok yakın/uzak. | Adjust the focus ring; Adjust projector distance or use zoom ring. |
| Görüntü yamuk şeklindedir. | Projeksiyon cihazı ekrana dik açıda değil. | Adjust keystone correction via OSD menu. |
| Projeksiyon cihazı beklenmedik şekilde kapandı. | Overheating; Lamp Yaşamının sonuna yaklaşıyor. | Ensure vents are clear; Allow projector to cool; Consider lamp replacement if indicator light is on. |
| Distorted image on startup | Yazılım hatası; Bağlantı sorunu. | Restart the projector; Check all cable connections; If persistent, consult Vivitek support. |
6. Özellikler
Key technical specifications for the Vivitek D519 Projector:
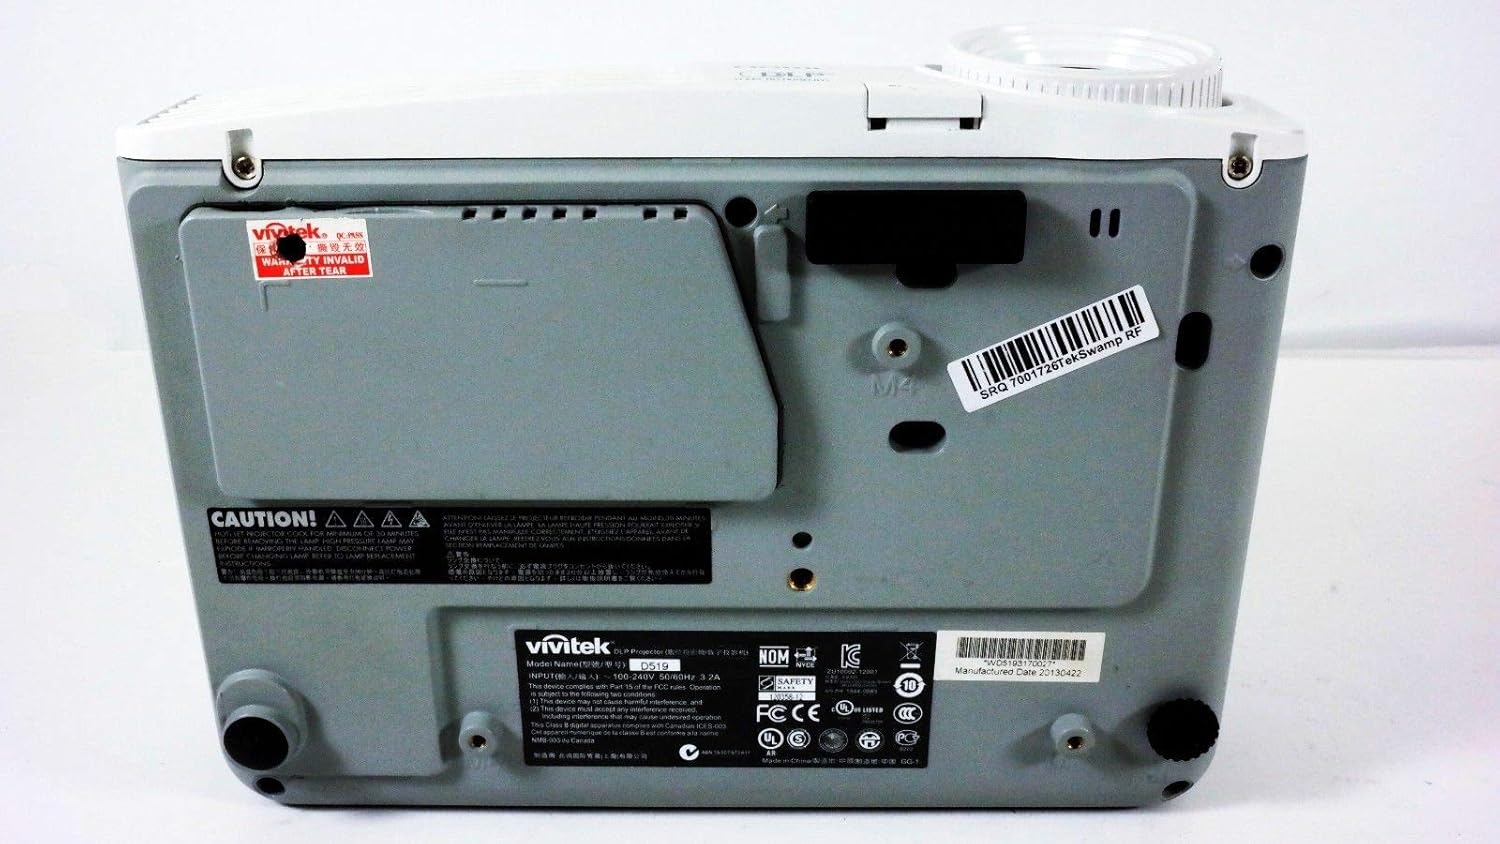
Şekil 6.1: Alt view of the Vivitek D519 Projector, showing the product label with model and serial information.
| Özellik | Detay |
|---|---|
| Model Numarası | DPU35-262VVUA |
| Ekran Teknolojisi | Single 0.55” DLP Display Technology by Texas Instruments |
| Yerel Çözünürlük | XGA (1024x768) |
| Parlaklık | 3000 Lümen |
| Kontrast Oranı | 15,000:1 |
| Lamp Hayat | 4000 hours (Standard) / 6000 hours (Economy) |
| Yakınlaştırma Oranı | 1.1:1 (Manual Zoom and Focus) |
| Bağlantı | HDMI v1.3, VGA, S-Video, L-Audio-R, Audio In, RS-232 |
| Özel Özellikler | HD Compatible, 3D-Ready, Screen Size compatibility: 40 - 300 inches |
| Ürün Boyutları | 7.5 x 10.3 x 3.1 inç |
| Ürün Ağırlığı | 4.35 pound |
7. Garanti ve Destek
Your Vivitek D519 projector comes with a limited warranty. Please refer to the Warranty Card included in your product packaging for detailed terms and conditions. For technical support, service, or warranty claims, please contact Vivitek customer service through their official webSiteyi veya garanti belgelerinizde yer alan iletişim bilgilerini kullanın.
Güncellemelerden ve destekten haberdar olmak için ürününüzü çevrimiçi olarak kaydetmeniz önerilir.
Ask a question about this manual
Ask about setup, troubleshooting, compatibility, parts, safety, or missing instructions. Manuals+ will review the question and use this page’s manual context to help answer it.