
giriiş
Thank you for choosing the AMS 5132/1 Radio-Controlled Pendulum Wall Clock. This clock combines classic design with modern radio-controlled technology for precise timekeeping. Crafted from walnut lacquered solid wood, it is designed for indoor use. Please read this manual carefully before setup and operation to ensure proper function and longevity of your clock.
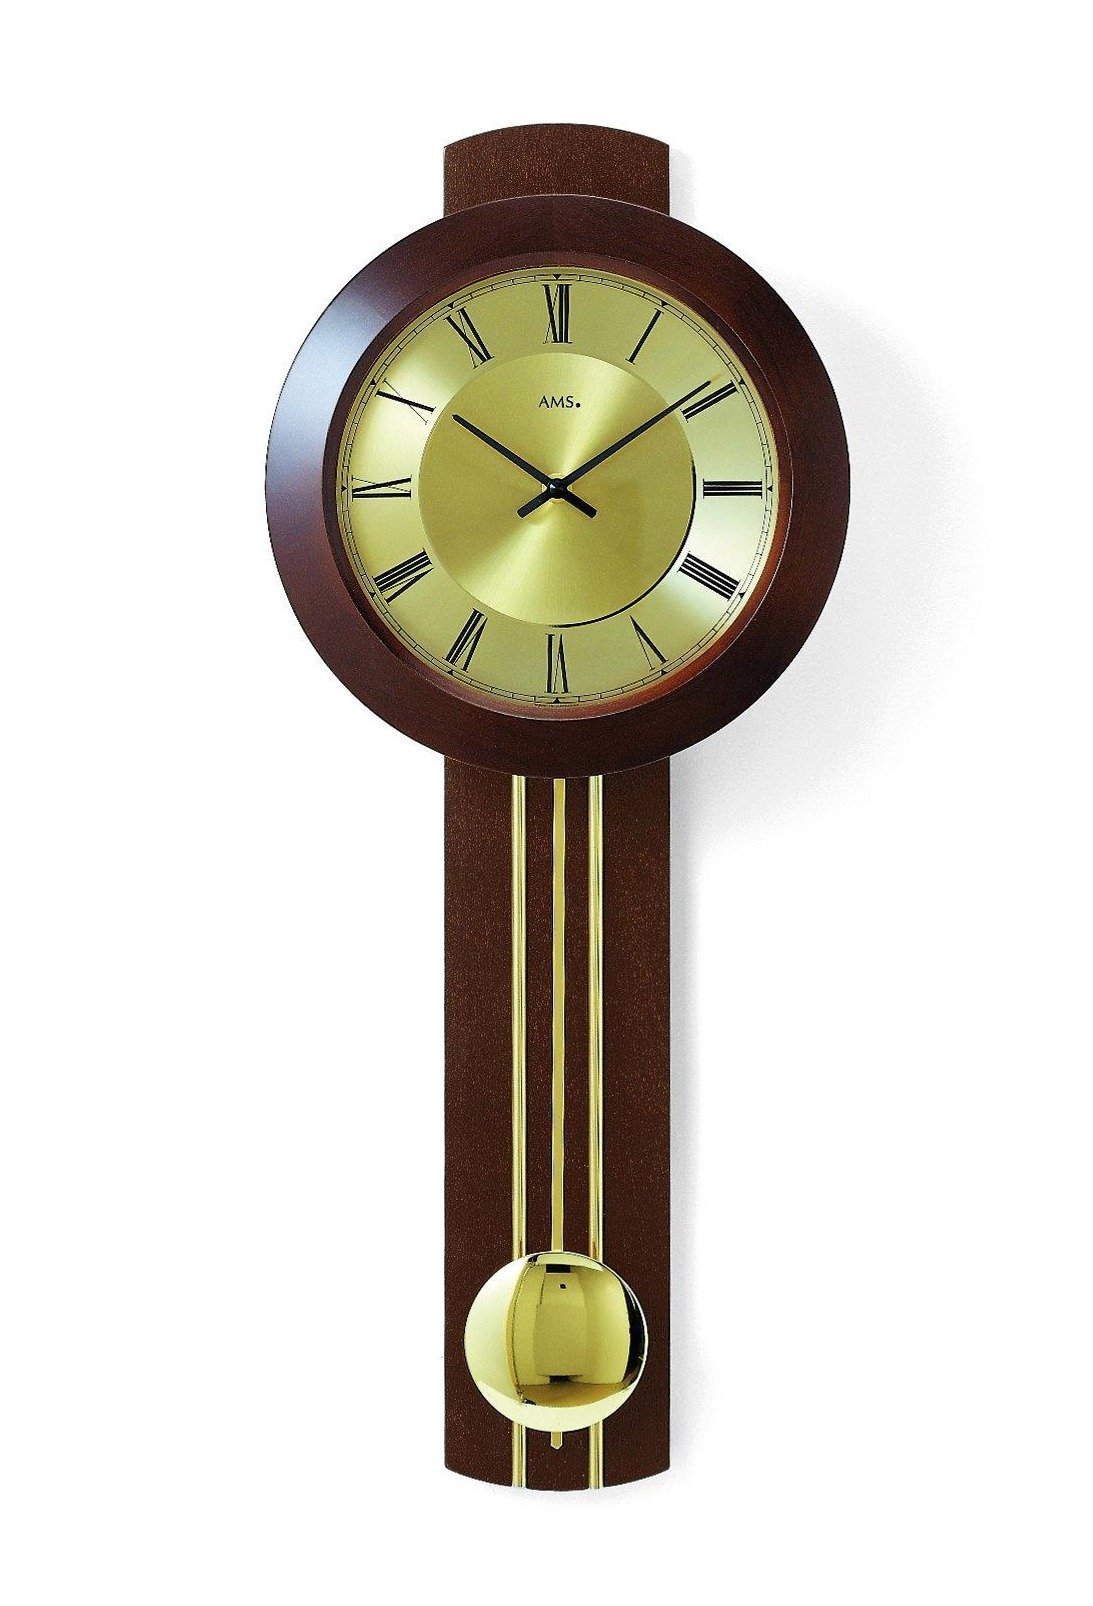
Resim: Ön view of the AMS 5132/1 Radio-Controlled Pendulum Wall Clock, showcasing its round dial, analog display, and walnut wood finish.
Güvenlik Bilgileri
- Pilleri çocukların erişemeyeceği yerlerde saklayın.
- Saatinizi aşırı sıcaklıklara, doğrudan güneş ışığına ve yüksek neme maruz bırakmayın.
- Avoid using abrasive cleaners on the wood or clock face.
- Saatin düşmesini önlemek için sağlam bir şekilde monte edildiğinden emin olun.
- Kullanılmış pilleri yerel düzenlemelere uygun şekilde sorumlu bir şekilde atın.
Paket İçeriği
Lütfen paketi aşağıdaki öğeler açısından kontrol edin:
- AMS 5132/1 Radio-Controlled Pendulum Wall Clock
- Pendulum rod and bob
- Kullanım Kılavuzu (bu belge)
Not: Piller ürüne dahil değildir ve ayrıca satın alınması gerekir.
Kurmak
- Paketin açılması: Carefully remove the clock and all components from the packaging. Retain packaging for future transport or storage.
- Pil Montajı:
- Saatin mekanizmasının arka tarafında bulunan pil bölmesini bulun.
- Gerekli pilleri (genellikle 1 adet AA pil, pakete dahil değildir) kutup işaretlerine (+/-) göre takın.
- Pil bölmesinin kapağını kapatın.
- Sarkaç Kurulumu:
- Carefully attach the pendulum rod to the hook or slot provided on the clock mechanism, usually located below the movement.
- Ensure the pendulum hangs freely and does not touch the clock casing.
- Initial Time Synchronization (Radio Control):
- Once batteries are installed, the clock hands will automatically move to the 12 o'clock position and begin searching for the radio signal. This process can take several minutes to an hour.
- Place the clock in an area with good reception, away from electronic devices that may cause interference.
- The clock will automatically set itself to the correct time once the signal is received.
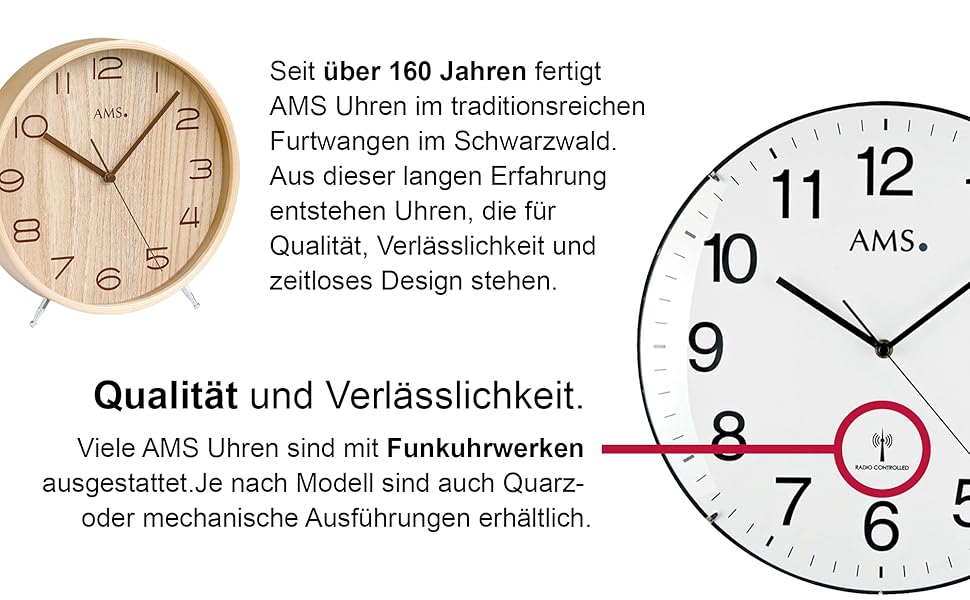
Image: Detail of a clock face indicating the 'RADIO CONTROLLED' feature, essential for automatic time synchronization.
- Saatin Montajı:
- Select a suitable wall location for mounting. Ensure the wall can support the weight of the clock.
- Use appropriate wall anchors and screws (not included) for secure installation.
- Saati duvara sağlam bir şekilde asın.
İşletim
- Otomatik Zaman Senkronizasyonu: The clock automatically receives a radio signal to ensure accurate timekeeping, including adjustments for Daylight Saving Time. This typically occurs once a day, usually in the early morning hours.
- Sarkaç Hareketi: Gently push the pendulum to start its swing. It should continue to swing rhythmically as long as the clock is powered and functioning correctly.
- Manuel Zaman Ayarı (gerekirse): In rare cases where the radio signal is consistently weak or unavailable, some models may offer a manual adjustment button (often labeled 'SET' or 'M.SET') on the back. Refer to specific markings on your clock's mechanism. Pressing this button usually advances the minute hand. Hold to move hands quickly. Release when close to the desired time and press repeatedly for fine adjustments. The clock will attempt to resynchronize with the radio signal after manual adjustment.
Bakım
- Temizlik: Wipe the wood casing with a soft, dry cloth. For the clock face, use a clean, lint-free cloth. Do not use harsh chemicals or abrasive materials.
- Pil Değişimi: Replace batteries annually or when the clock hands stop moving or the pendulum stops swinging. Always replace all batteries at the same time with new ones of the same type.
- Genel Bakım: Avoid placing the clock in areas with extreme temperature fluctuations or high humidity, as this can affect the wood and the clock mechanism.
Sorun giderme
| Sorun | Olası Neden | Çözüm |
|---|---|---|
| Saat çalışmıyor | Bitmiş veya yanlış takılmış piller | Pilleri doğru kutuplara yerleştirerek değiştirin. |
| Yanlış zaman görüntülendi | Poor radio signal reception | Move the clock to a different location, away from electronic interference. Allow time for re-synchronization. |
| Sarkaç sallanmıyor | Pendulum not properly installed or obstructed | Ensure the pendulum is correctly hooked and swings freely without touching the casing. Gently push to start. |
| Clock loses time or gains time | Weak radio signal or battery issue | Check battery strength. Relocate the clock for better signal reception. |
Özellikler
- Marka: AMS
- Model Numarası: 5132/1
- Renk: Ceviz
- Malzeme: Odun
- Görüntüleme Türü: Analog
- Stil: Klasik
- Şekil: Yuvarlak
- Kullanım: Kapalı
- Çerçeve Malzemesi: Odun
- Piller Dahil: HAYIR
- Montaj Tipi: Duvara Montaj
Garanti ve Destek
For warranty information and customer support, please refer to the documentation provided at the time of purchase or contact your retailer. You may also visit the official AMS webDaha fazla yardım için siteyi ziyaret edin.